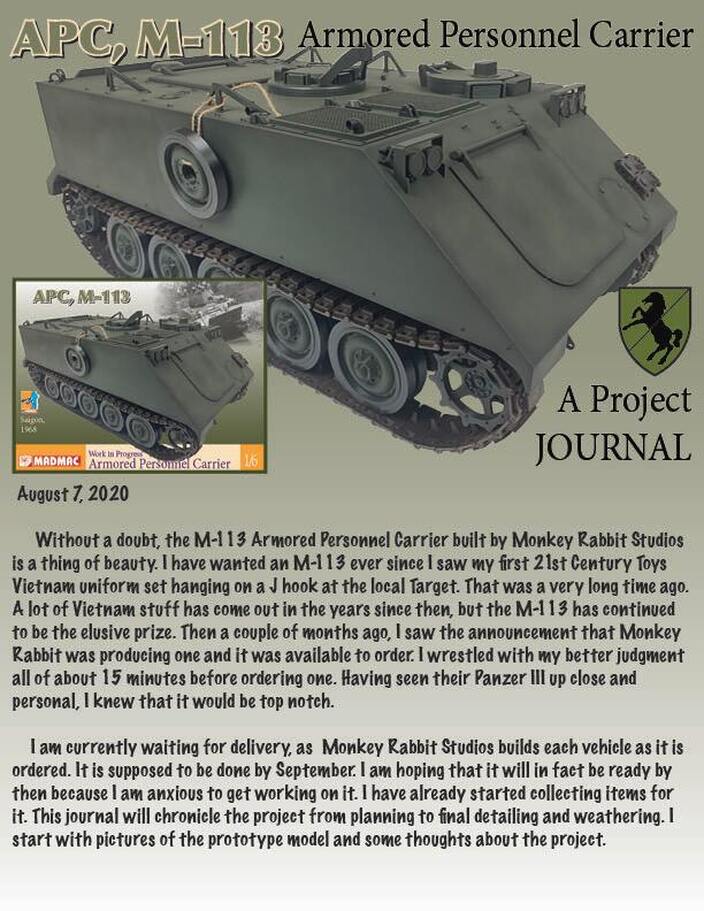
This project is only in the planning stage at this point. I am awaiting delivery of my M-113 model. Once I have it, I will start detailing. Stay tuned for additional updates. - PM
UPDATE
|
|
|
UPDATE -AUGUST 16
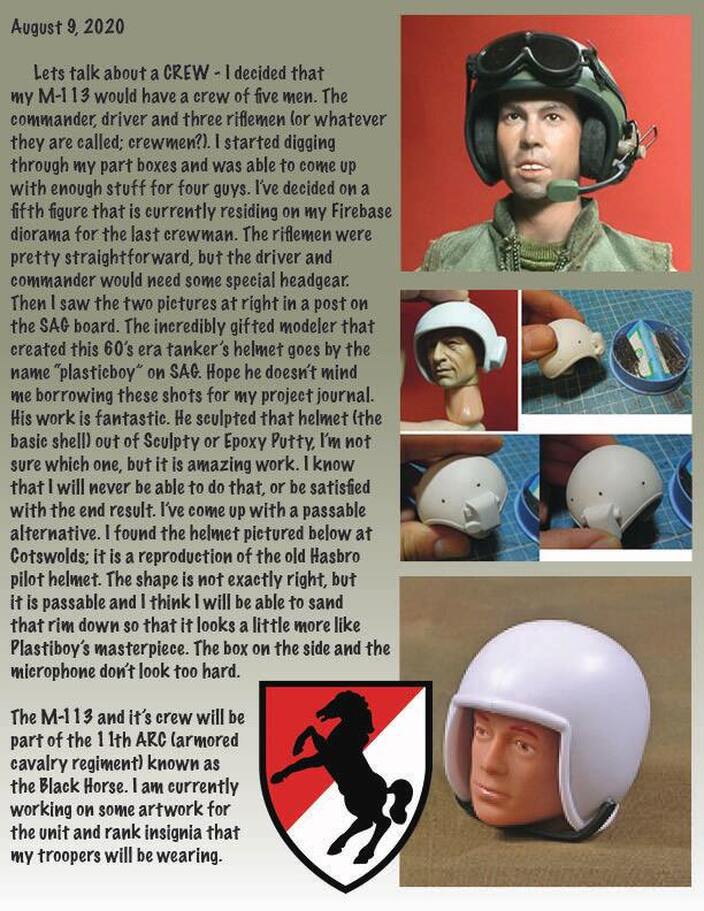
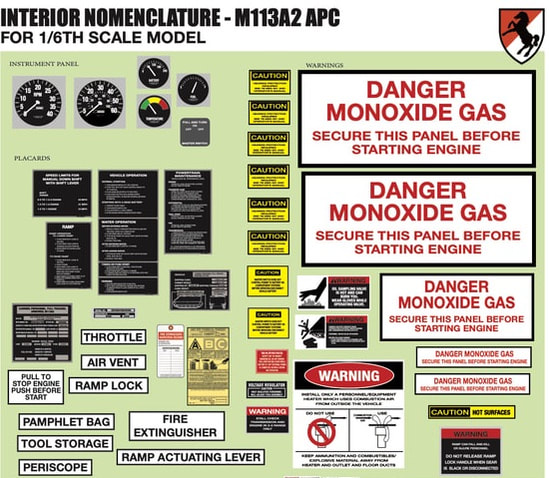
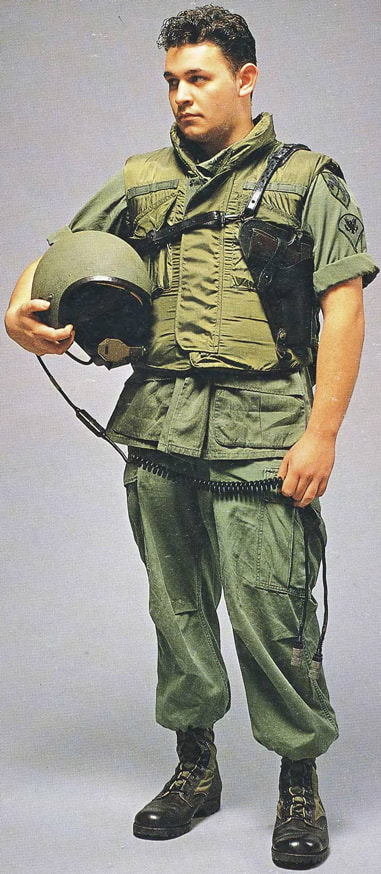
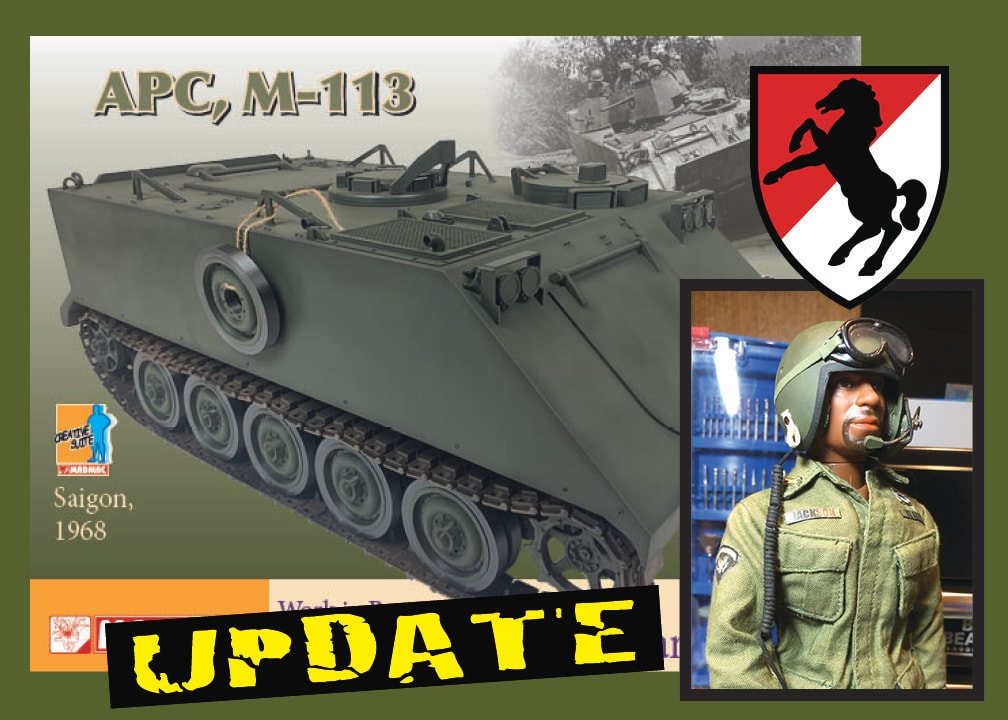
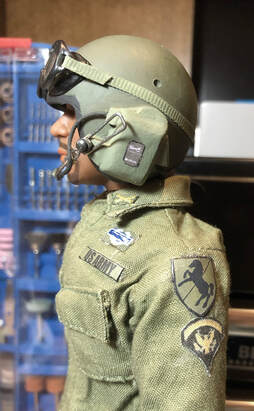
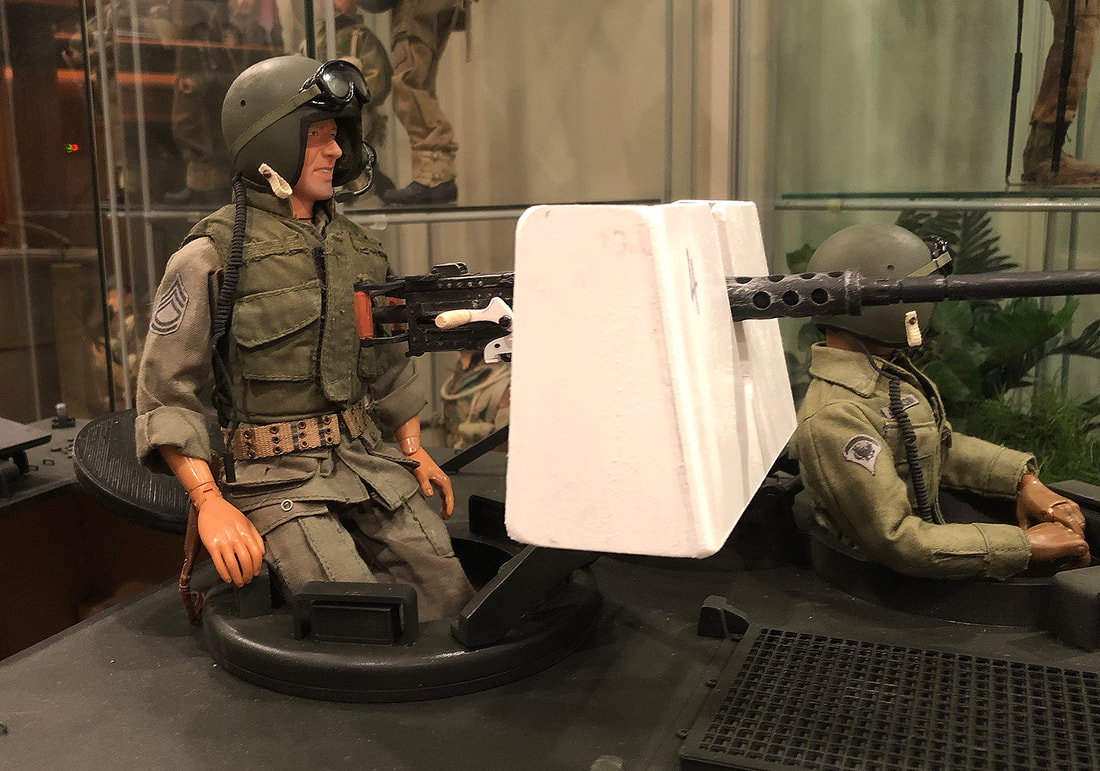
Been working on this for a couple of days now. Found some good pictures of the placards inside of the M-113 that I could work with and I built my own set of Interior artwork. Not readable at this size, but in 1/6th... yes, you can actually ready it all if you feel like giving yourself a headache. The important point to me is that it is clean and fairly accurate and now all I need is a vehicle to put it in. - PM UPDATE - AUGUST 27 Wow, actually did a little modeling over the lat couple of days and have something to show for it. For the M113 project, I need two crew members with Vietnam era tanker helmets as mentioned previously. I knew that I would not be able to sculpt the helmets as done by "Plastic Boy". I don't have that kind of talent. But I. also knew that not all tanker helmets were created equal. As shown in the reference picture at left, this trooper is holding a helmet that is closer in shape to a traditional football helmet, vs. the shape that Plastic Boy used, which is based on the variant shown below. 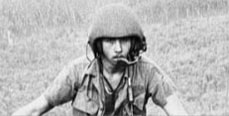
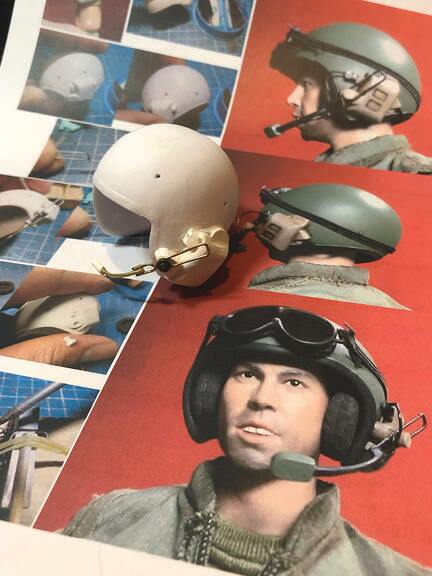
For my helmet, I started with a repro GI JOE pilot helmet. The first thing I had to do was remove the molded trim around the edge of the opening. I ground that down with the Dremel tool and then sanded it by hand so there was just enough left to create the black trim that shows in the photo at left. For the electronics box on the side of the helmet, I used styrene scraps and recreated what Plastic Boy built in his tutorial.
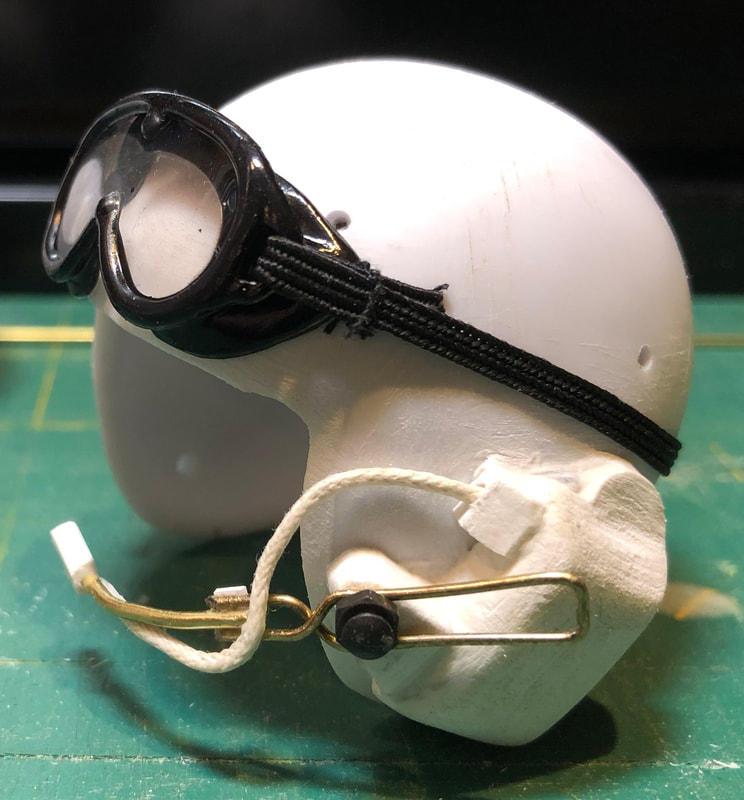
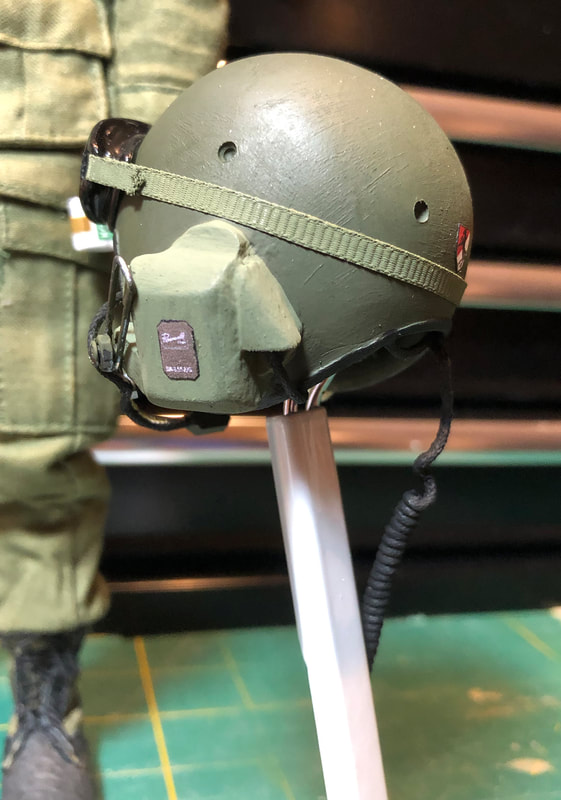
The image to left shows my helmet sitting on a copy of his tutorial that I printed out. Once the basic box was attached to the helmet. I added additional styrene pieces to create the other parts of the "box". I then puttied the area where there were gaps, using liquid cement to help smooth the putty into the gaps. Once that was dry, I did quite a bit of sanding to get things "smoothed out". Next, I drilled holes where the "wiring" would eventually go and drilled six holes around the the helmet to simulate the posts that the interior lining is attached to. The next thing was that microphone boom that attaches to the side of the helmet. The was fun. It took two or three tries to get me to this point. And yes, the boom actually can move back and forth, swivel up and down, though less flexible once the "wire" was attached. |
|
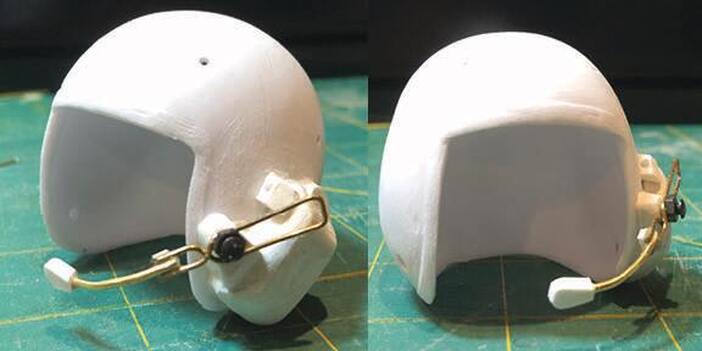
Above is the helmet as it stood about 8:00 pm last night. As you can see, I still have a little sanding to do before I paint it. But... it's getting there.
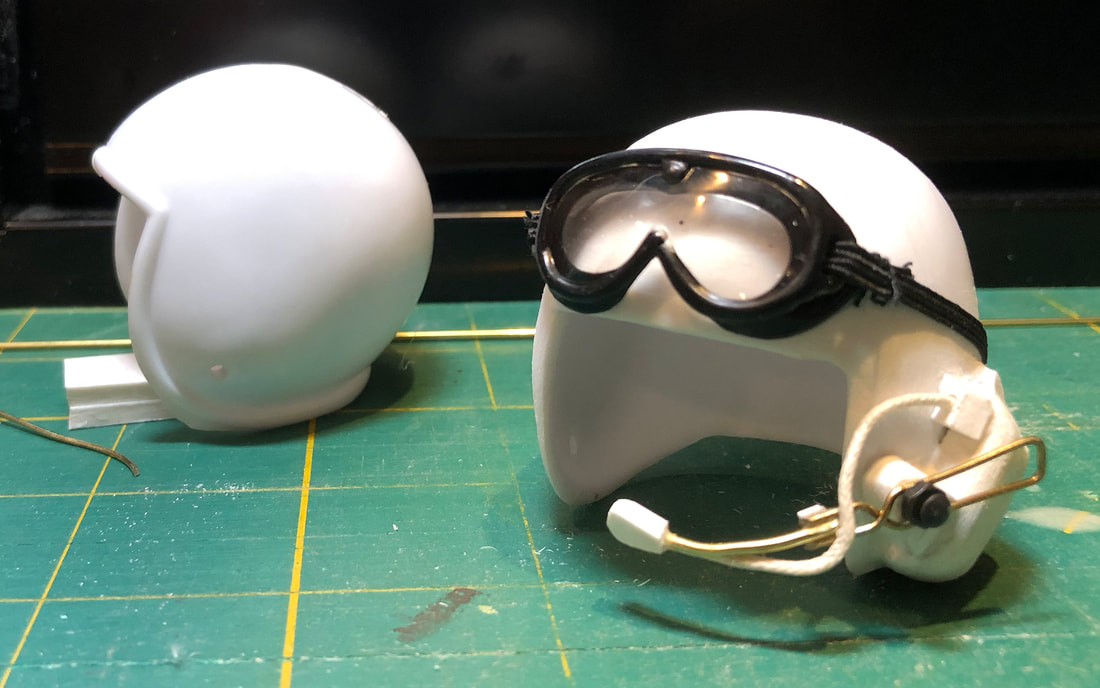
I went back to the work bench a little bit last night before going to bed and I added my "wiring" to the helmet and I also placed a pair of goggles on the helmet to see how they would look. When I actually attach them to the painted helmet I will use a cloth strap rather than elastic. In that top shot you can see the "finished helmet" with the second Hasbro helmet with that horrible trim molding. I am not really looking forward to doing a second one, but at least this one should go a little faster as I know what to expect this time. Well... that's it for this installment. Thanks for looking. - PM |
|
AUGUST 29 UPDATE
Got started on the second helmet last night before I went to bed. Got the helmet trim ground off and sanded, then build the electronics box. I still have some sanding and shaping to do there, but it is a good start. I was going to finish it this morning, but our power went out at 9:30 am and we got it back just a little while ago (It's 7 pm now). It was too hot outside to model and there aren't any real good places in the house with sufficient light for doing little stuff like this. Perhaps I will get to finish it tomorrow. Thanks for looking. - PM
SEPTEMBER 13, 2020 UPDATE
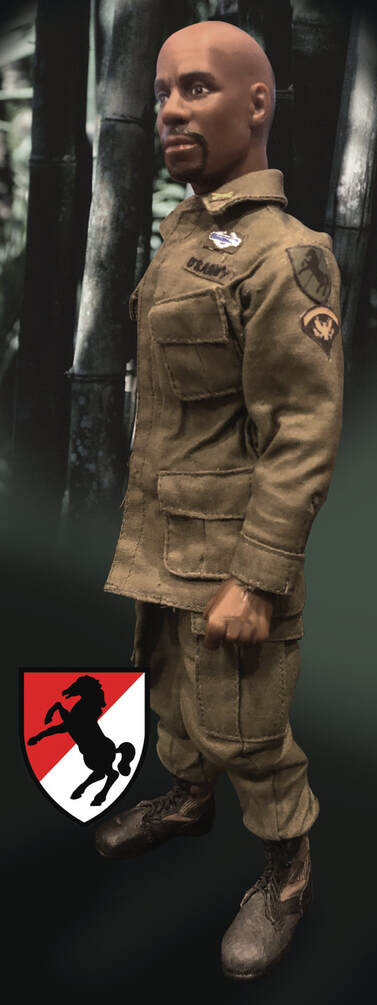
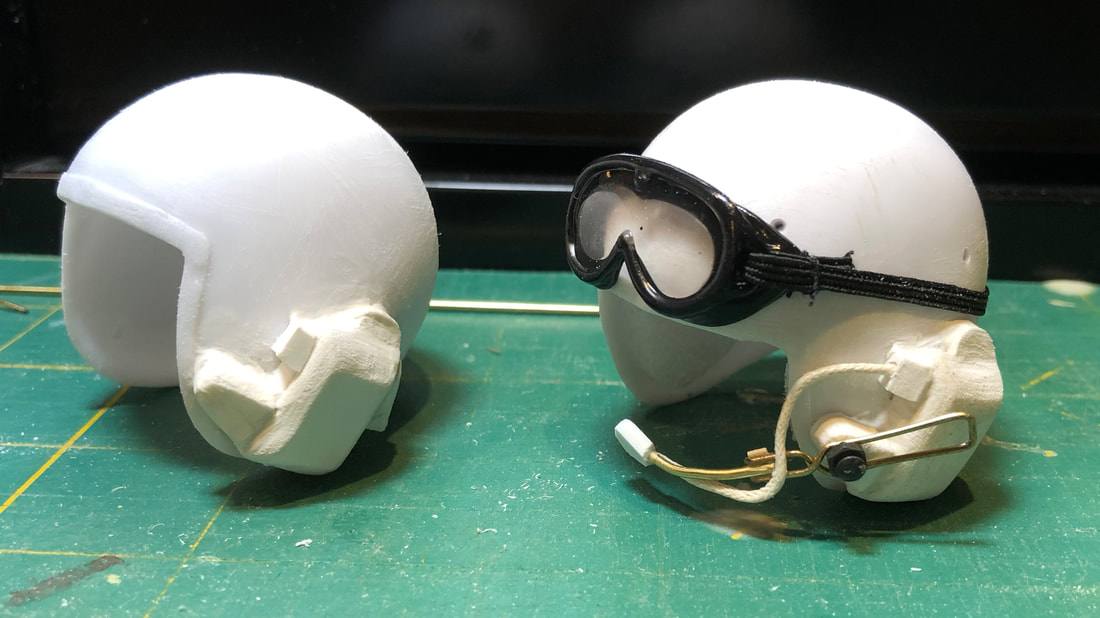
I managed to complete the helmets the weekend before the APC arrived. Below are pics of the two helmets and Specialist Jackson modeling one of them.

|
|
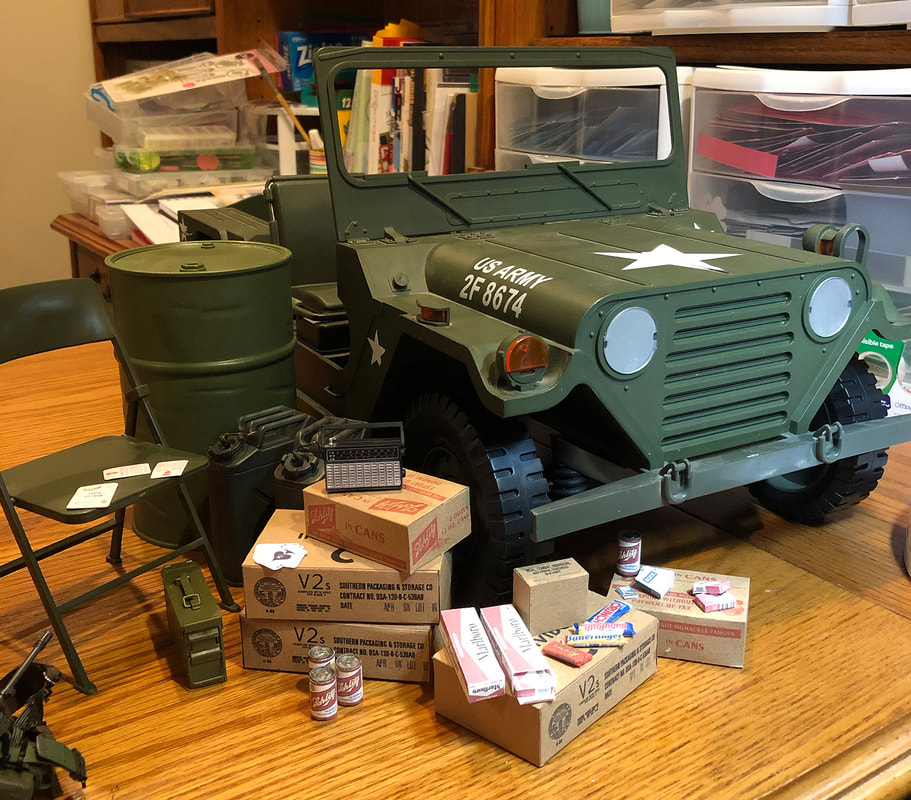
I picked up this Ford MUTT M-151 on eBay. It will serve as a companion piece for the M113 when completed. It is in fairly good shape though missing a number of components that I will have to replace. In front of the vehicle is the first wave of detailing items that I have been working on. I've got a lot to go still.
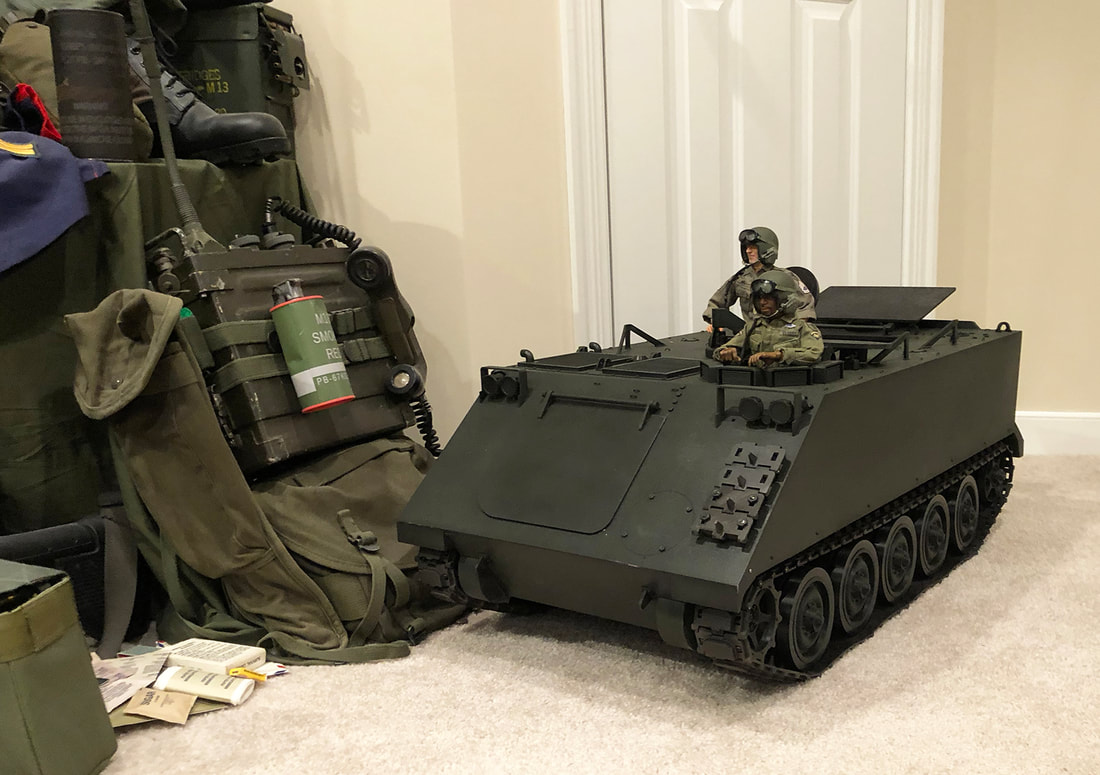
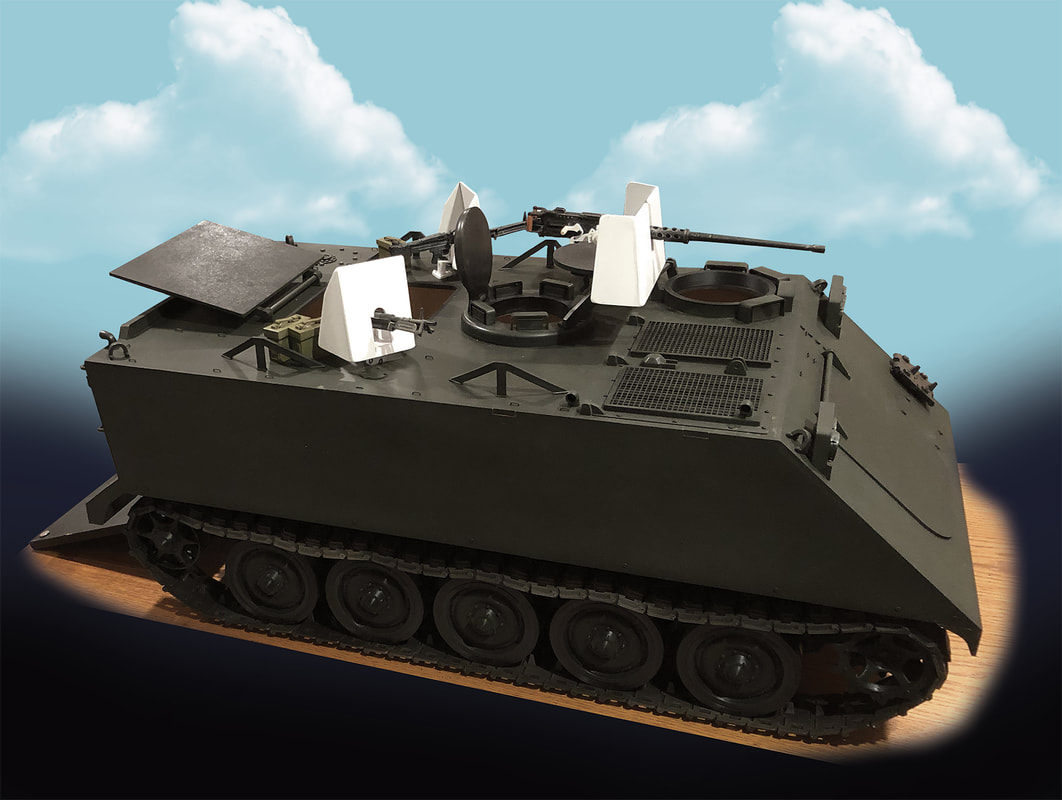
IT'S ARRIVED!! The M113 rolls into my Vietnam display. It actually arrived a day early, but with a little bit of damaged that had to be repaired before these pictures were taken. The worst of which was that the mounting supports for the rear road wheels on each side were broken. It required some heavy duty surgery, but you would never know it.
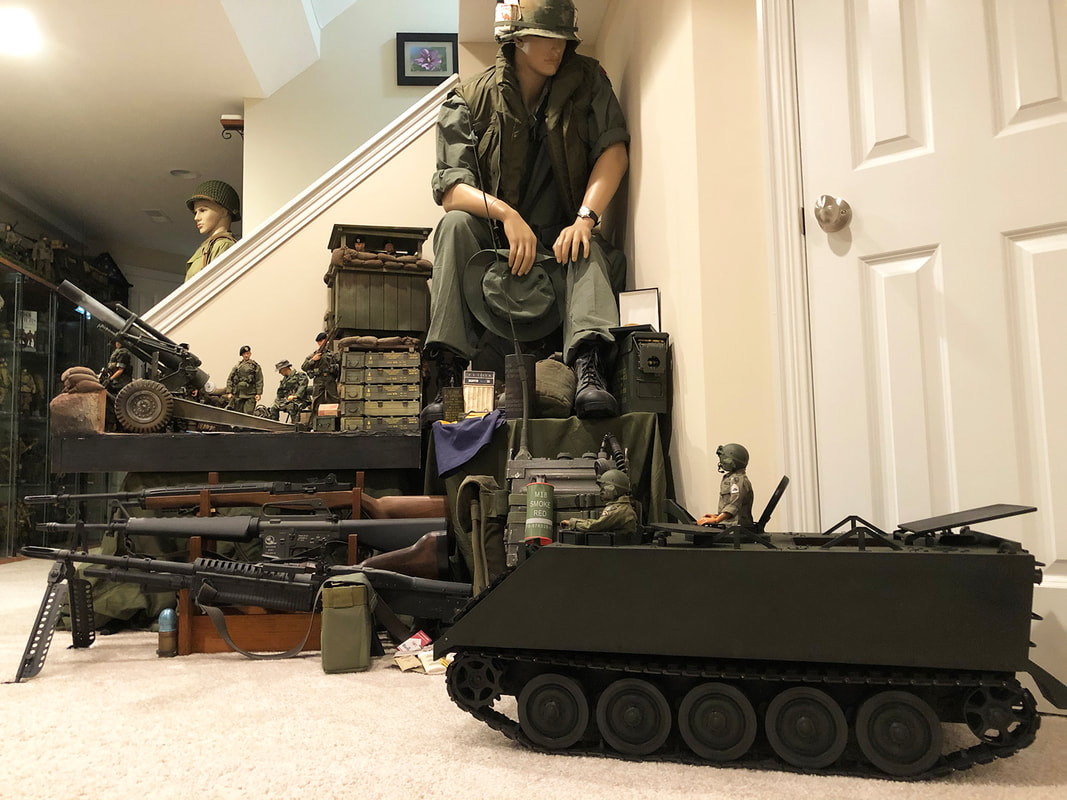

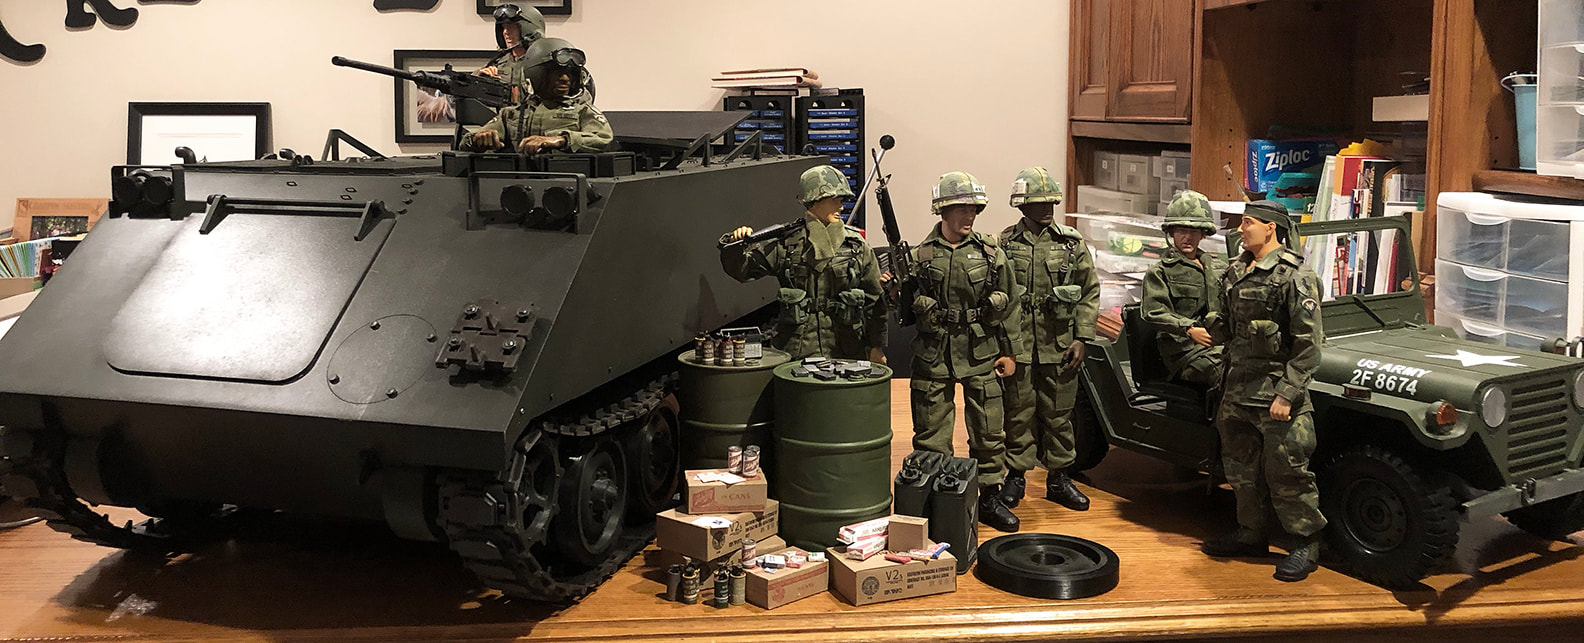
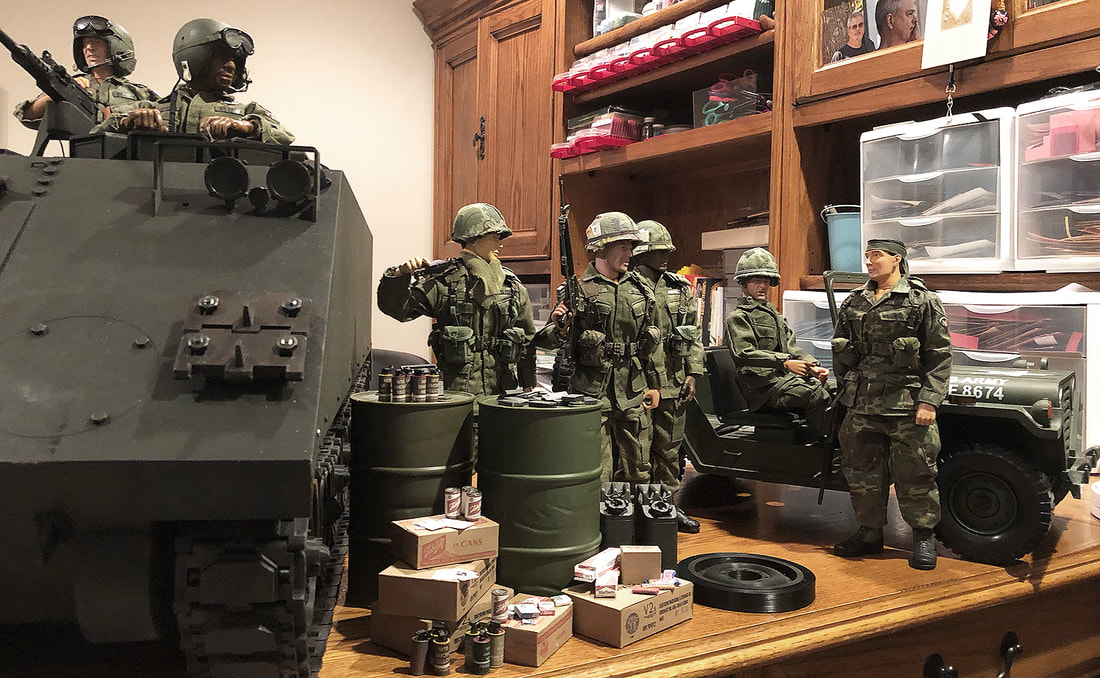
Here's where we are today. The plan is for a crew of five on the M113. The driver and the three infantry men on the crew are pretty much complete. I still have some stuff to do to the APC Commander. The crew of the Mutt is partially finished as well. I am not sure how long it will be before I am able to start on the M113 and M151, but I sort of wanted to do the crews while I had a little bit of time. I've got a couple more pieces that I am waiting on and I will be able to finish up the figures. Can't wait to get started on the vehicles. Would like to get them done before cold weather arrives. Nothing like modeling on the covered porch in cool fall time weather. Thanks for looking - PM
UPDATE - OCTOBER 4, 2020
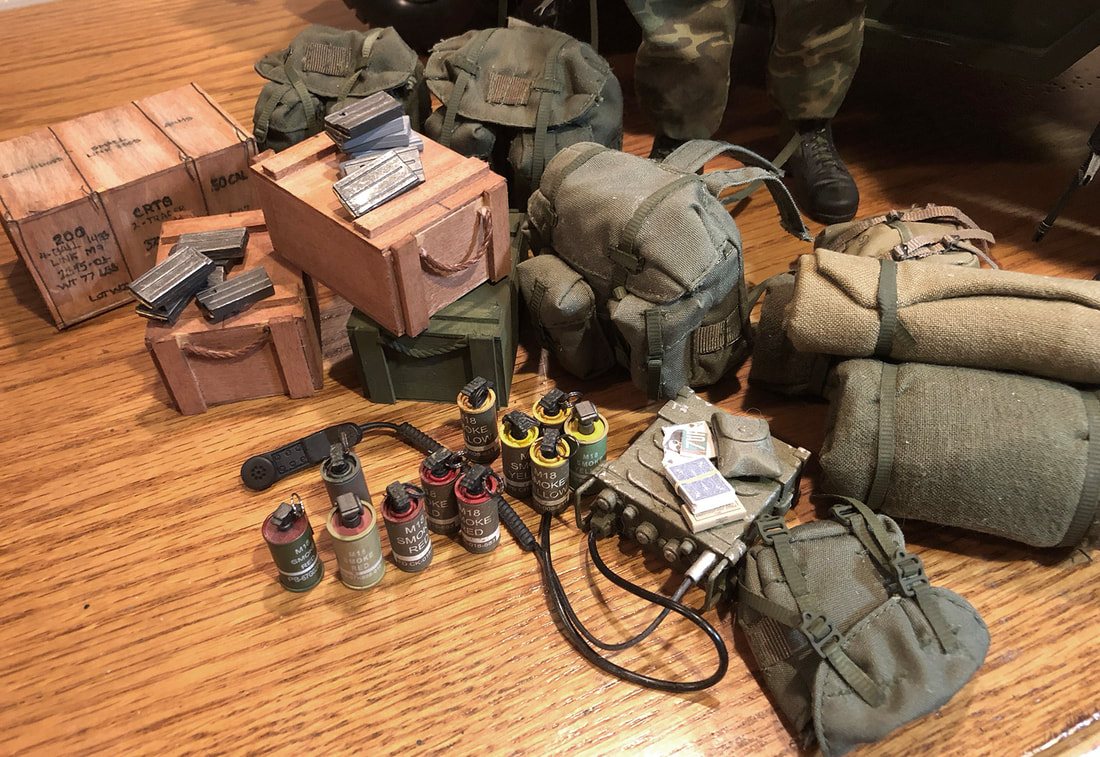
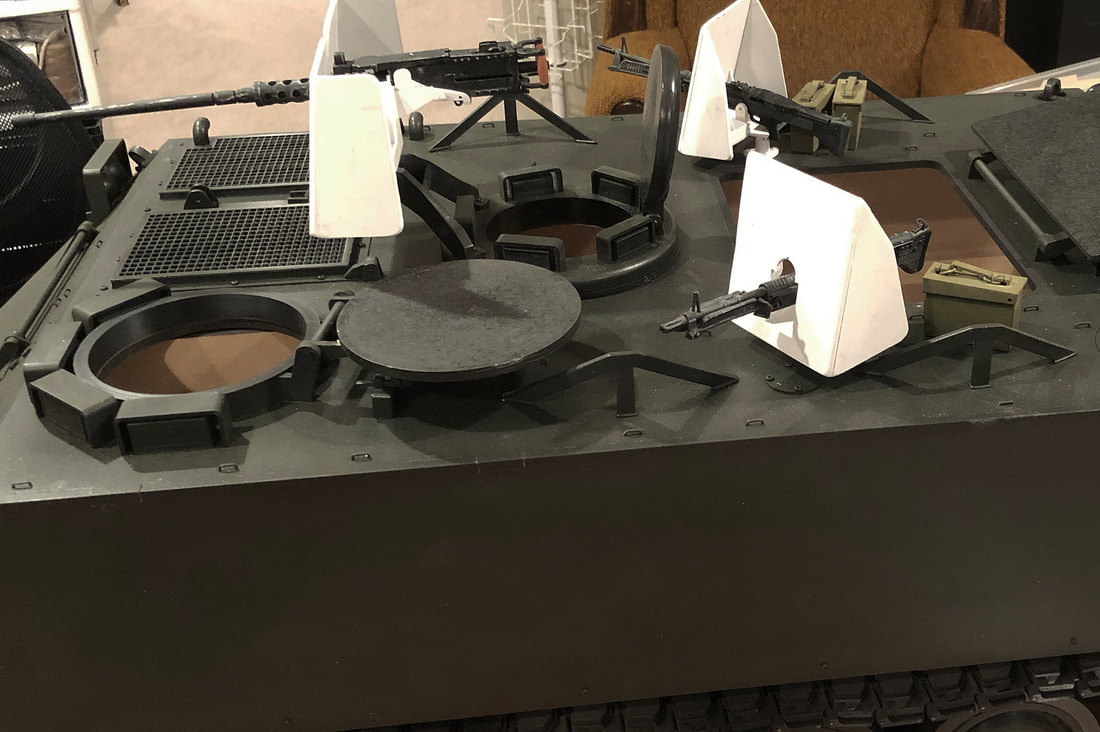
Been a while since I've done an update here, I've been doing regular ones on Facebook... so its time to get caught up I suppose. One of my friends sent me a second M151; guess I'm going into convoy mode. With two M151s, I needed a couple more GIs (ah... twist my arm). I've done some more gear for future stowage and I have created the gun shields and mounts for the M113. In other words, I'm stalling on starting the interior. Well, I'll let the pictures tell the story...
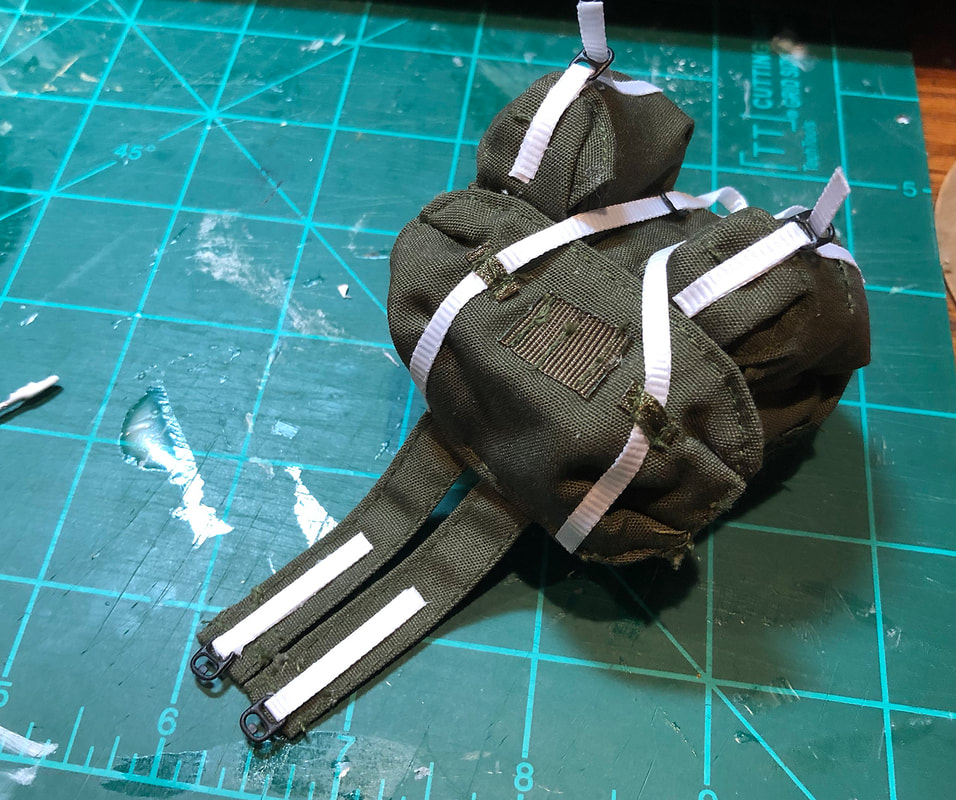
I had purchased some 21st Century Toys backpacks from Zhukov's Attic. I cut all of the ribbon that 21st had used for strapping material off of them and replaced it with 1/8th material that looks a little more like actual straps. This is a tedious operation to be sure, but, once painted, is well worth the effort.
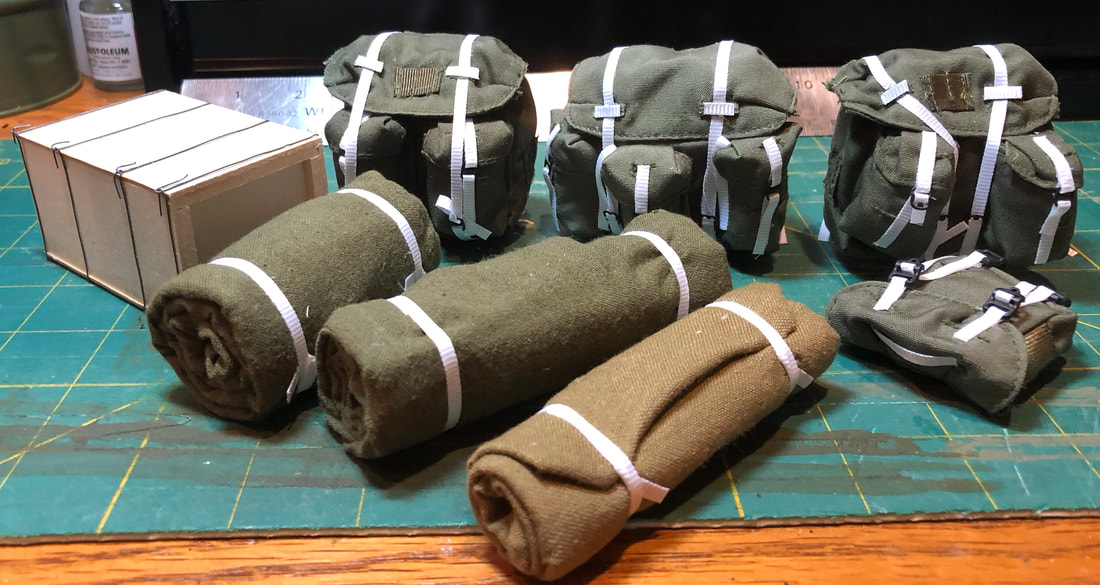
Above is there backpacks and a butt pack. A wooden ammo crate and some bed rolls. I still have a couple more packs to do and a lot more "rolls".
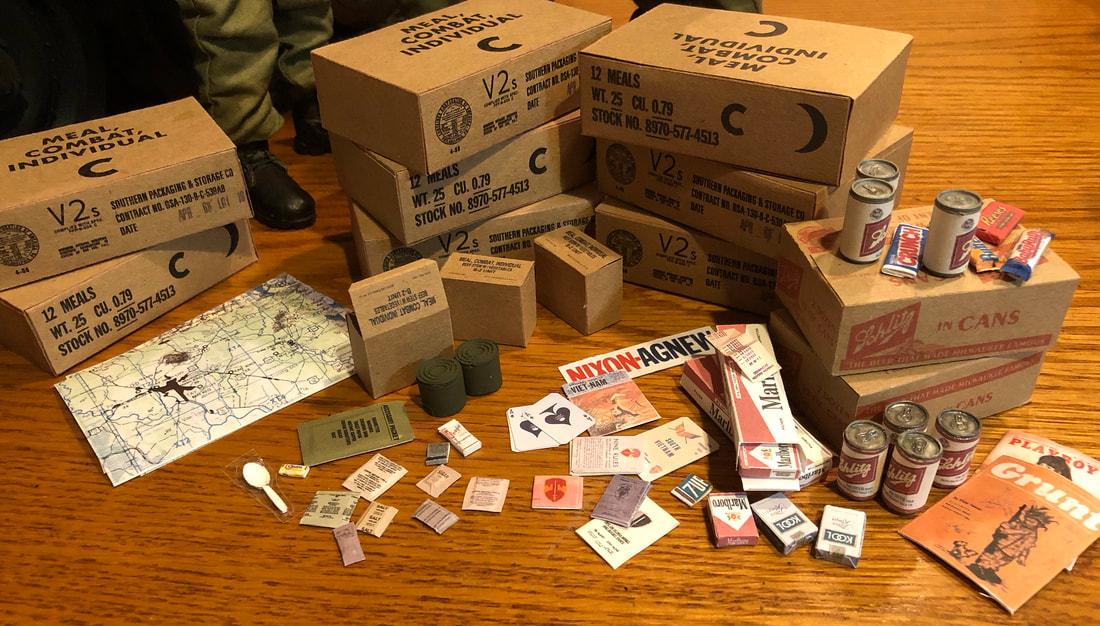
Meanwhile, continue to work on paper details and some crates, etc.
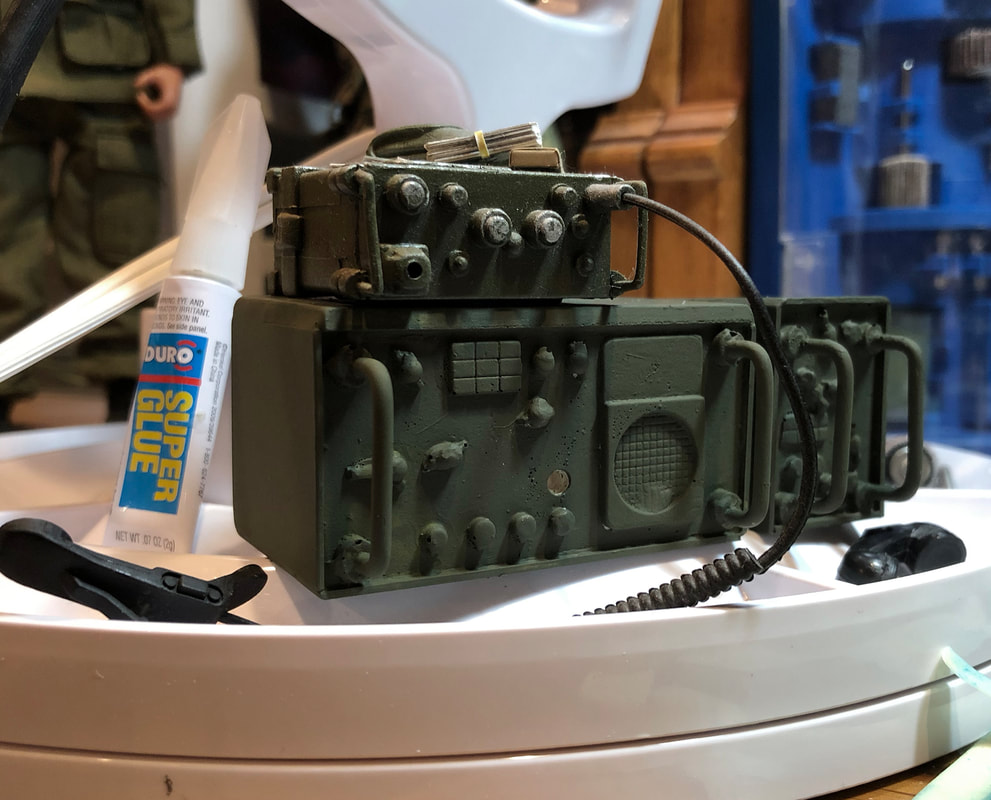
Have also started doing some casting. I like the size of the modern ammo can that came with some GI Joe Hall of Shame figure, I decided I would make a mold of the body of the can and cast a few. Then I could create a "lid" with thin sheet styrene. The molds seen here are done with mold putty, which is great for doing small, short run jobs. I tore the radio set out of my armored mutt and used the putty to make a mold of the faces of both components. Once it is cleaned up on the sander, I just have to build a styrene box around it and I've got three more radio sets (and yes, I put the radio back in the armored mutt when I was done). Both of my mutts need steering wheels (as well as dashboards).
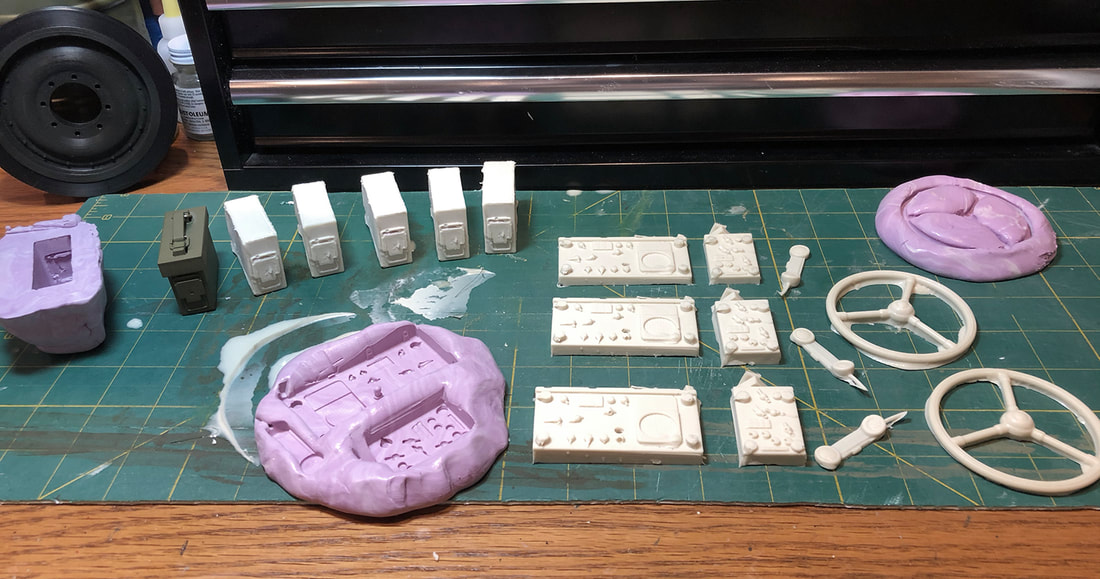
Below is the first radio build. I didn't spend as much time cleaning this one up as I will the other two because it is going inside the M113 and will only be partially visible.
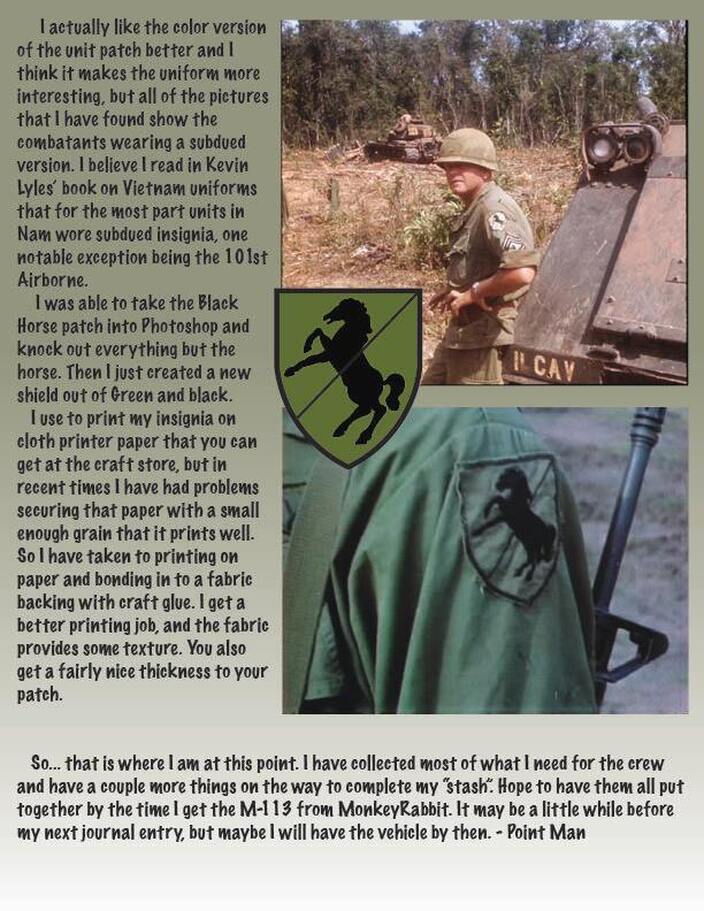
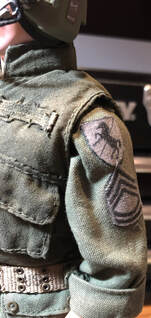
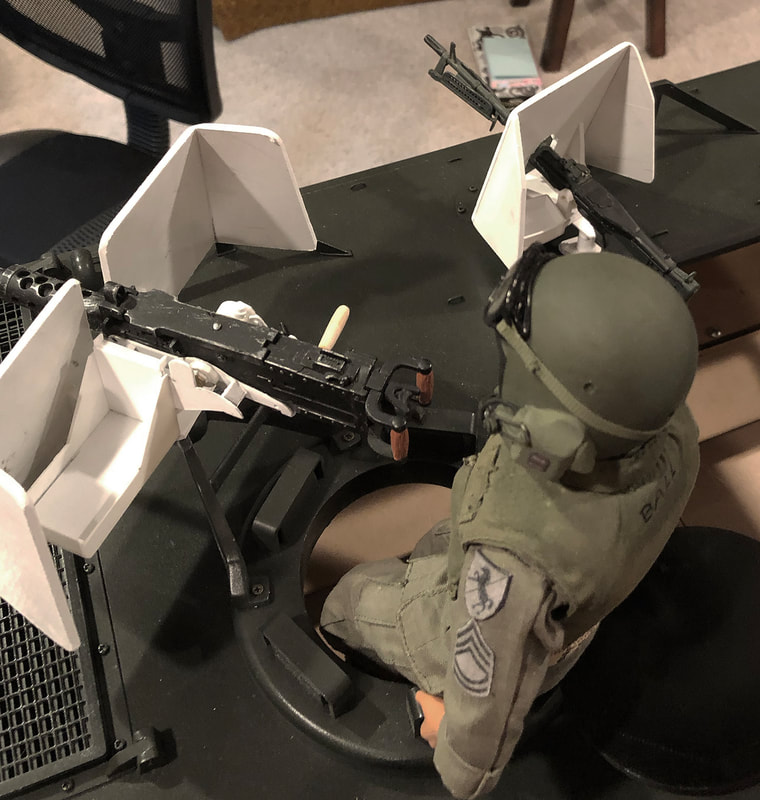
I also found some really fine textured fabric paper in the last couple of weeks and I redid my insignia for my troops. I wasn't overly happy with what I had done and this is a huge improvement as the patches are fabric and are not shiny. You can see on the right, Sgt. Ball with his new "subdued" patches.

|
|
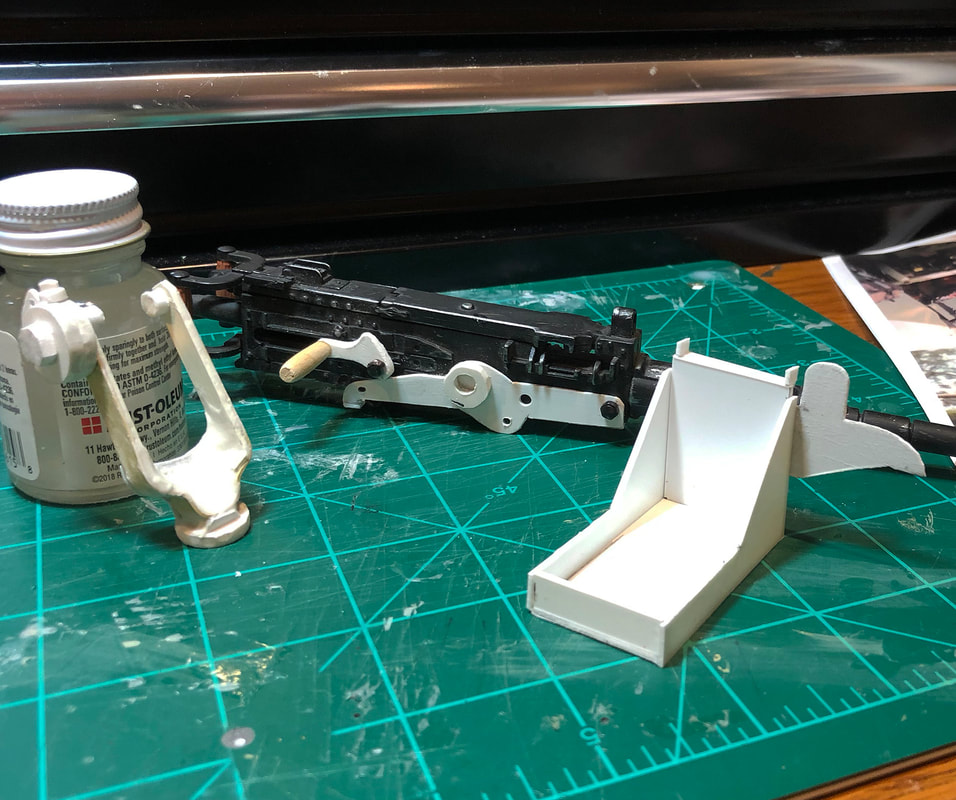
I had a 50 caliber browning for my main gun, but no mount to attach it to the vehicle with. Using the mount on my White Scout Car as an example, I scratch built a mount out of styrene. The piece on the left, standing up against the glue bottle, is actually reinforced with brass strip for extra strength.
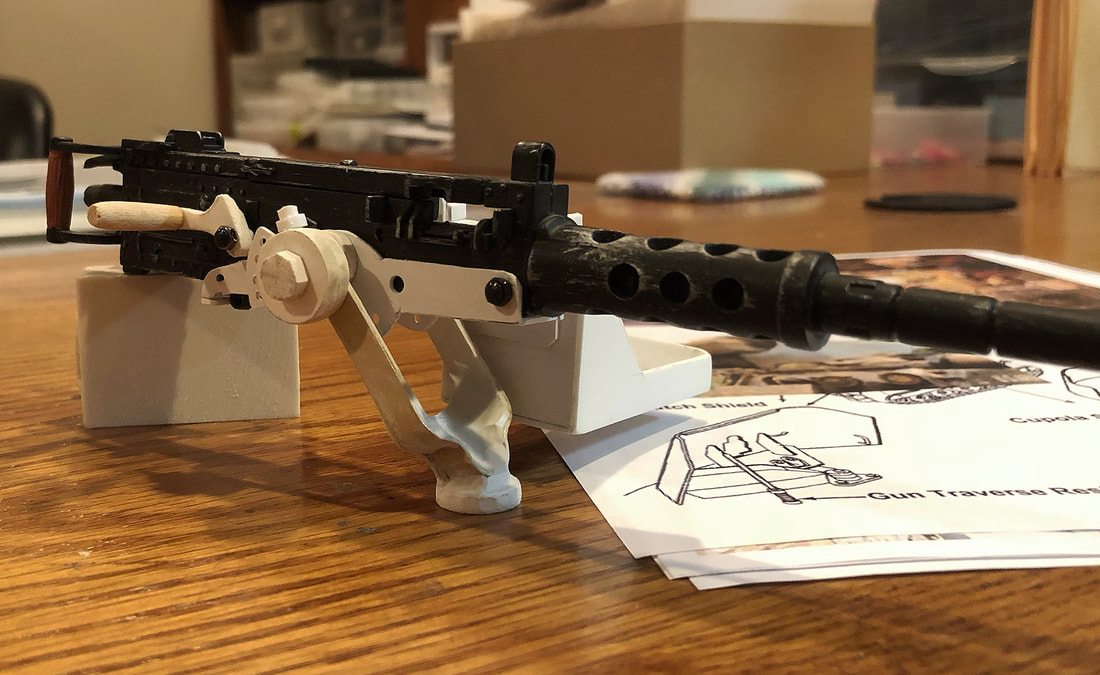
Below, the mounted machine gun with the shield
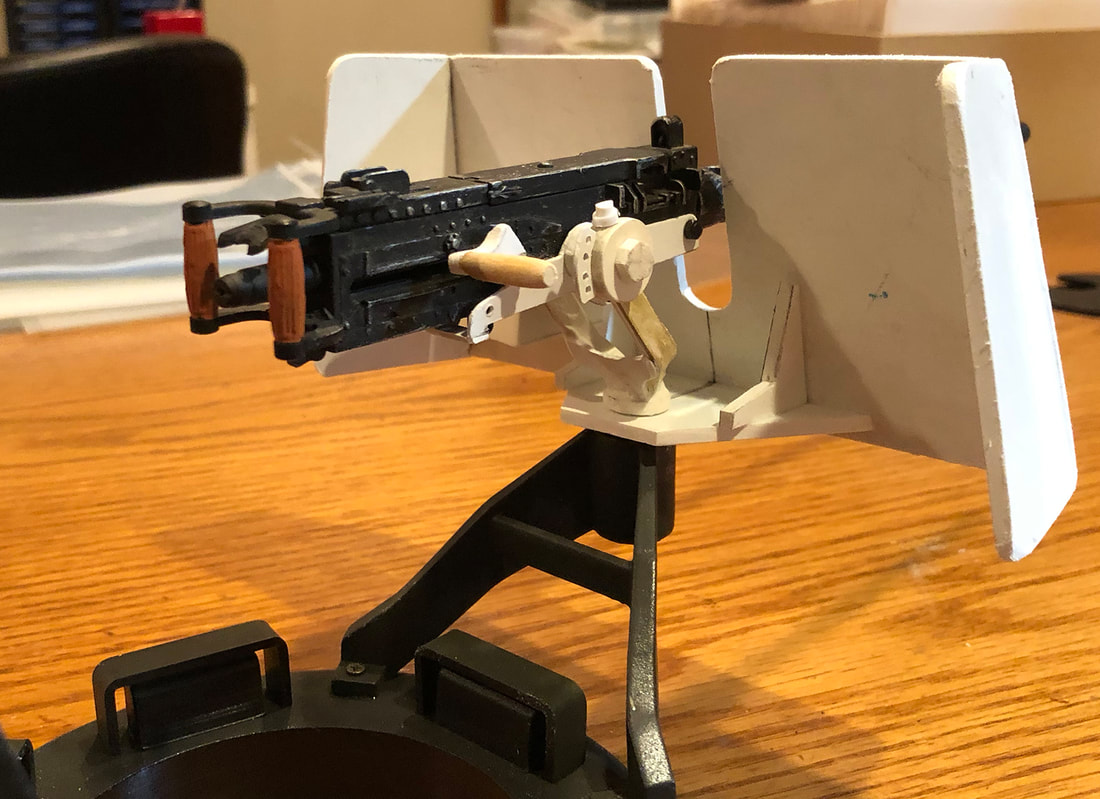
All three shields still require some additional sanding before final detailing and painting, but hey, we're getting there.

And that's where we are at this point. Hoping to get started on some of the interior detail this next week. It will be an interesting build considering the room that you have to work in. I think I will start with the driver's compartment and work my way back. Can't really think of a better way to do it. - Point Man out!
