10/17/19 UPDATE
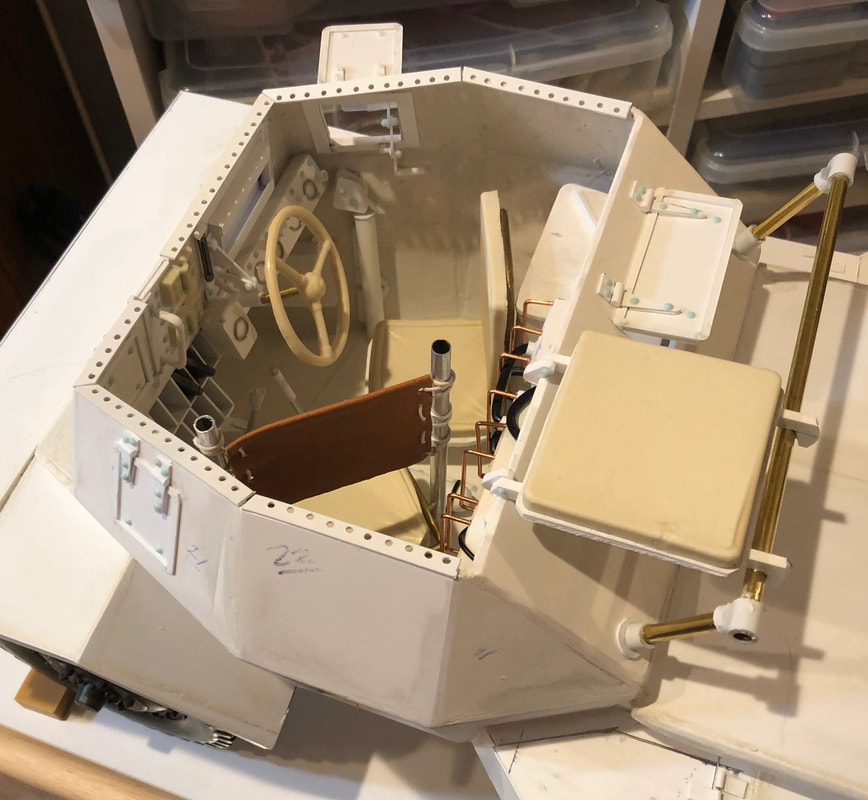
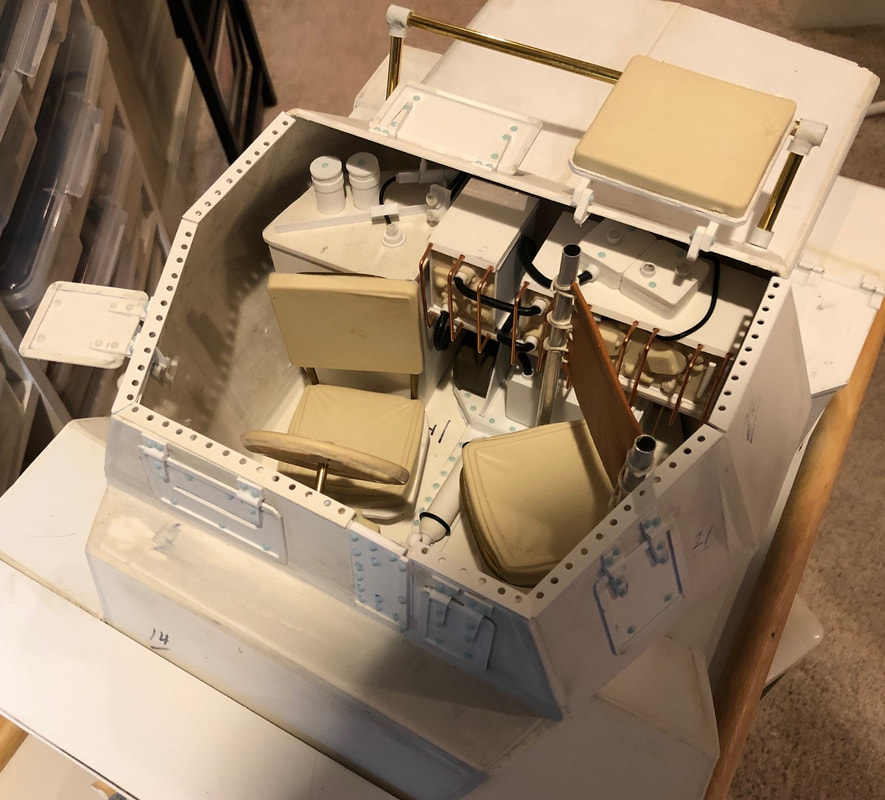
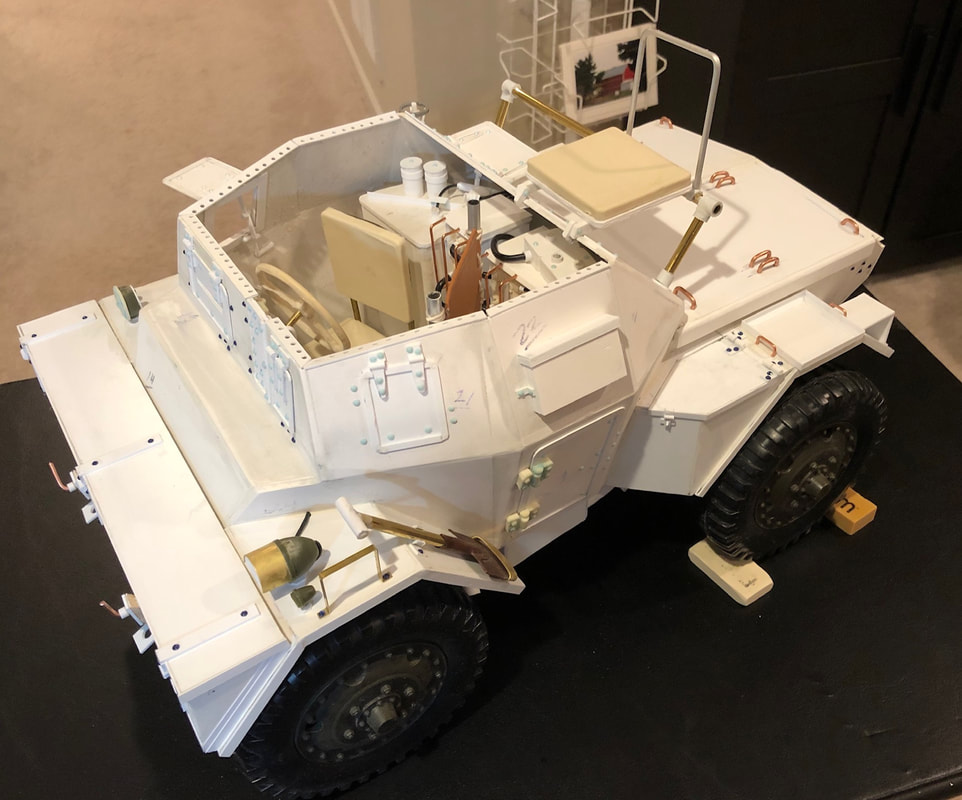
These pictures journal work that was done on the Dingo over the last week. Starting with these top two pictures that show additional details added to the interior. I don't really know what the thing is under the driver's side window, but it was in the reference pictures, so I made one. Also added the center transmission housing with the gear shift and what I assume is a brake. Finally around the top of the compartment I added those strips with the tie-down holes.
These pictures journal work that was done on the Dingo over the last week. Starting with these top two pictures that show additional details added to the interior. I don't really know what the thing is under the driver's side window, but it was in the reference pictures, so I made one. Also added the center transmission housing with the gear shift and what I assume is a brake. Finally around the top of the compartment I added those strips with the tie-down holes.
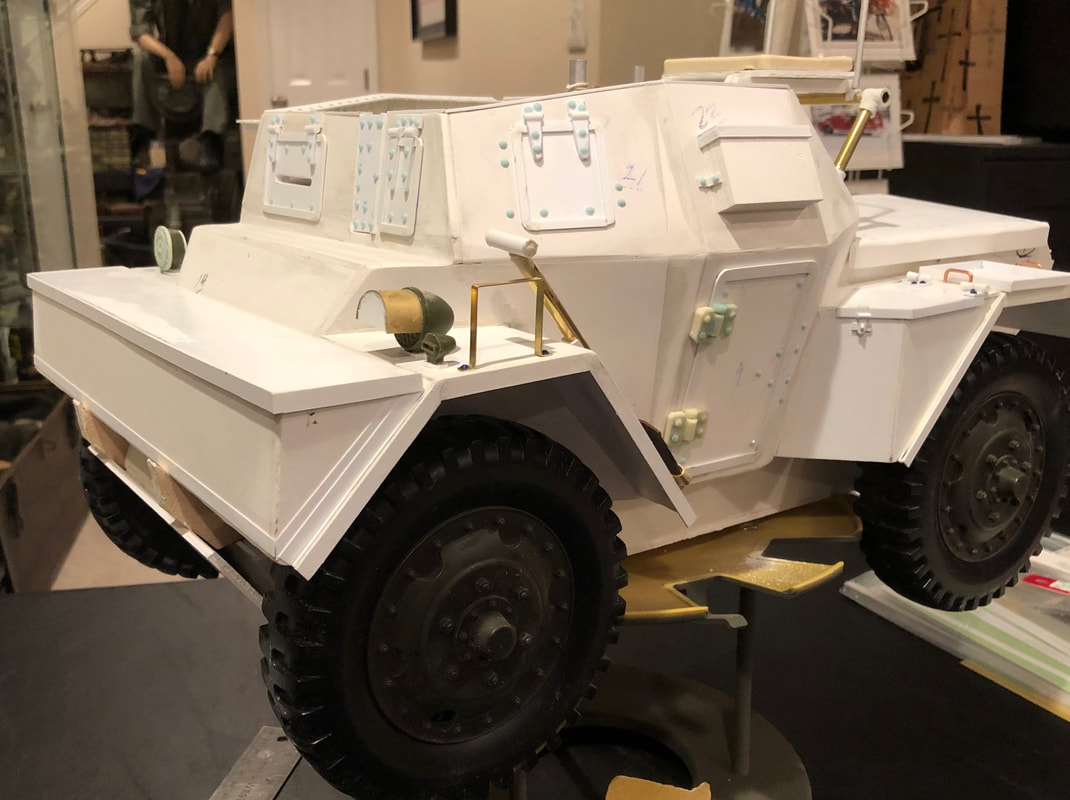
Here I've started working on the outside, adding the door and the first aid box on the commander's side of the vehicle.

On the other side of the vehicle, the antenna mount.
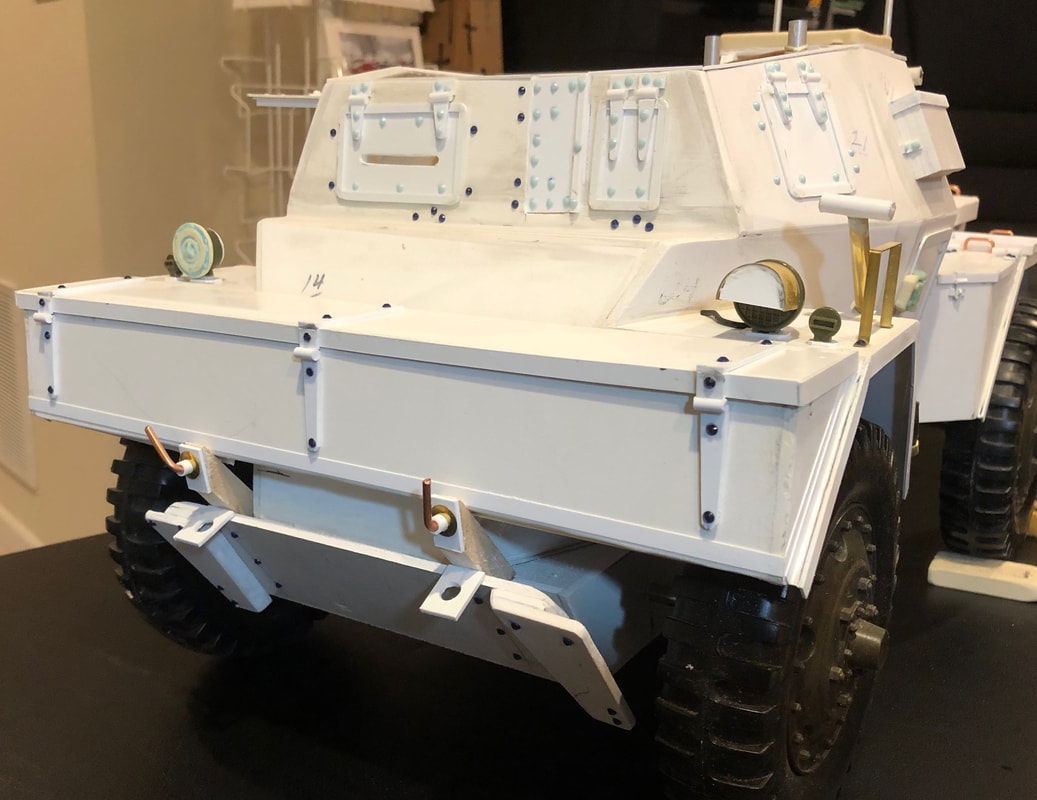
One of the vehicles I had reference pictures of had these fancy little lights on the rear fenders, so I decided to add some to my model.
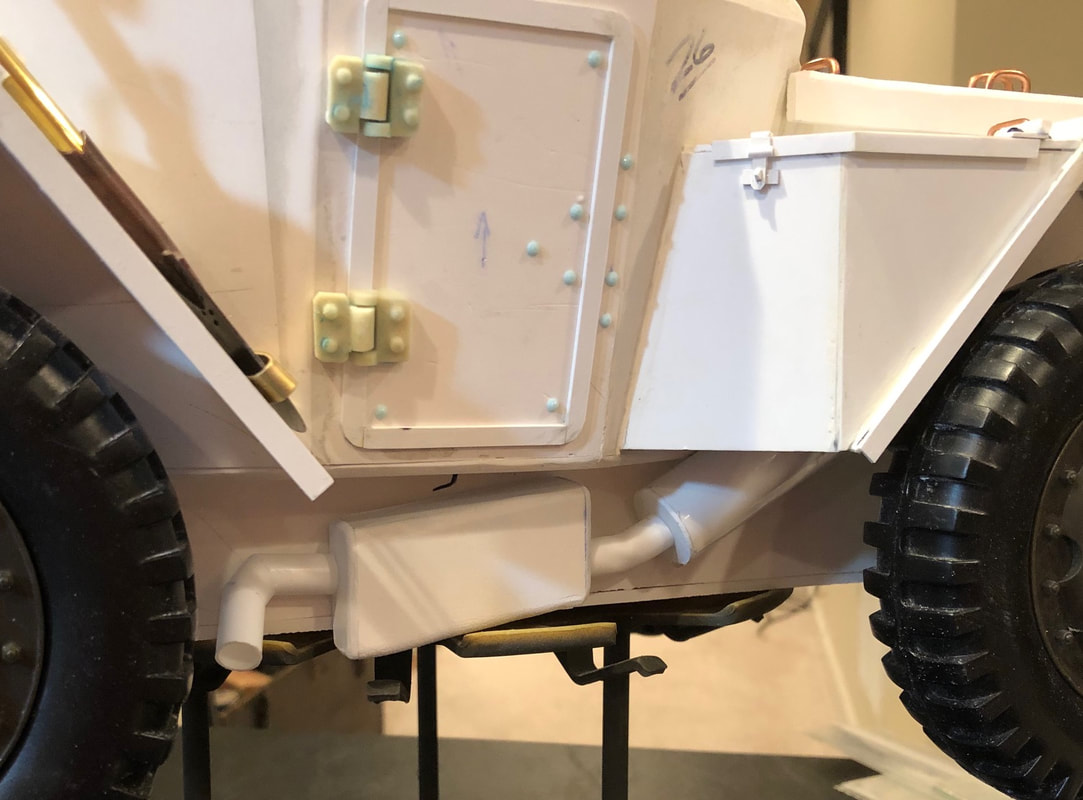
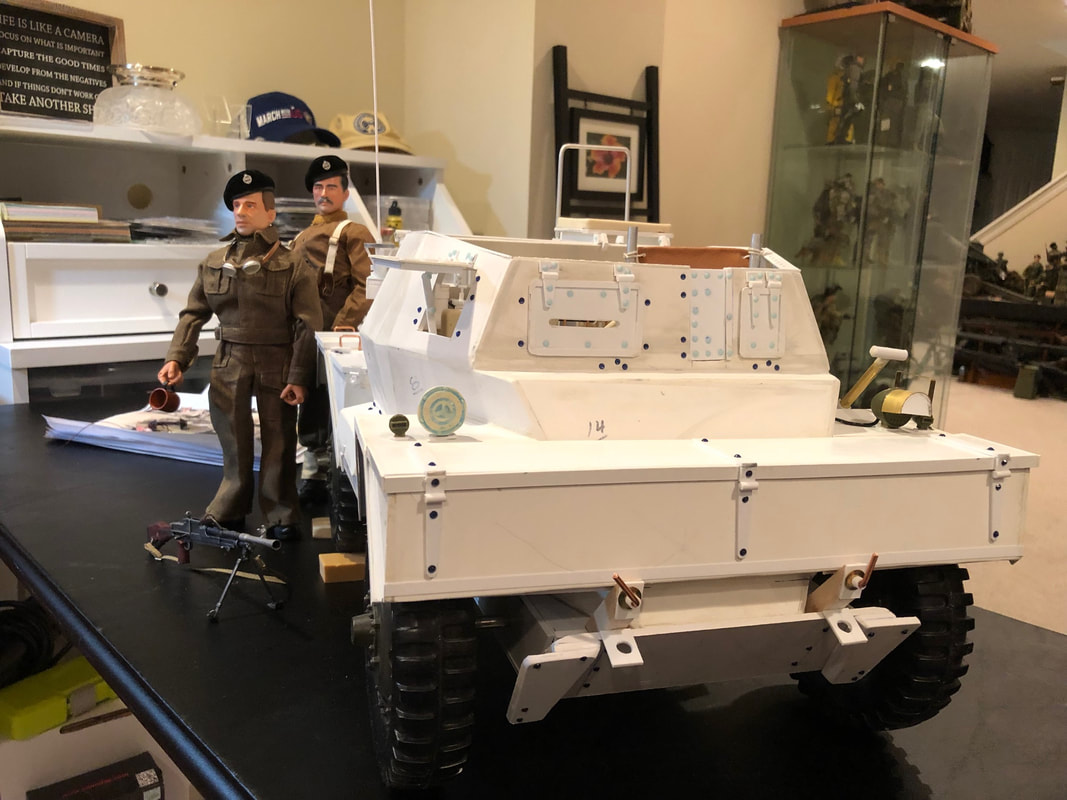
Additional details added to commander's side including shovel and lamps.
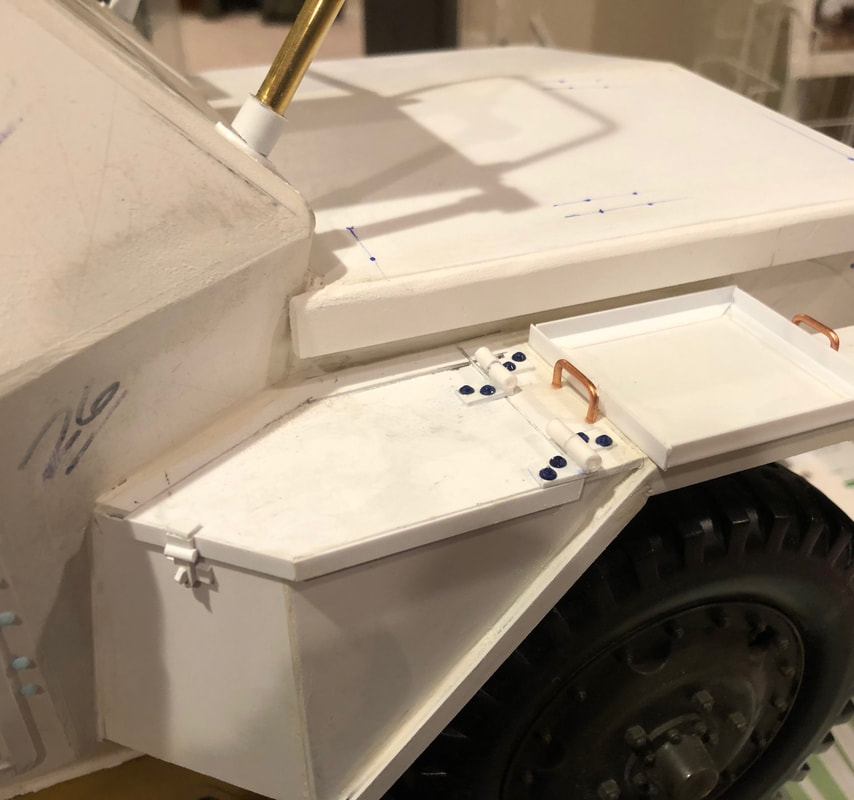
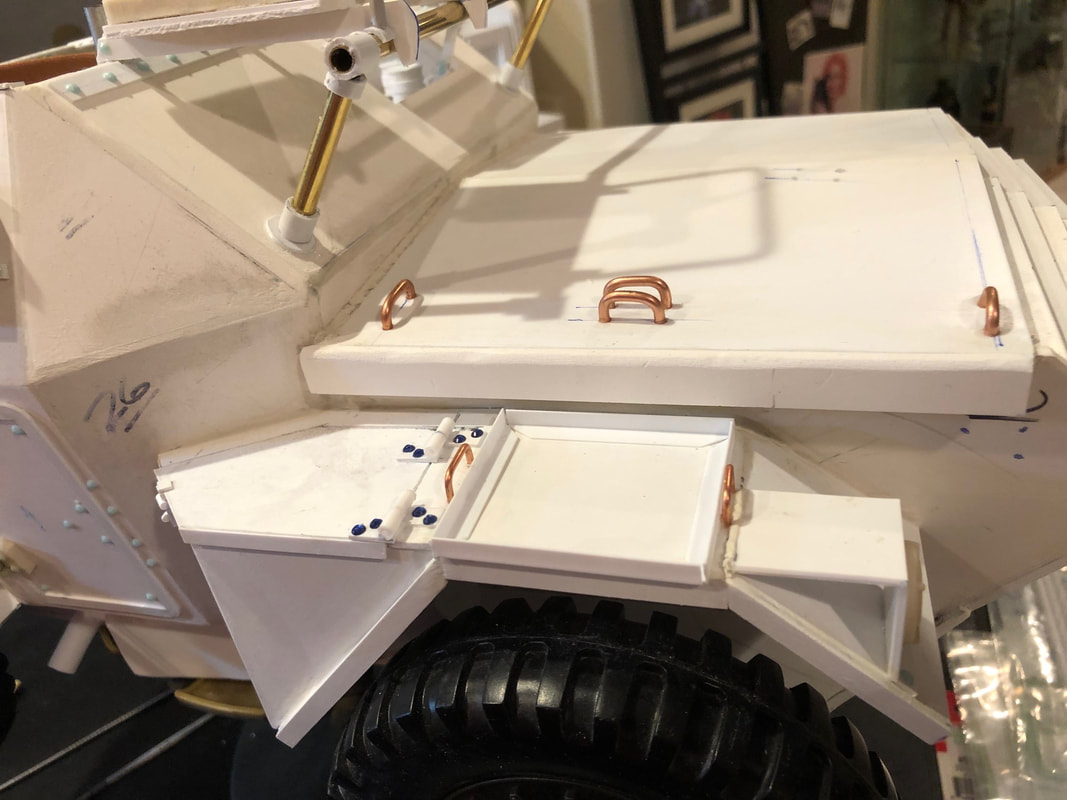
Also, I wasn't happy with the hinges on the side storage bins, they looked too small to me, so I redid them. Also added a latch. Behind that is a rack for petrol cans (which I still need to make).
The exhaust system was created out of sheet styrene and styrene tubing. The positioning of the exhaust pipe is not entirely accurate, but I wanted to be able to see it on the finished model, so I used a little "artistic" license.
Adding grab handle/tie downs on back deck. I had to do these a little at a time as bending this heavier gauge brass really kills my 62 year old hands.
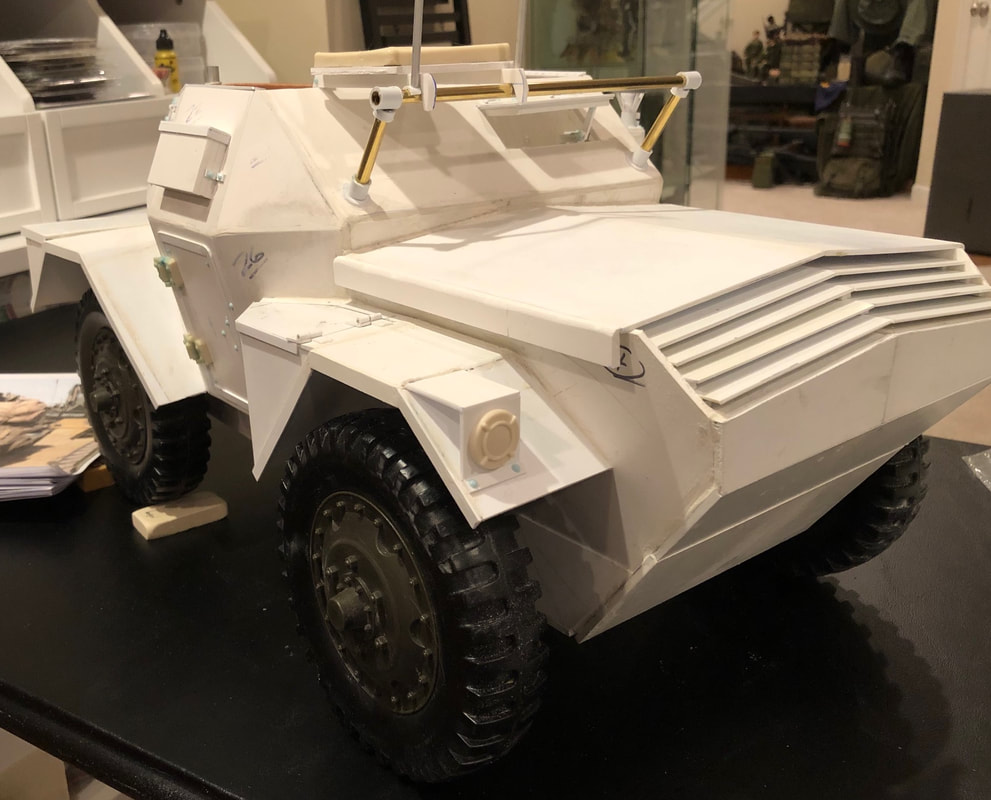
Additional detail on the front of the vehicle, including additional rivets, stowage box hinges and that whole front bumper thing down below.
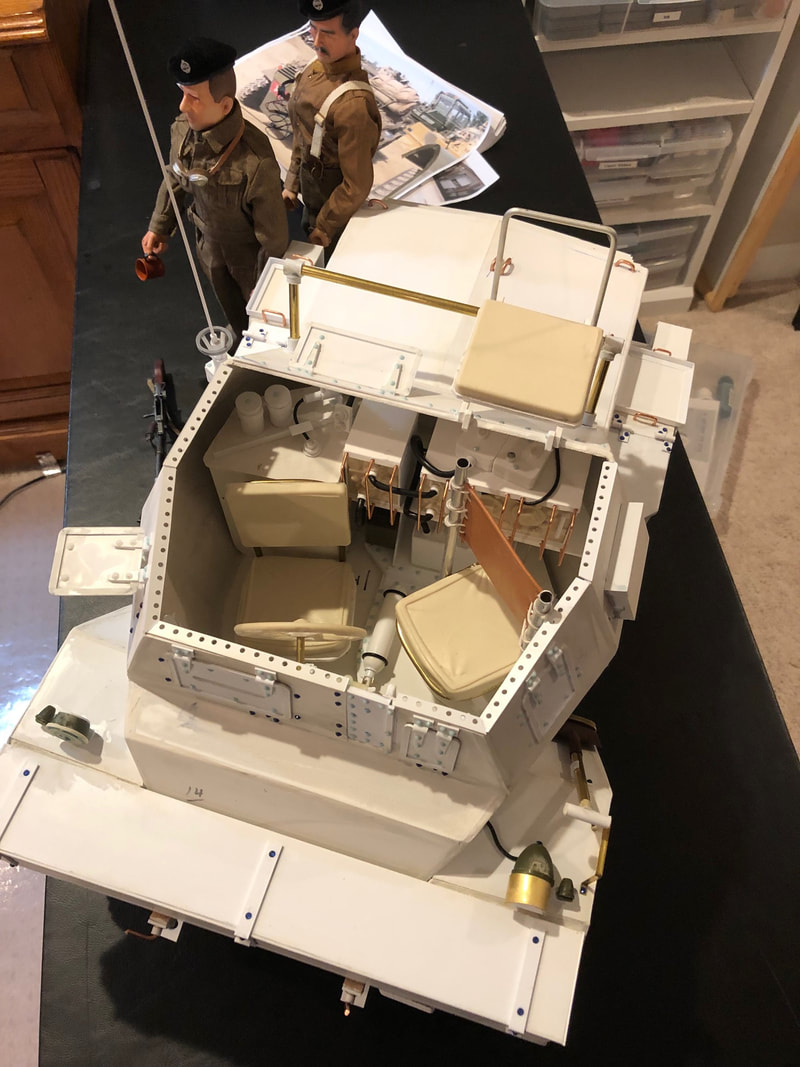
Here my crew is getting a first look at their new ride, which is only lacking a few final details, paint and some more correct wheels. We're getting there.
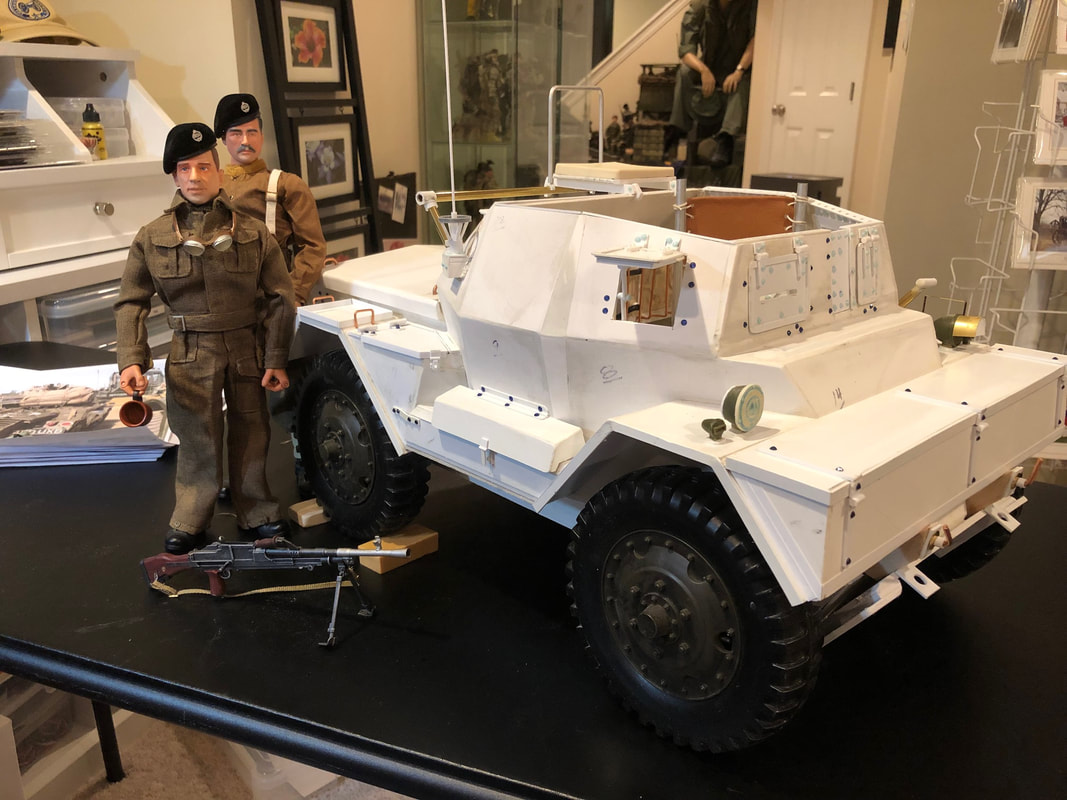
The space for the driver is pretty tight and a traditional Dragon figure is a bit large and not nearly flexible enough to fit. The figure in front is my driver. He started life as a 11" Super Articulated GI Joe. I cut an additional 1/2" out of his thighs so make him just a little shorter. The head is from Dragon. The body is flexible enough... and short enough... to fit comfortably in the driver's space.
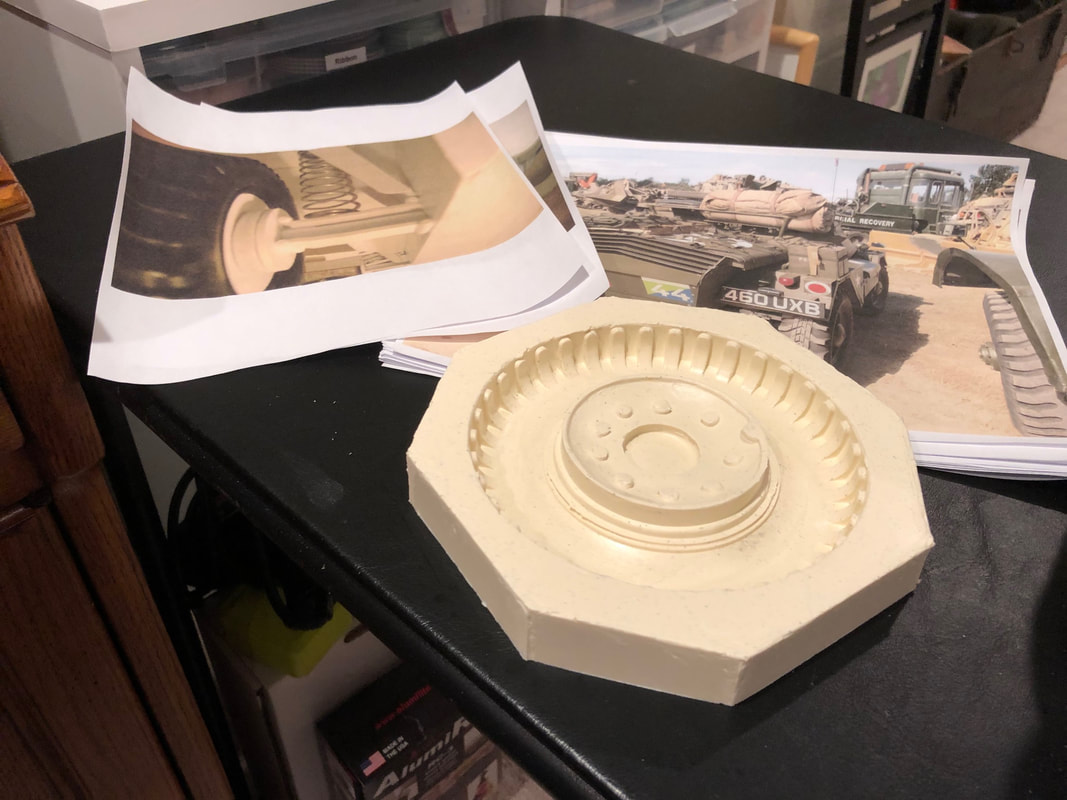
The part I've been fearing the most is the wheels. Here's the outside half of the wheel mold ready for casting. Part of what has held up this project was my reluctance to do the wheels.
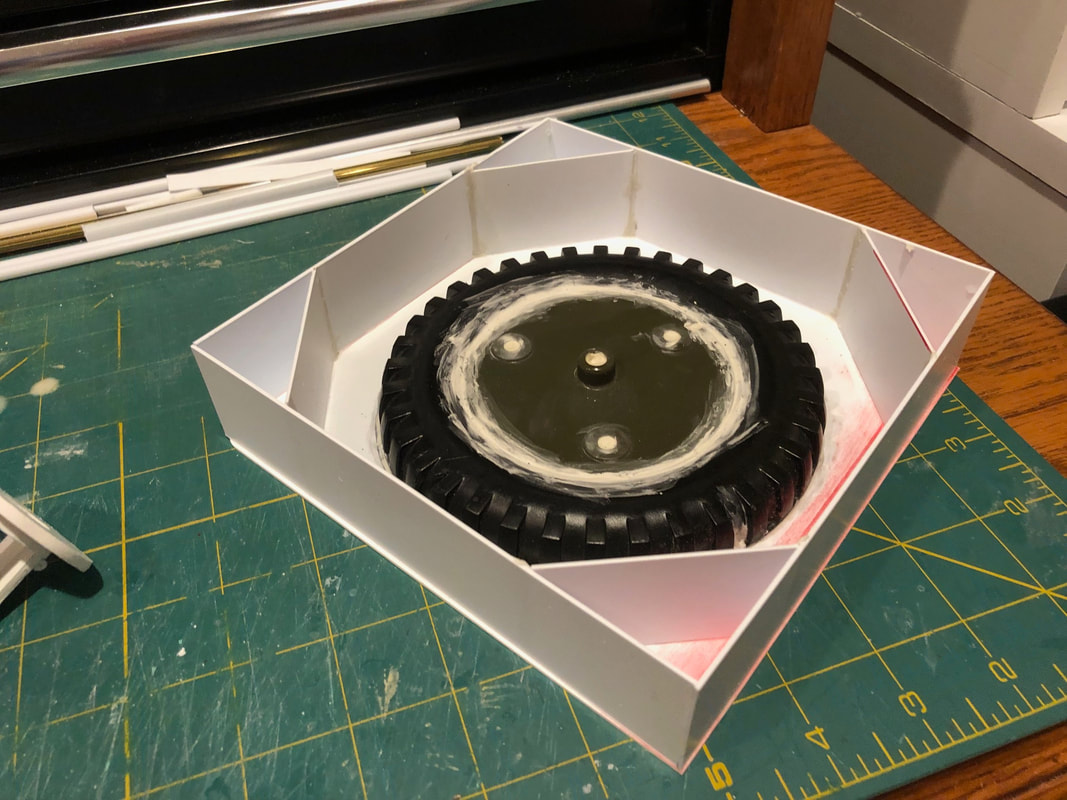
Here's the completed mold box and master for the back half of the wheel. I did this today and will pour the mold compound tomorrow. Probably will start casting the wheels this weekend.
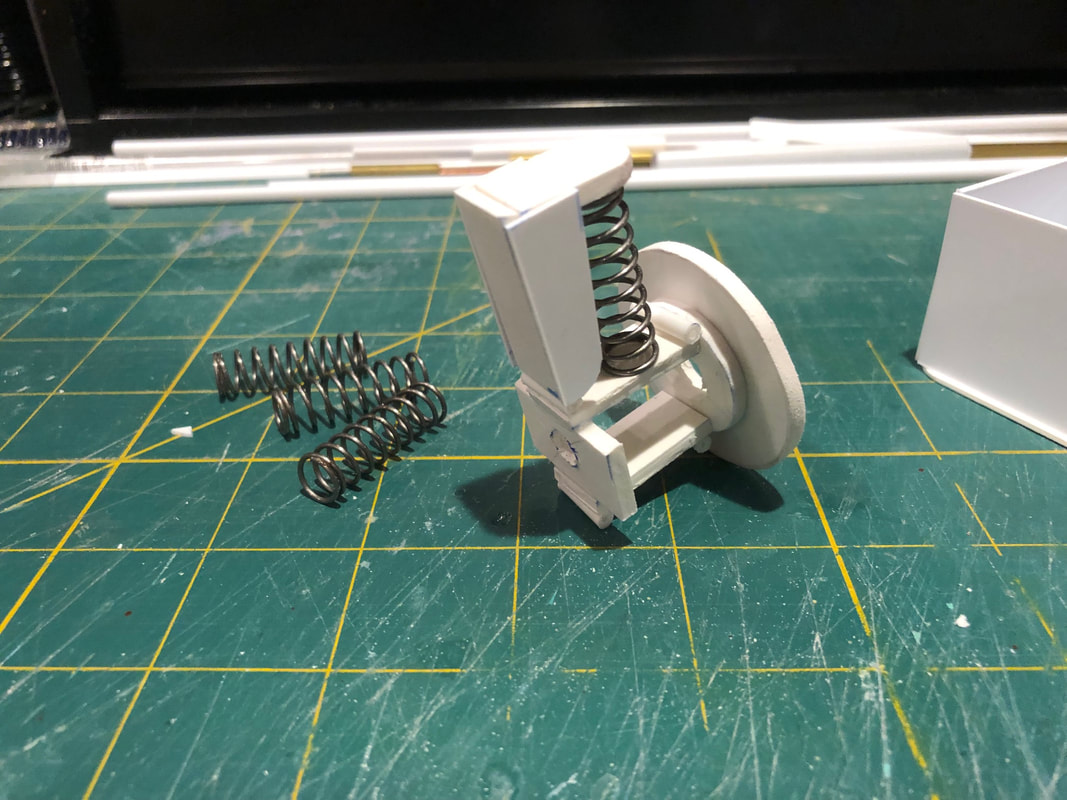
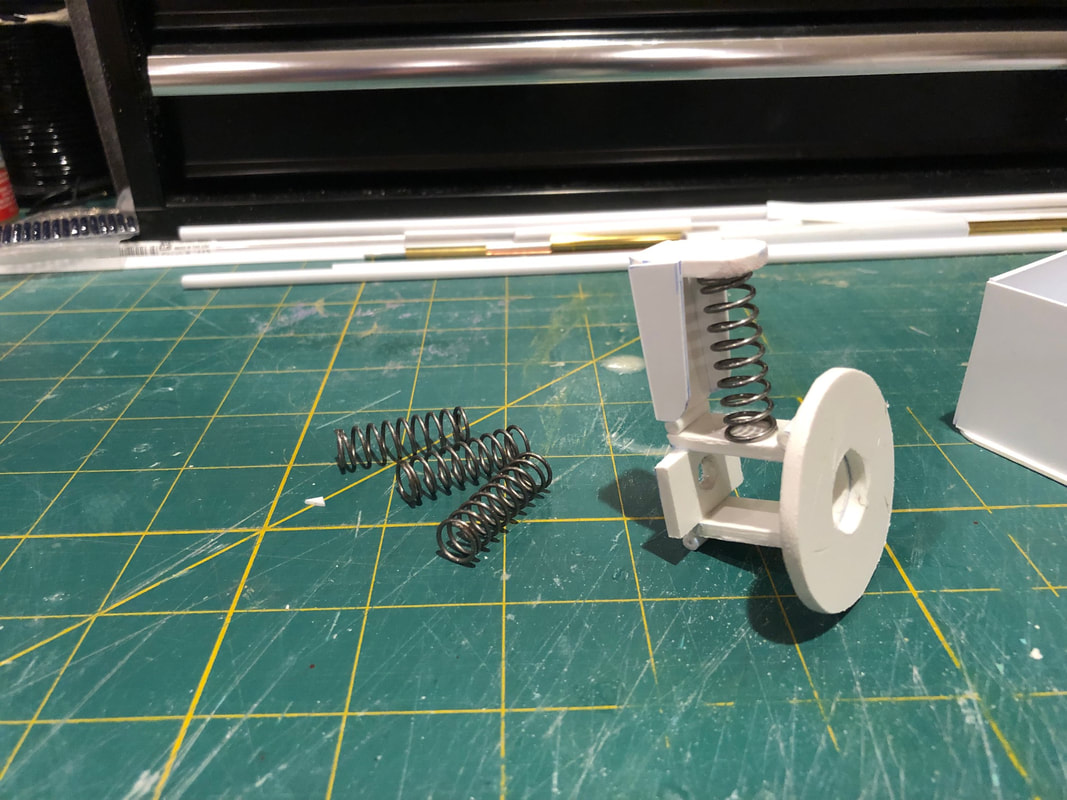
This is the piece that I came up with to go between the body of the Dingo and the new wheels. It will represent something a little more complex than just a simple rod axle, and provide some fake "suspension". Just got to make three more of them.
Well, that's all for this update. Thanks for looking - PM
