MODELING PROJECT - U.S. HALFTRACK M2A1
8/19/18 update is below - just scroll down the page
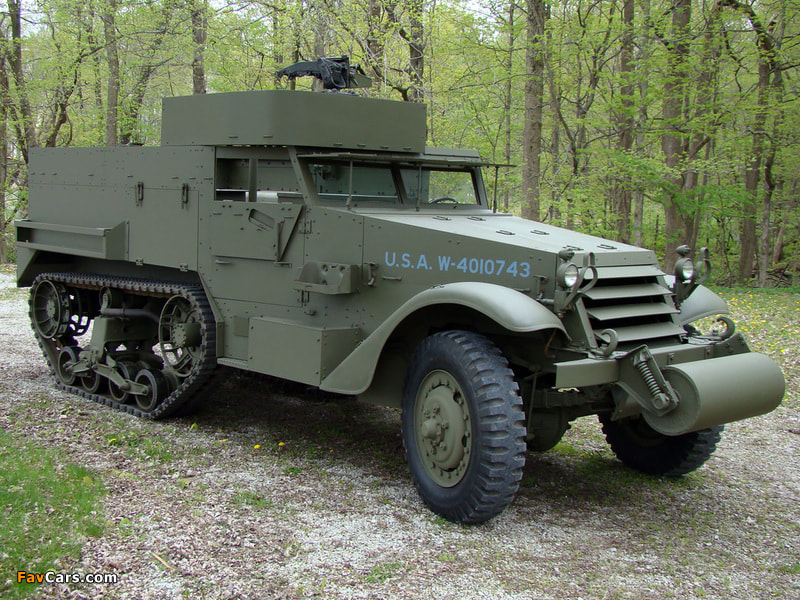
GRAY GHOST and I have launched into a new modeling project this week. We are using the 21st Century White Scout Car and the Hasbro Halftrack to create our own "SCALE" M2A1 Halftracks. When finished, we are hoping that they will look a lot like this baby below.
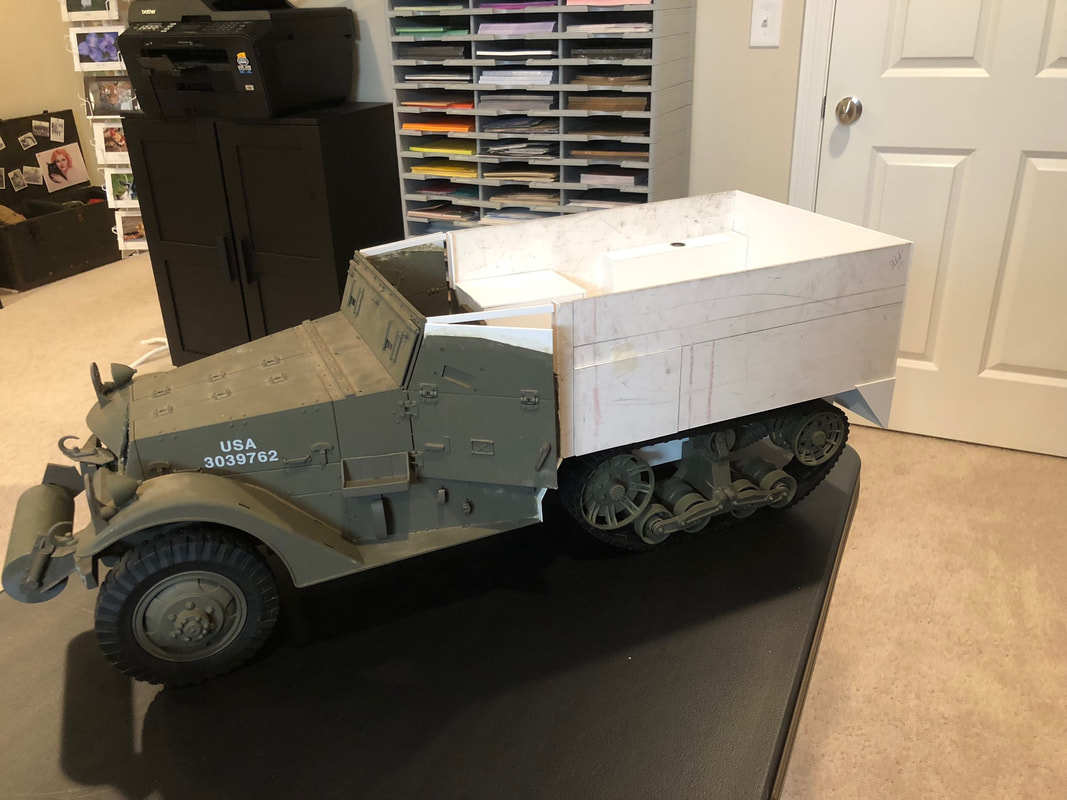
It's been done before, but this is a first for us. We are using the front from the White Scout Car. The running gear from the Hasbro HT and a whole lot of styrene for the rest. I do not know if the 21st Century Scout Car is scale or not, but we wanted a scale halftrack to go with our scout cars. The M2/M2A1 halftrack from White was approximately a foot longer than their scout car. So we have scaled it out the best we could and created a White halftrack using the components listed above. Knowing that the running gear was a little under scale, we did a little creative fudging here and there and this is what we came up with.
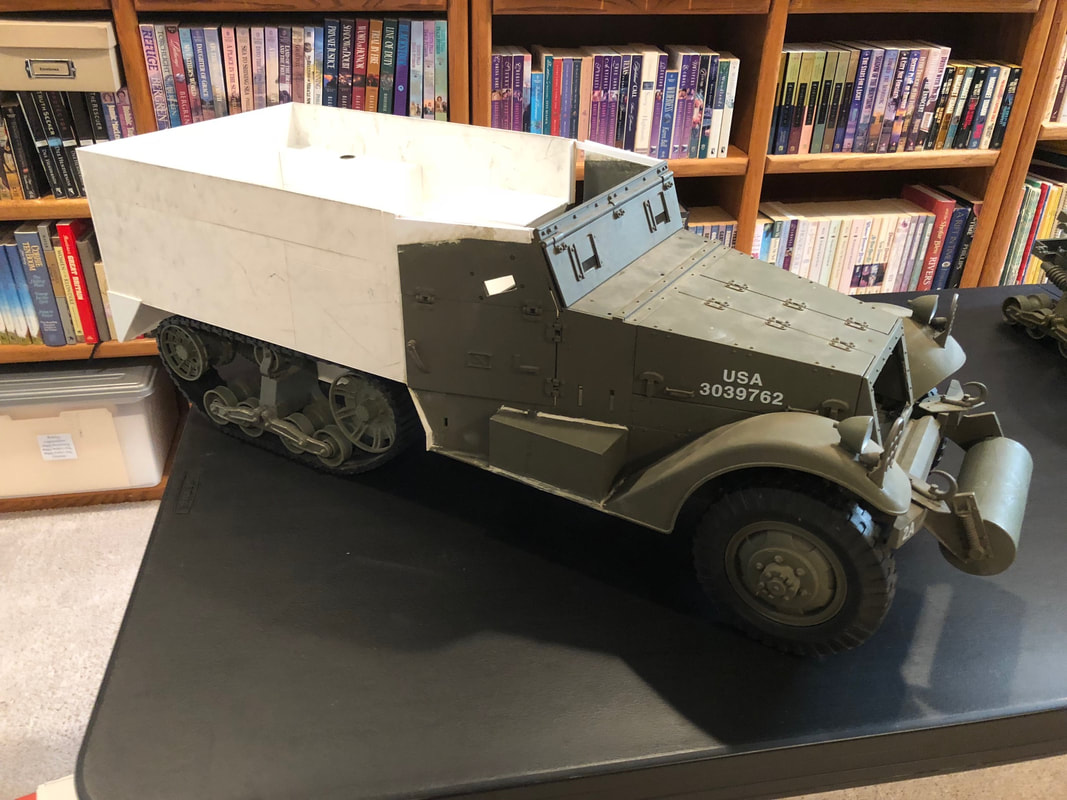
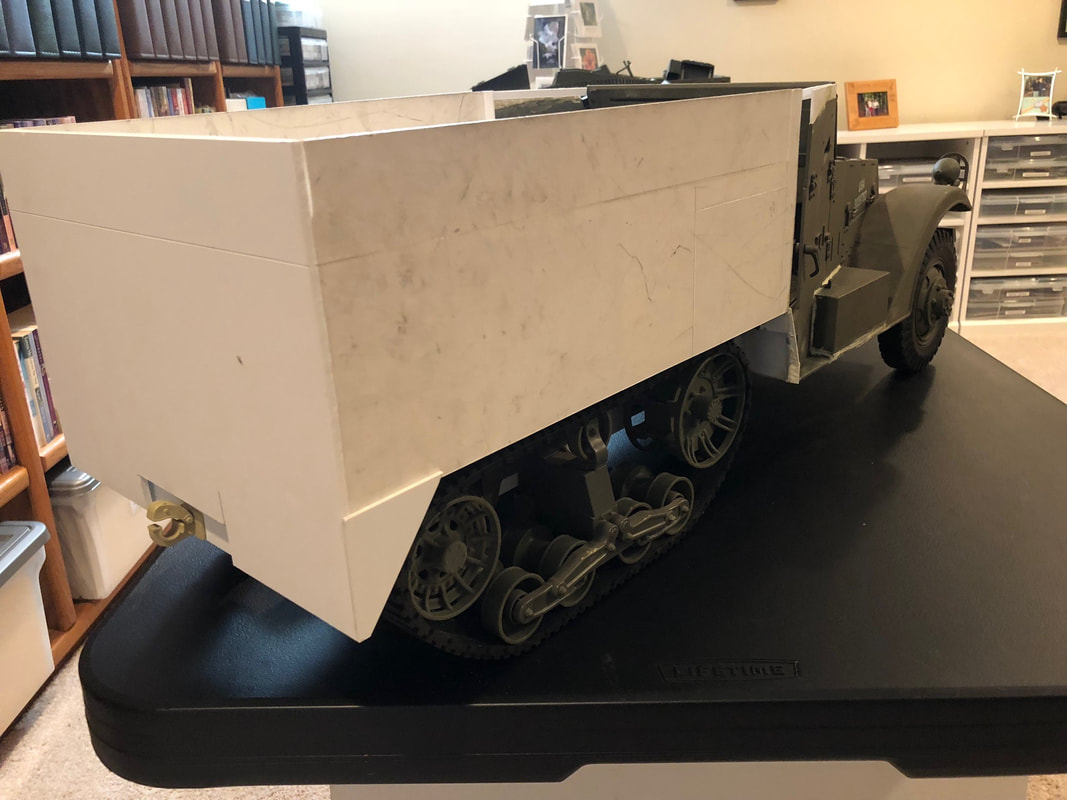
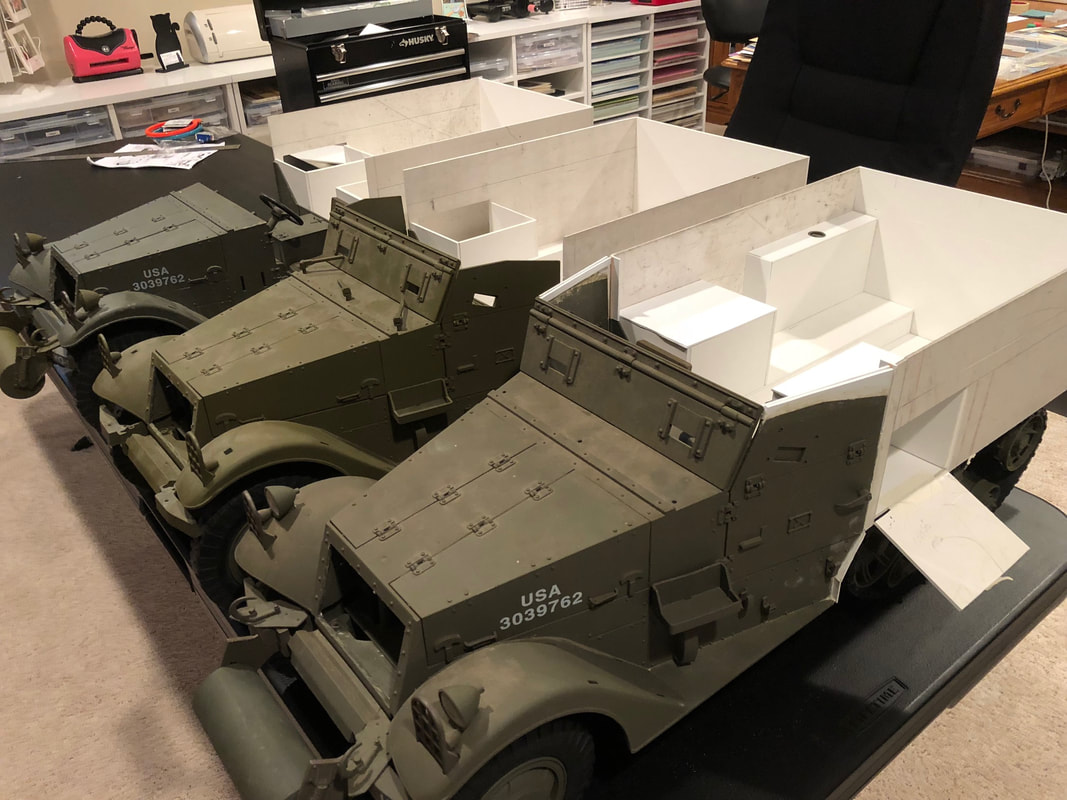
This is the basic build, ready for a little sanding and then detailing. This is the first of three that we are going to build. It took us three fairly full days to get to this point, but we had a lot to work out. The next two should go a little faster now that we have one under our belts.
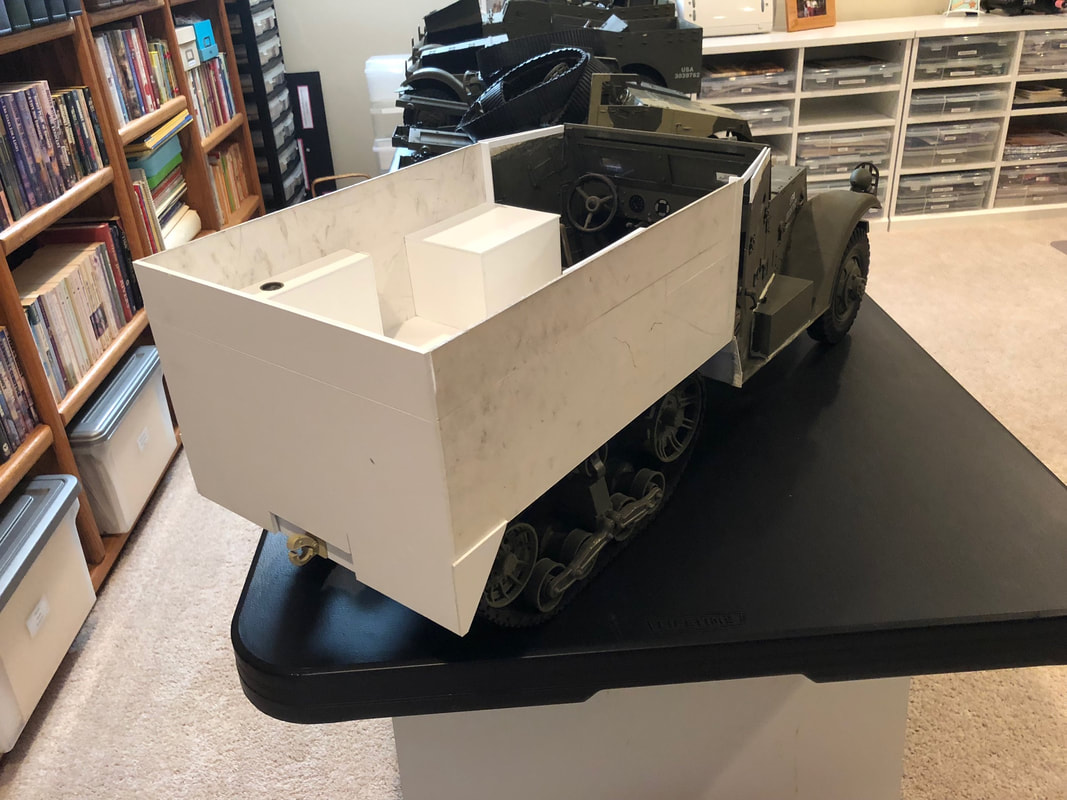
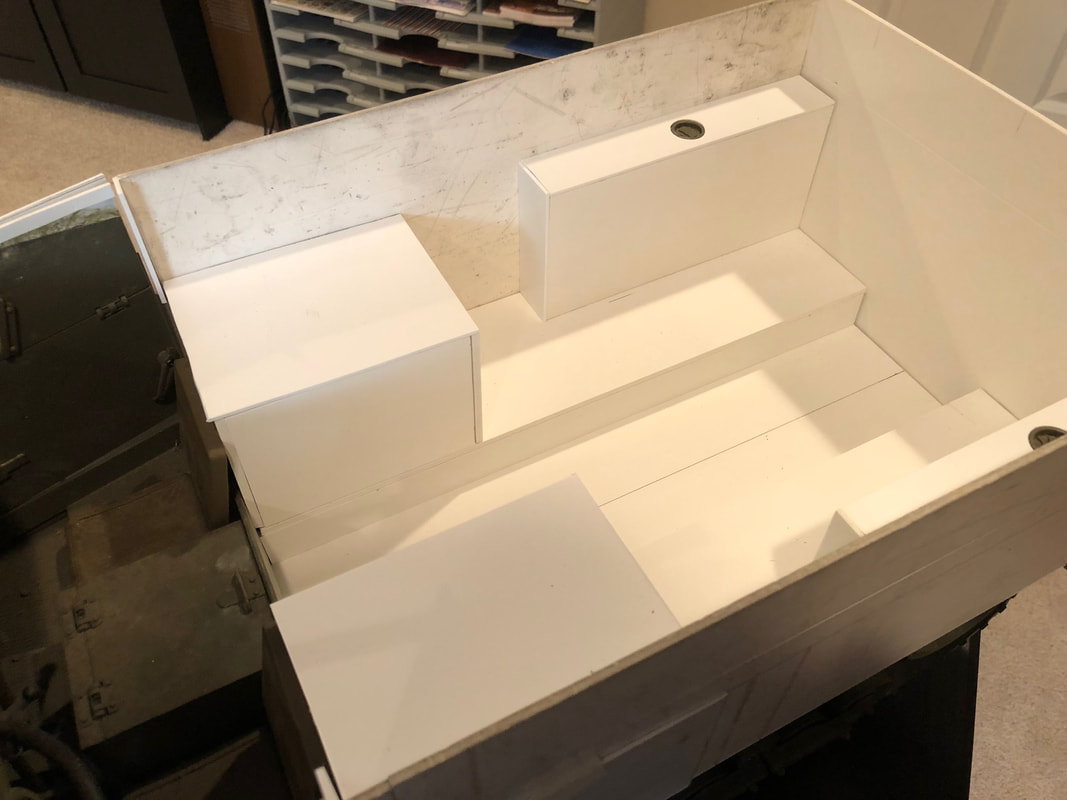
I am a lazy creature, only one of the two outside access storage boxes will be functional, but it will have shelves like the original and Gray Ghost and I will be able to load them up with all manner of details.
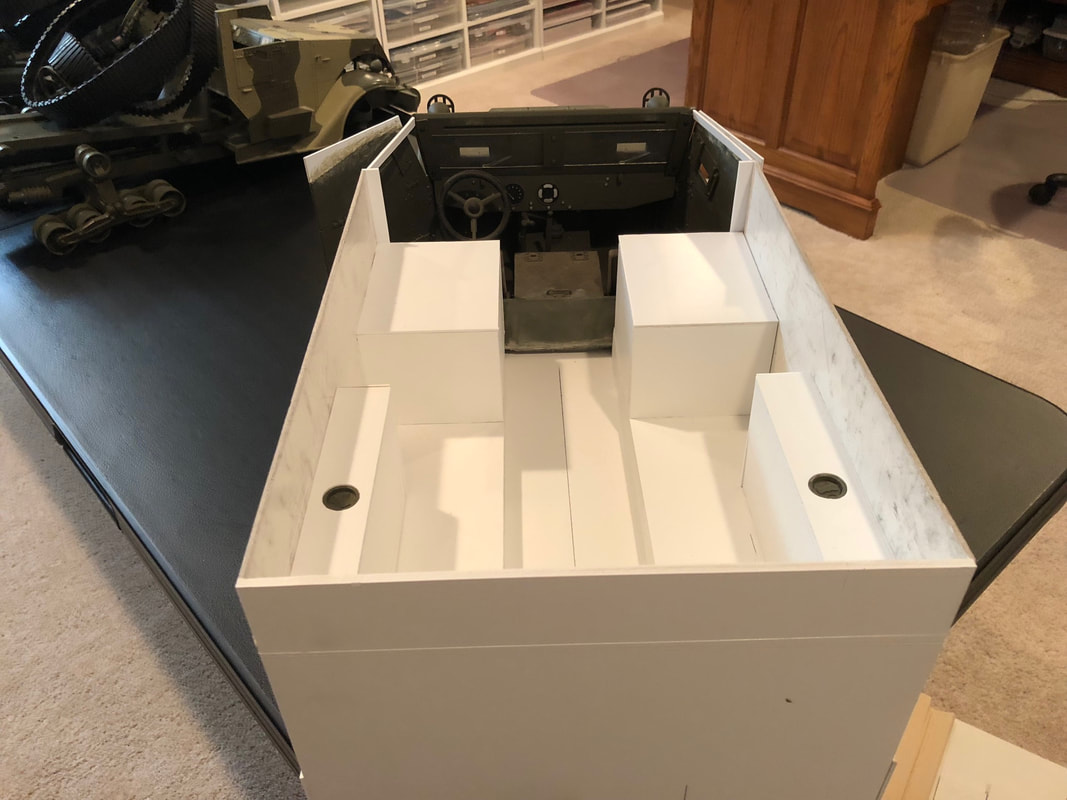
This inside space was kind of the key test of this experiment for me. There had to be enough room for seating of eight soldiers and based on my measurements of the seat cushions we are going to make, it is going to work out correctly. I am pretty jazzed about that.
Here are a couple more views of the back of the vehicle. Gray Ghost took a comparison picture of our M2A1 next to a Hasbro HT (Before we tore it to shreds) and we were totally blown away be the difference in size. I wish I had that picture to show here. Our M2 looks huge compared to the Hasbro HT.
|
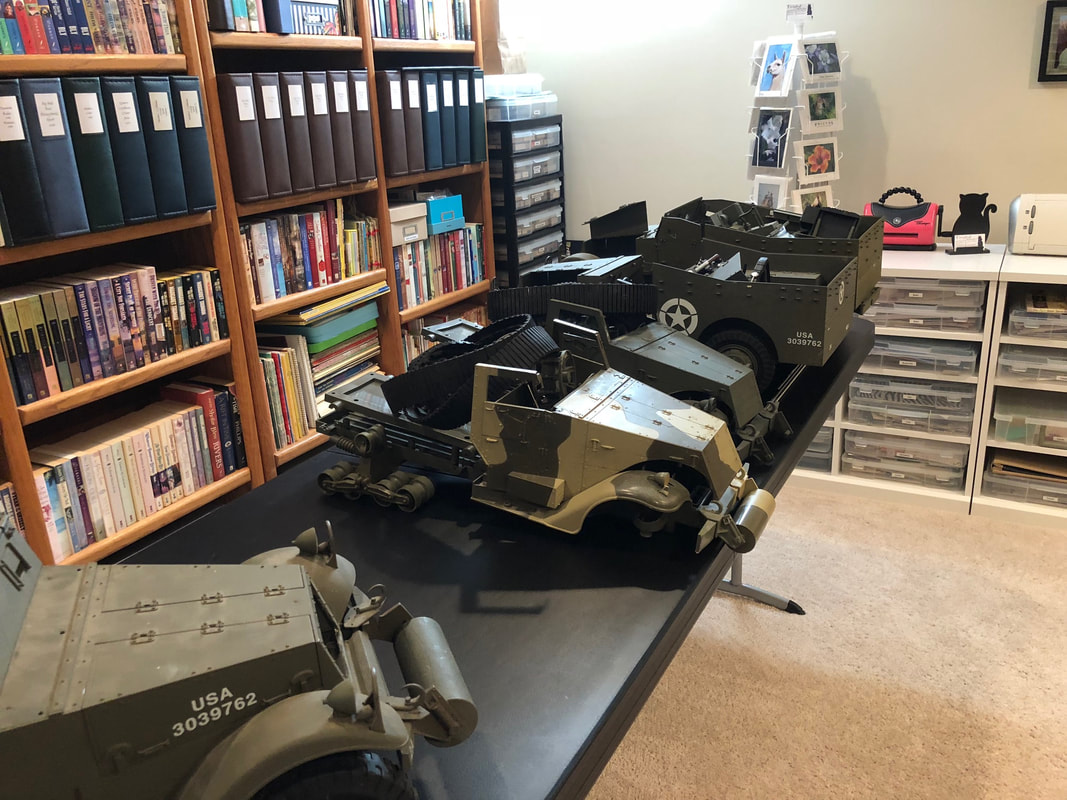
This is what it will look like when it is completed. You can see in the drawings the seating arrangement for the back of the vehicle and compare it to our photo above. The drawing shows a smaller storage compartment on the passenger side with the passenger seat moved back. In practice that did not always seem to be the case and we made both storage boxes the same size. Below, you can see the other scout cars and halftracks piled up for their conversion to "scale". As we get more done, I will update this page. - PM
|
|
UPDATE - 8/19/18
Thought it might be nice to update on the
Half-track project. A lot of time has been put
into it since the last posting.
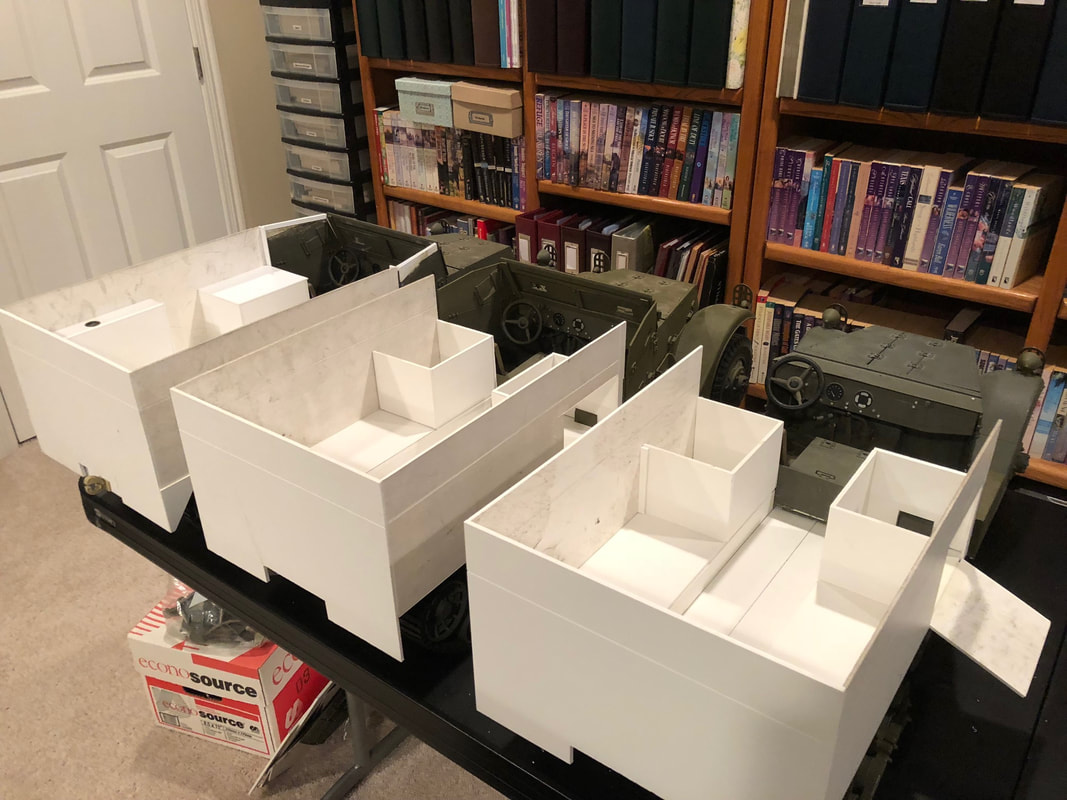
In this first photo you can see the other two vehicles have been spliced together and the back deck has been added.
Half-track project. A lot of time has been put
into it since the last posting.
In this first photo you can see the other two vehicles have been spliced together and the back deck has been added.
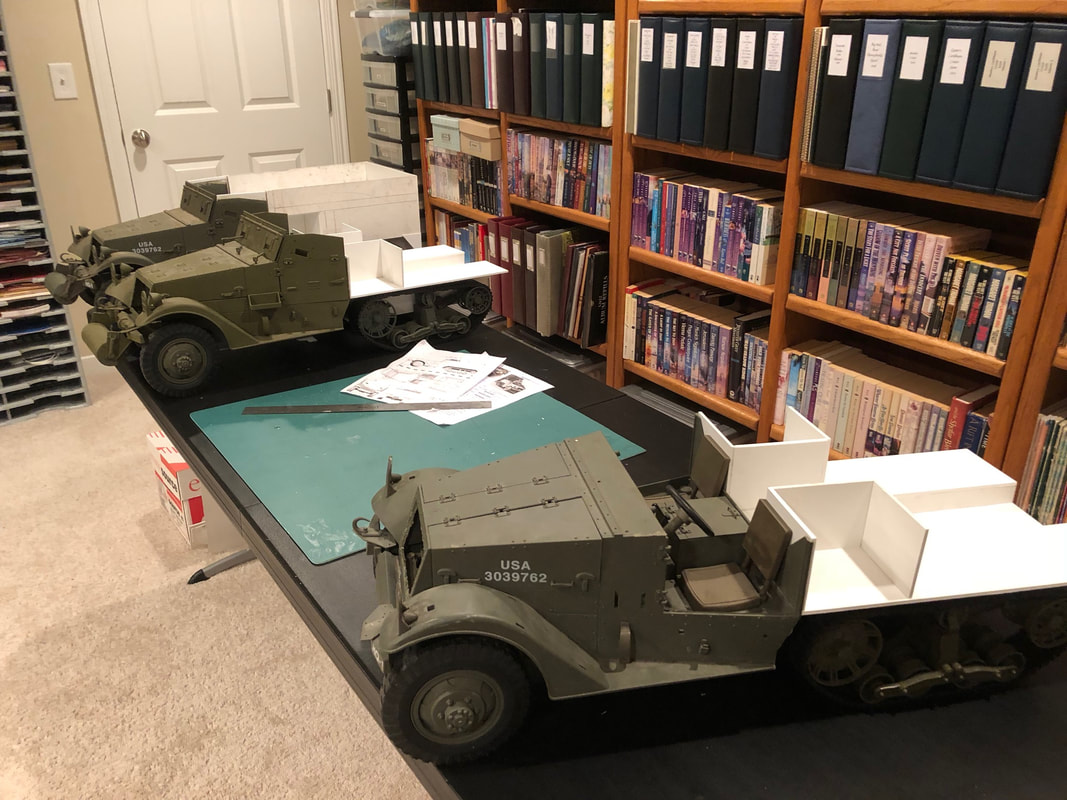
Photo two shows all three half-tracks with the back walls added and the grills have all been cut out. I would like to say that the hardest part of the project has been completed at this point, but I am not really sure that it is true. Each new step seems to provide challenges.
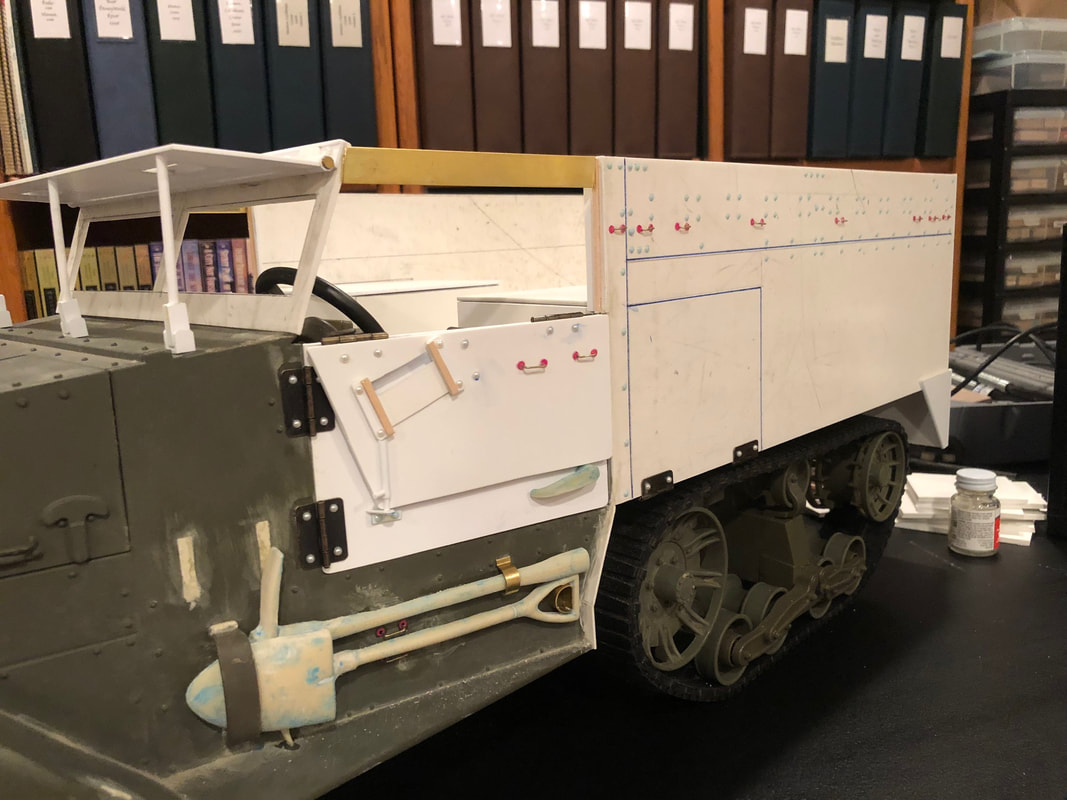
Here we are from the back. You can see that fuel tanks have only been added to the vehicle on the left and the tops of the storage boxes have only been added on that vehicle as well. I think in getting to this point, it was the first vehicle that provided the most challenge. Once we had a road map, it became a little easier on the next two.
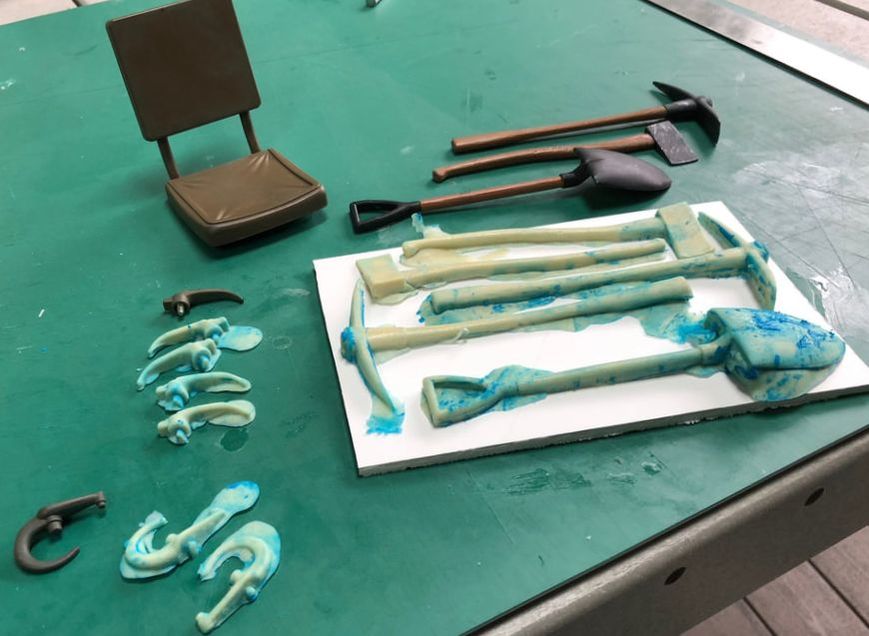
It was going to be necessary to cast some parts. One of the half-tracks only had one hook for the front bumper, had to make another one. Door handles were needed for the HT missing doors. We only had once complete set of tools, tools had to be cast as well. All of these parts were cast using clay as a temporary mold. Seats would be needed for the back compartments of the half-tracks, so we used a driver's seat to make a seat cushion and back and then created a mold for making all the seats we would need.
Two halftracks had no support pieces for the windshield screen. These had to be made by hand from styrene.
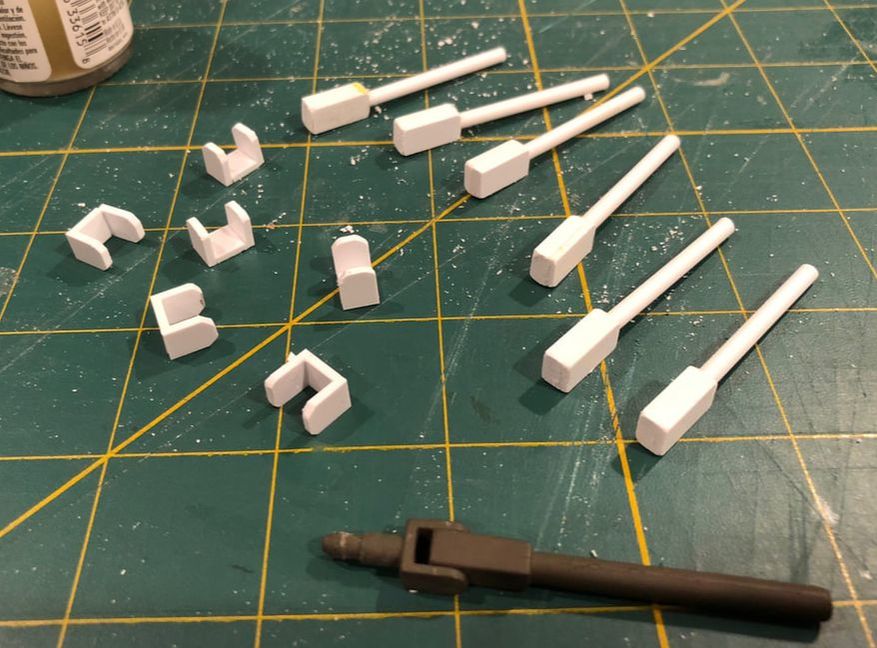
This is the half-track that was missing a windshield and doors. These have been scratchbuilt from styrene, using the original pieces for measurements. You can also see those cast tools and door handle in
this photo.
this photo.
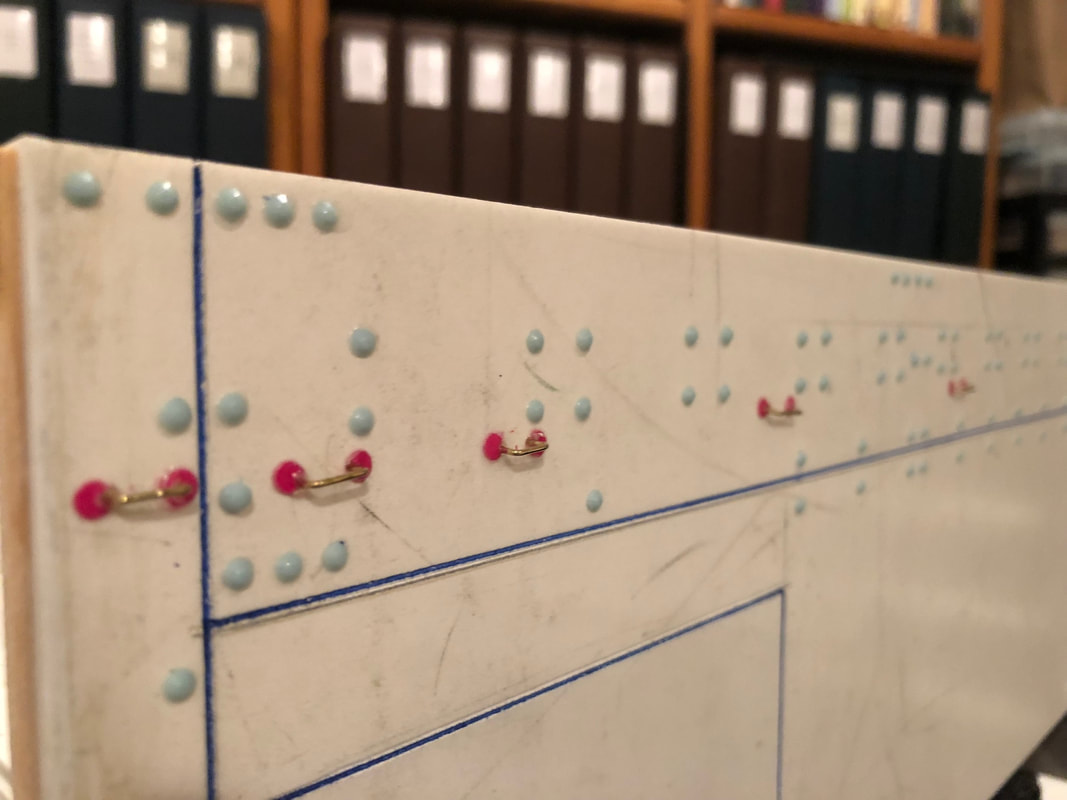
Here is a closeup of the "rivet" detail and "tie downs" on one of the back section walls. We use small "Jewels" found in the scrapbook section of the local craft store to make our rivets. They are easy to install, about the right size and look pretty good once painted.
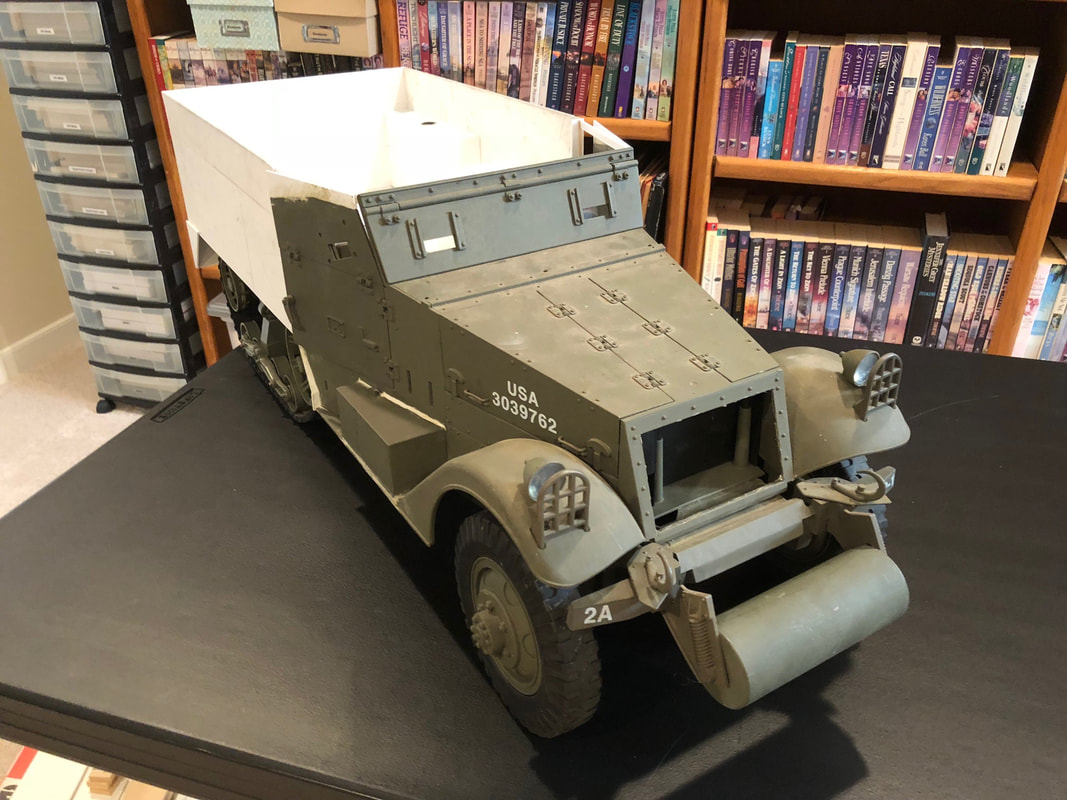
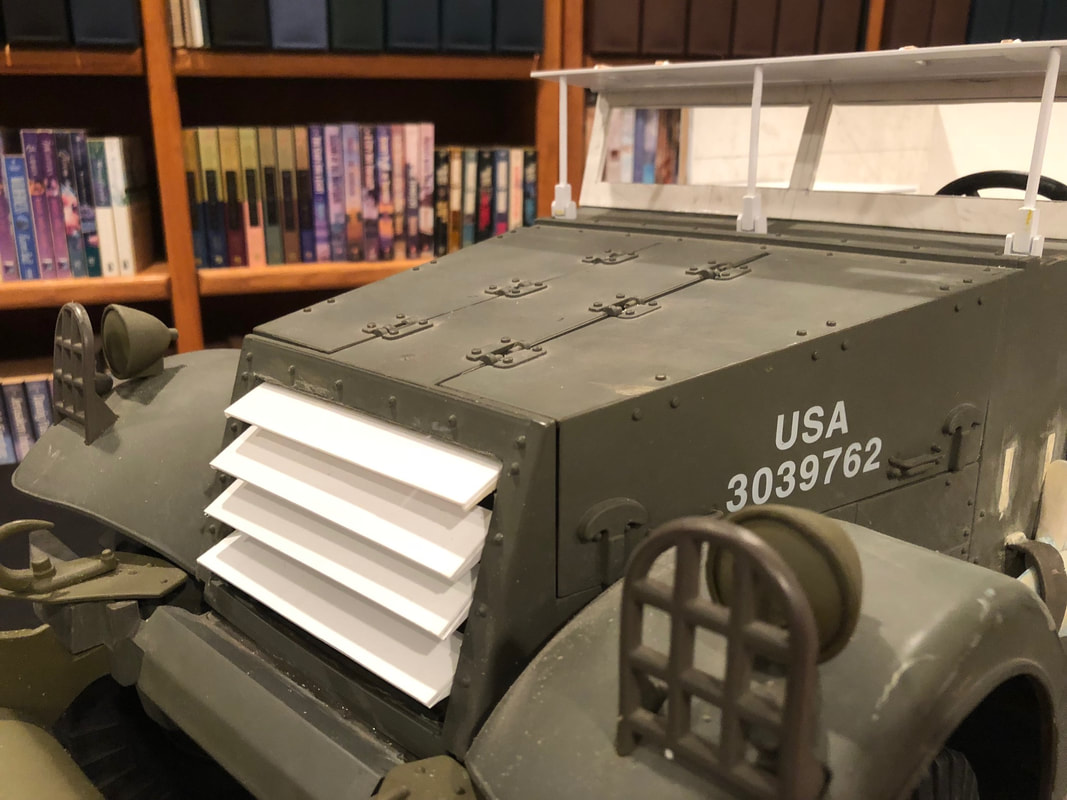
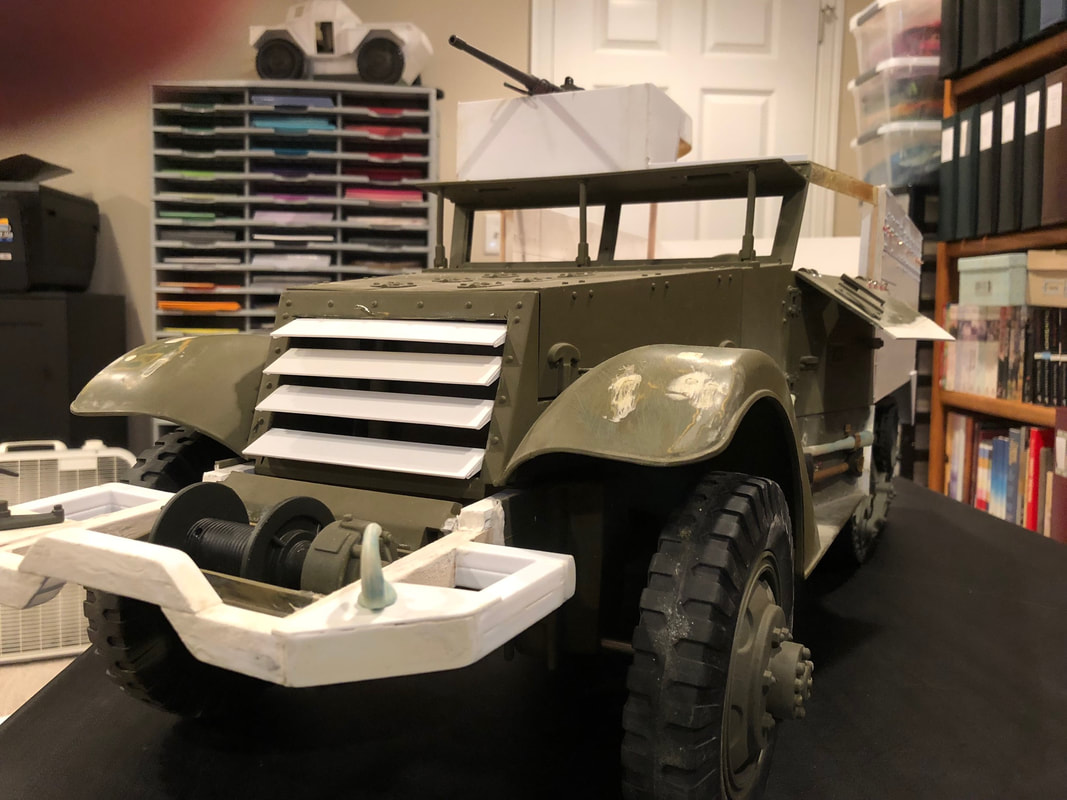
Here is a shot of the front grill with styrene louvers to replace the old molded grill. Having the grill open just looks so much better once the vehicle has been painted. I did this on my White Scout Car when I updated it and was very pleased with the result.
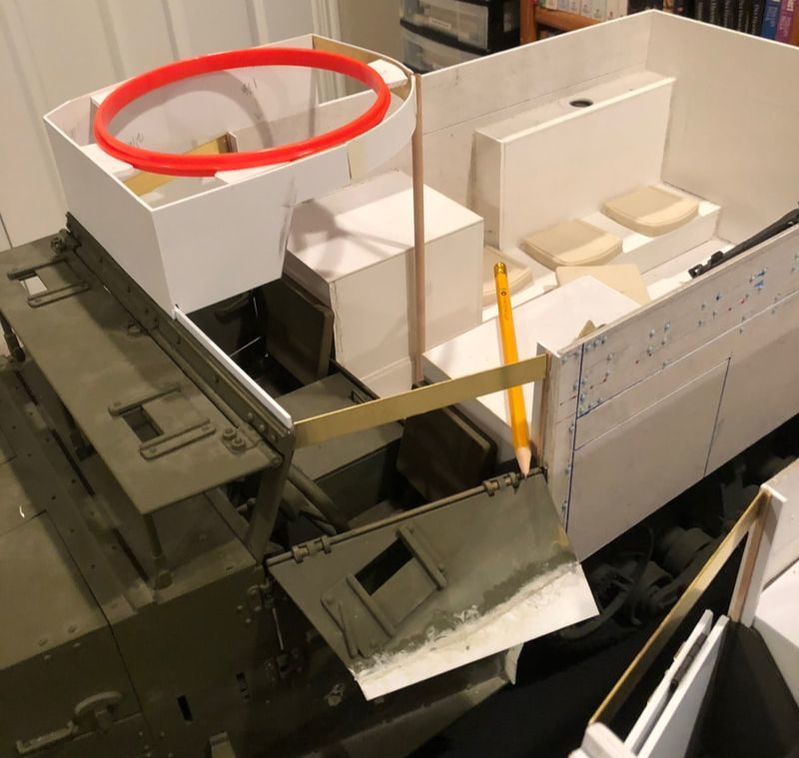
The first machine gun ring and splinter shield installed. The ring is a 6" plastic inner circle of an embroidery hoop. This particular one has a ridge in the center which make for a nice detail as well as helps hold it in place on the support pieces. It is also a nice bright orange in case you hadn't noticed. We didn't have all the pieces for the bumper of this HT, so we decided to create the later version bumper with the wench.
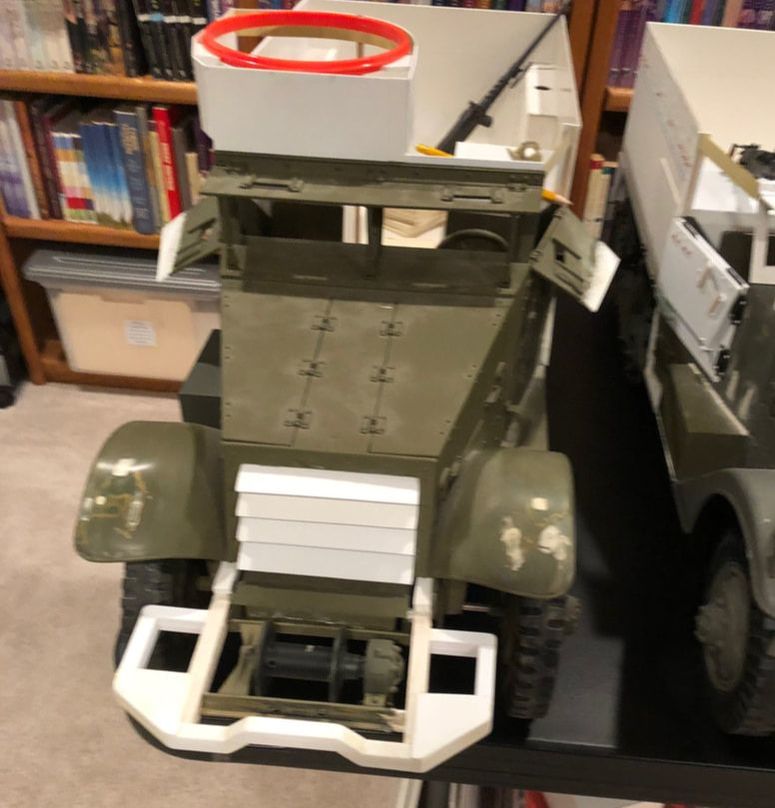
Here's that splinter shield and gun ring from another angle. You can also see some of the seat pads placed in the back of the vehicle.
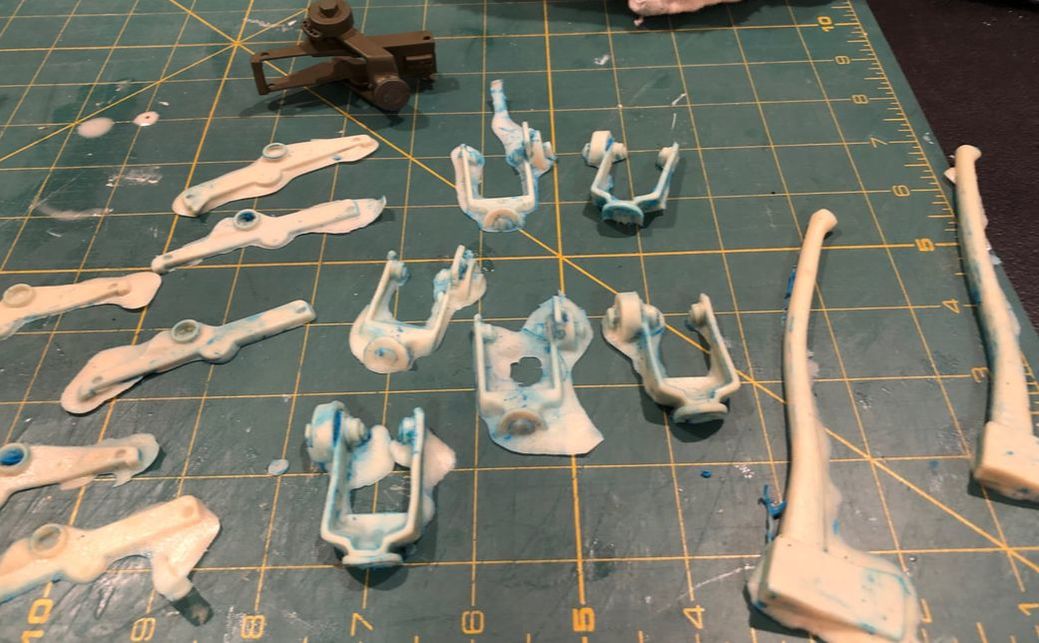
We only have one machine gun mount for three vehicles, so I decided to see if I could cast some using clay as a mold. I did a front and back for the main piece and a left and right for the smaller piece. Once they are clean up, I think I will be able to make them work pretty well.
Here's a couple of shots of our most "complete" hal-ftrack at this point in time. There is still a lot to do to it, but I am actually beginning to see some light at the end of the tunnel (hopefully not an oncoming train).
I still have to make headlights for this vehicle. On this particular version of the M2A1 they will mount on either side of the grill rather than the fenders.
I still have to make headlights for this vehicle. On this particular version of the M2A1 they will mount on either side of the grill rather than the fenders.
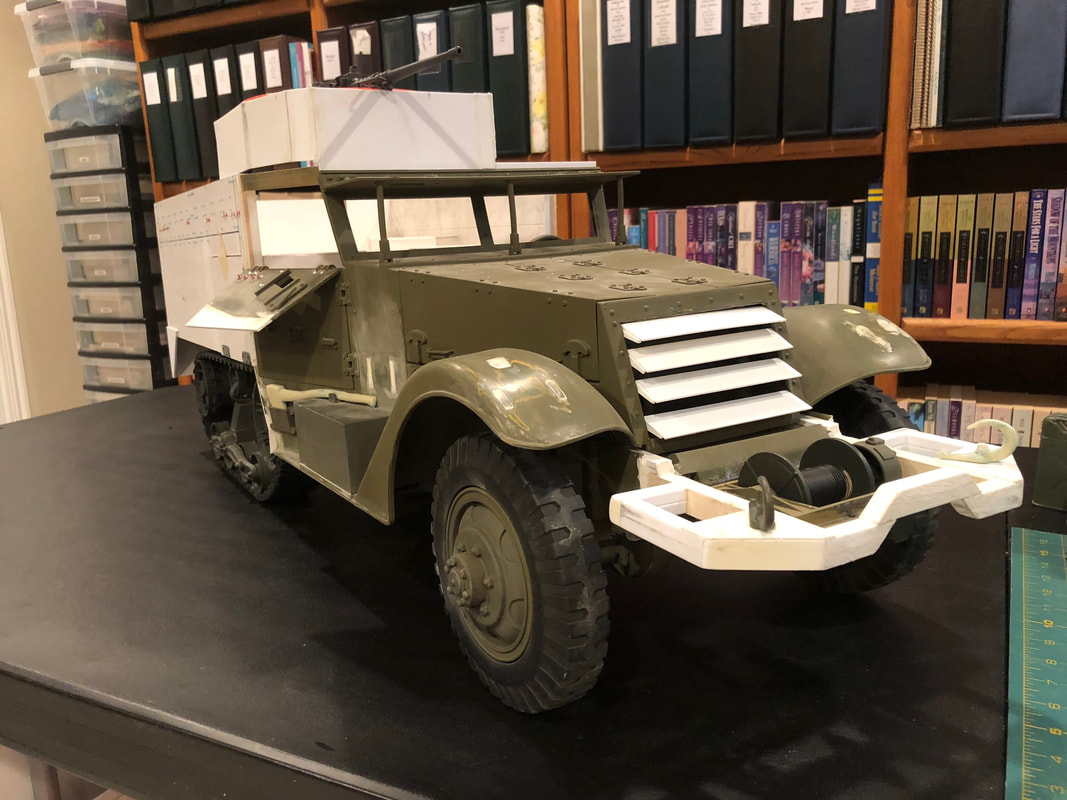
There is still some rivet detail to be added to the front and to the gun shield. The seats have to been installed in the interior and I haven't even started on the back of the vehicle yet, but it is definitely getting closer.
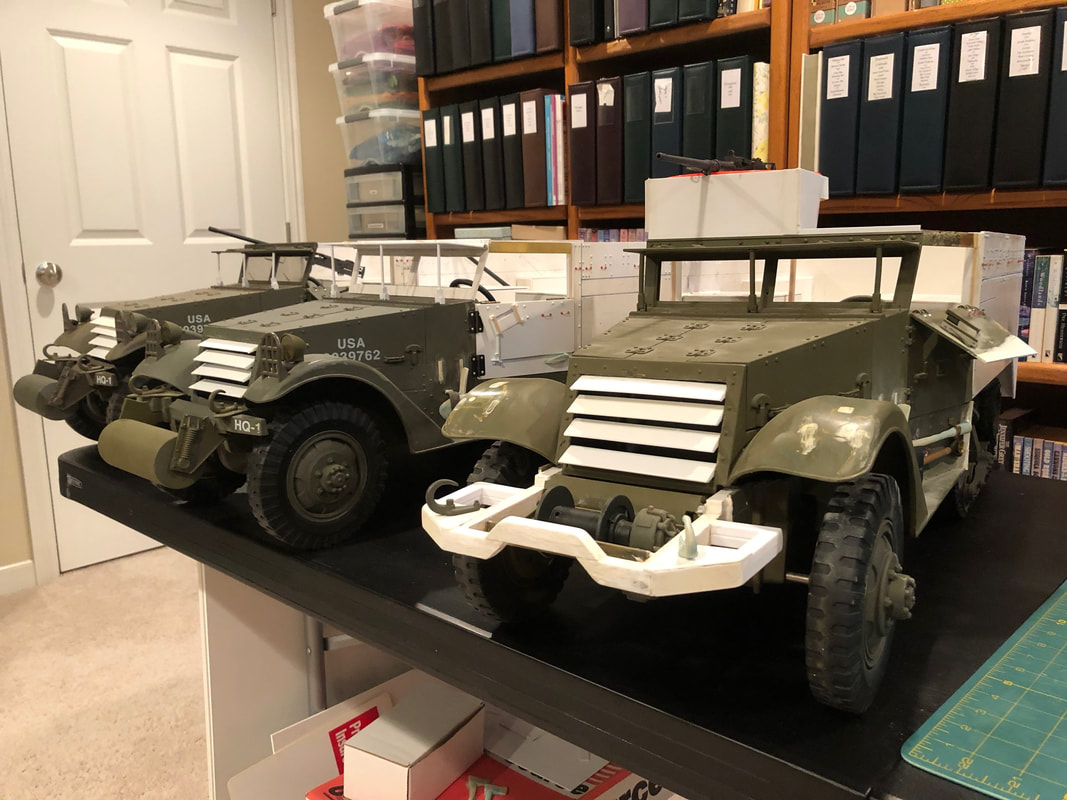
Here are all three vehicles sitting side by side. Personally, I can't wait to see them done, painted and filled with troops. It has been quite a project so far, but I think it is going to be worth it. You can't believe how much bigger these babies are than the Hasbro HT that that running gear came from.