What follows is a quick "mold-making and casting" project which allowed me to try a product I had not used before. Thought I would share my results.
| I recently bought this Atlas products kit of what I think looks like an old time warehouse (though they call it Ace Feed and Supply). I was a little disappointed with the foundation of the building as there wasn't any detail of any sort. On the box art, they have it painted up like it is supposed to be concrete, but that just didn't do it for me. I got to thinking that a stone foundation would look pretty cool. | 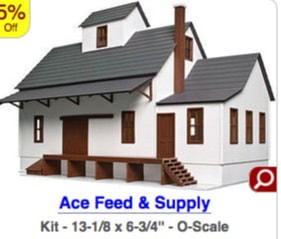 |

| I really didn't want to invest in the Alumilite mold making kit that I usually use because I didn't intend for this to be that kind of project. Interestingly enough, at the last SSCC meeting, Hammer Six told me about this product - Alumilite Mold Putty. The Mold Putty is intended for small jobs that you want to do in a hurry. It is a two part "goo" that you mix together in equal portions and press your master into. My experience was that it requires you to mix the two parts together very fast and press your master into it before it begins to harden. You only have like a minute and a half to accomplish this, thus the need to see the project small. |  |
However, I was extremely pleased with the result. In about fifteen minutes I had a useable, flexible mold that I could pour Alumilte resin into and after 30 plus pours my mold is still in good shape.
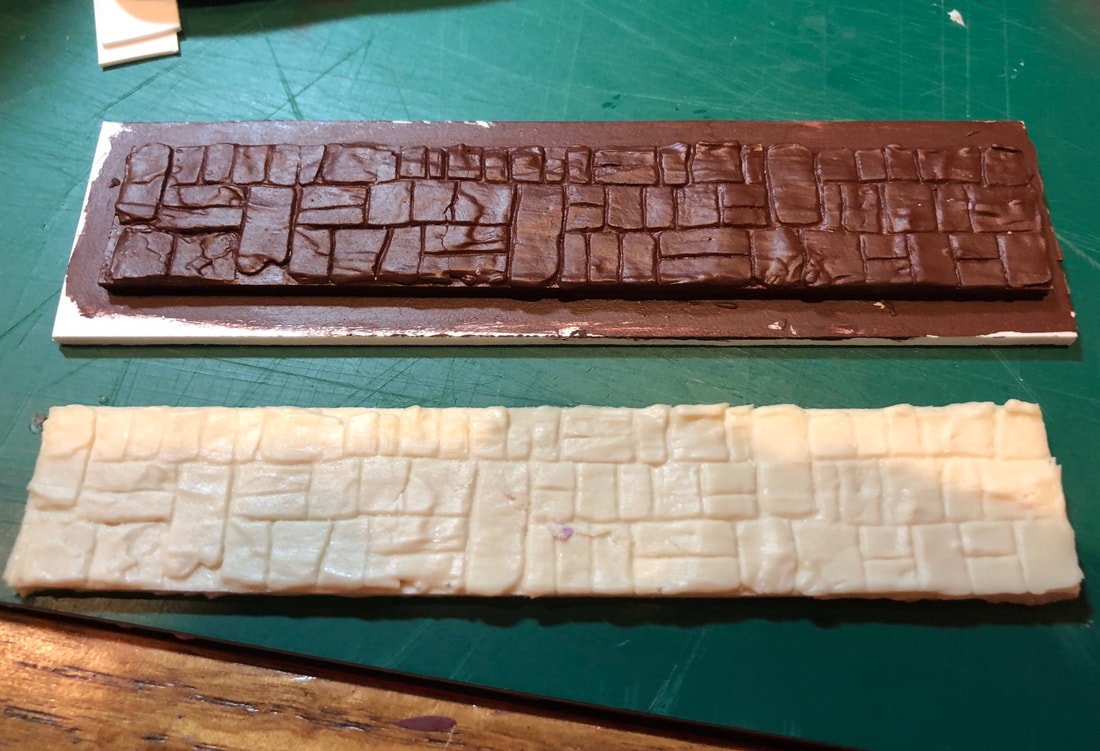
Below are my original master and a cast copy.
Oh, one other thing about MOLD PUTTY - $30 is kind of steep, buy it at Hobby Lobby, use the weekly coupon on their app and get your price down to about $19.
Below are my original master and a cast copy.
Oh, one other thing about MOLD PUTTY - $30 is kind of steep, buy it at Hobby Lobby, use the weekly coupon on their app and get your price down to about $19.
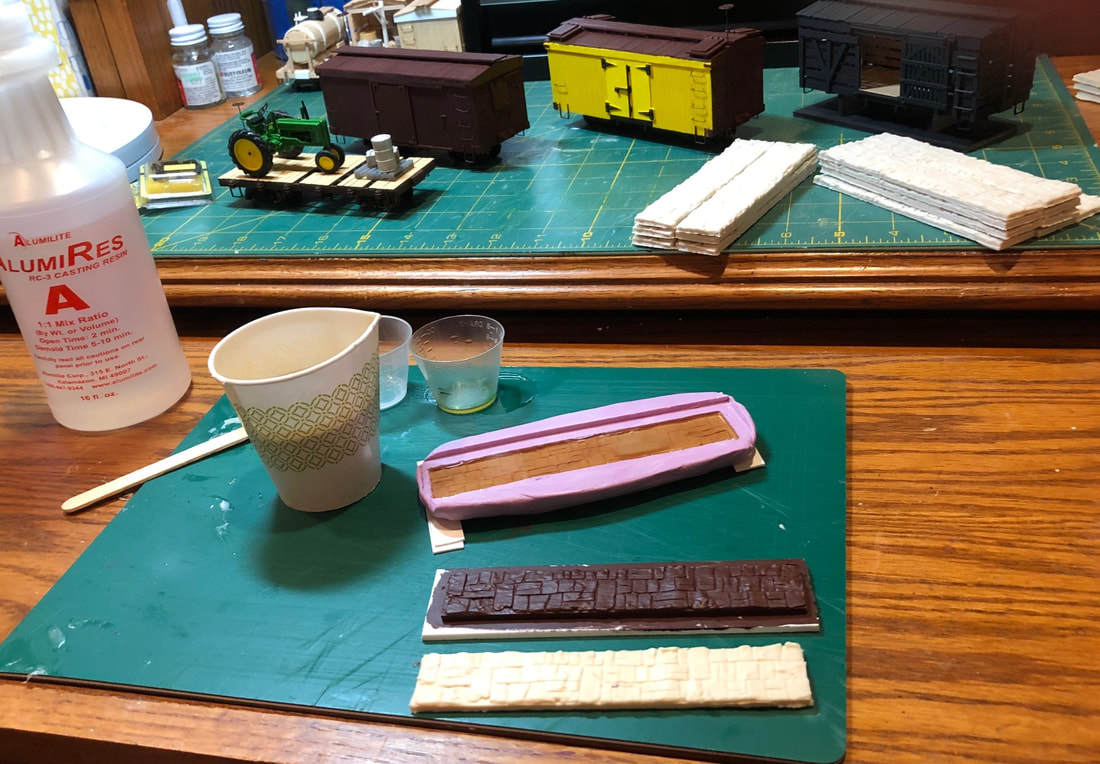
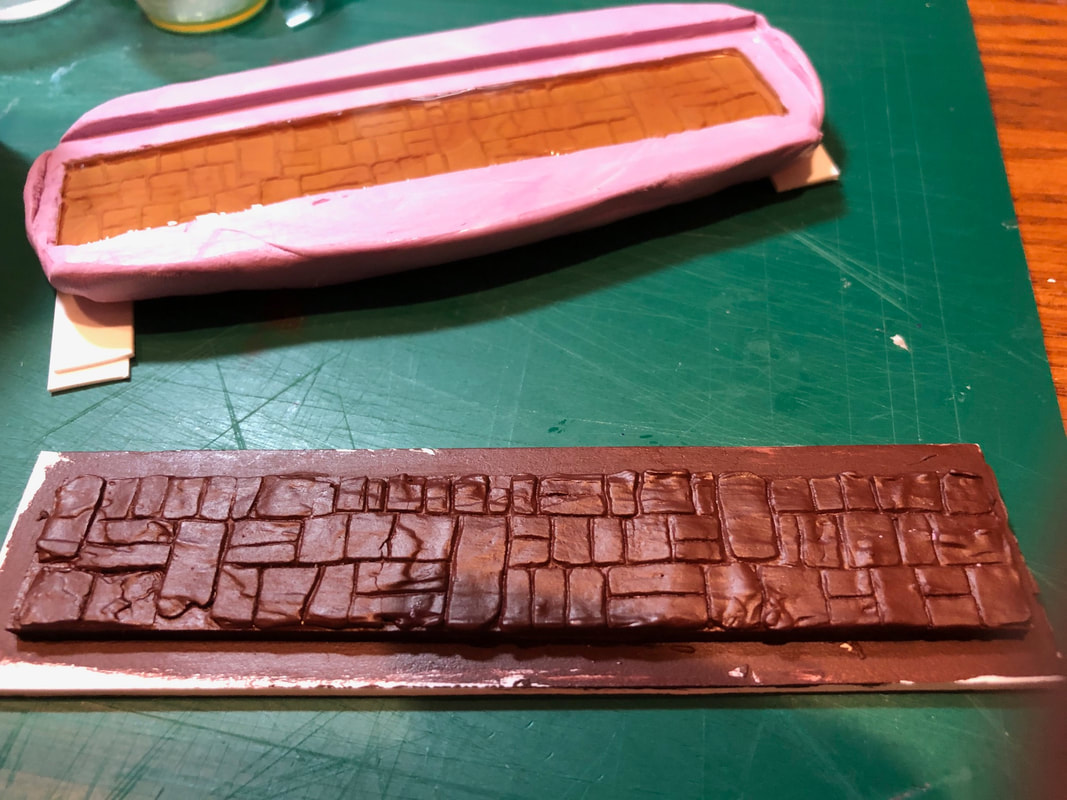
Below is my 15 minute mold and the original master. I had just poured resin into the mold. It took me only a couple of hours to make those 30 plus castings.
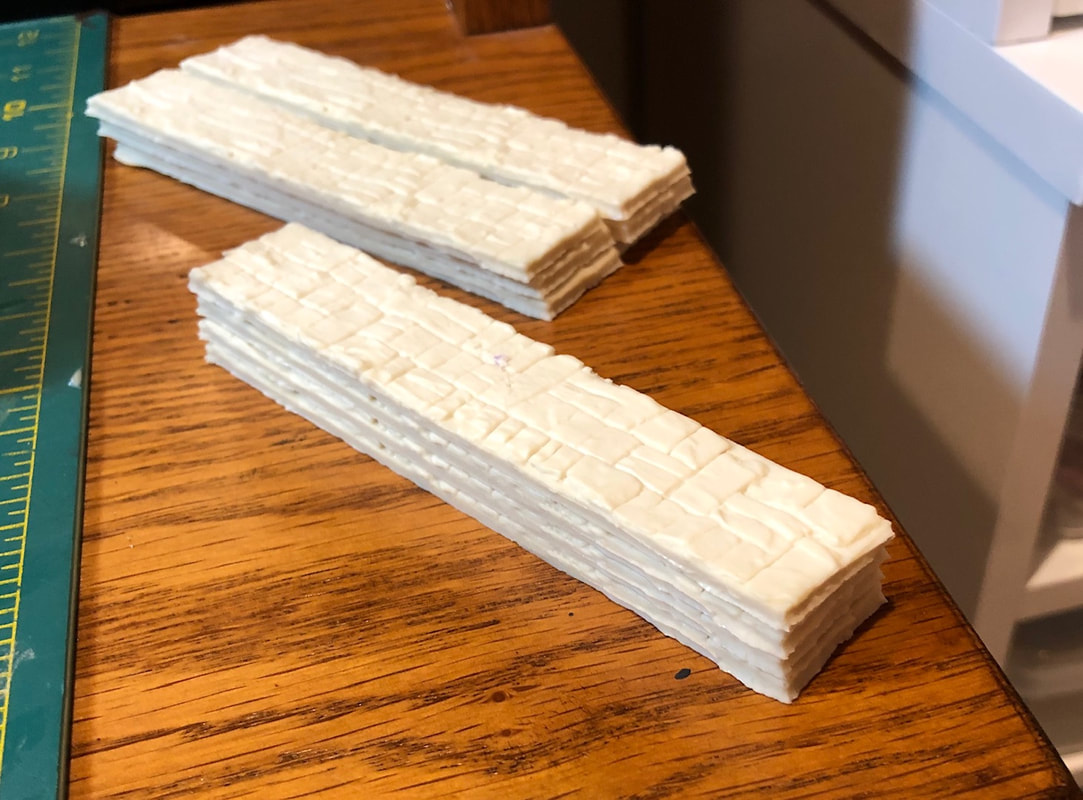
For those who care, the master was a layer of sheet plastic covered with joint compound. Once it had dried, I carved the stonework into the surface with a dental tool. Below are couple of stacks of finished wall sections.
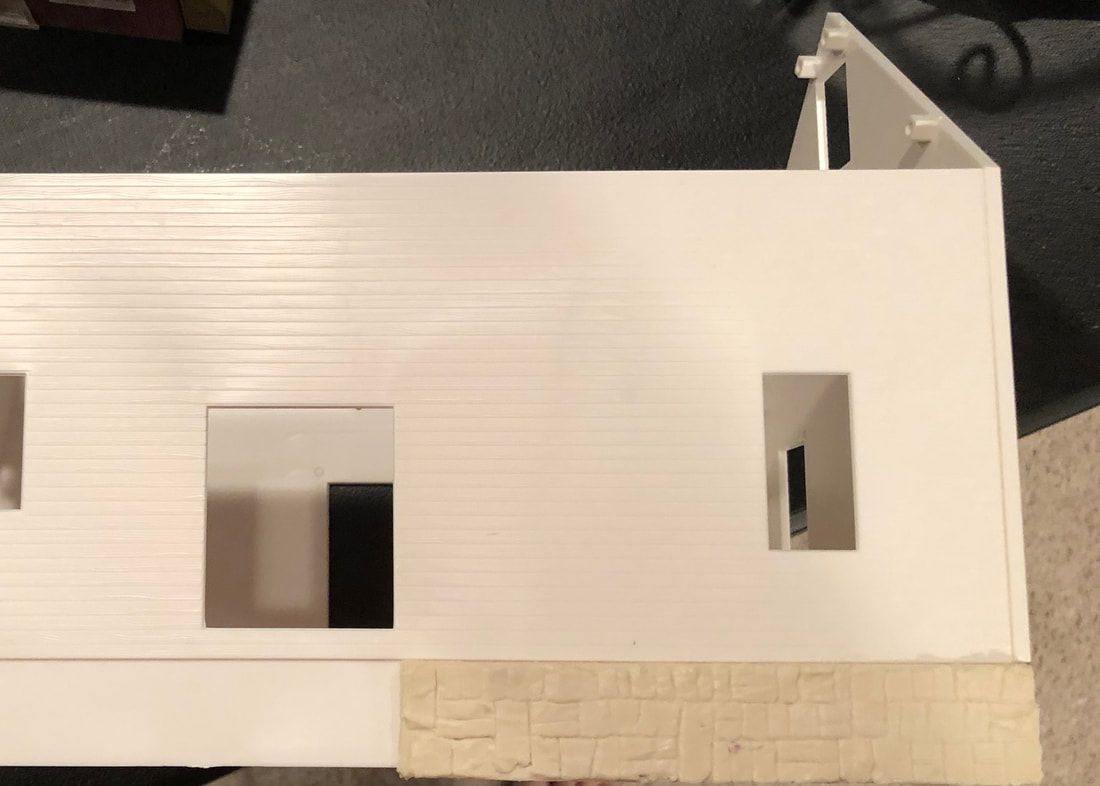
Below, I foundation section placed on the Atlas building gives you a rough idea of how it will look when completed. Certainly a lot more interesting than no detail at all. The sections can be flipped so that the detail doesn't appear to be repeating.
 RSS Feed
