And that is our "update" on my model railroading... thanks for looking - PM
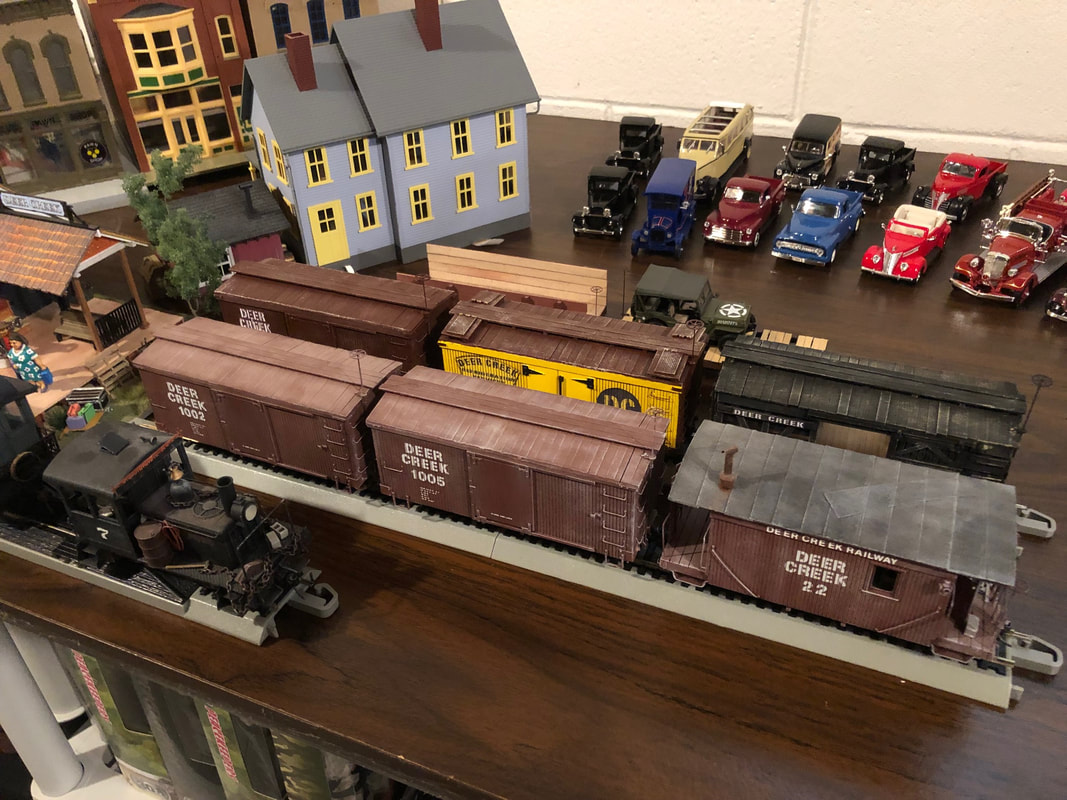
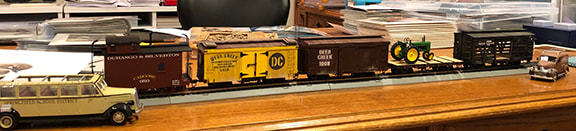
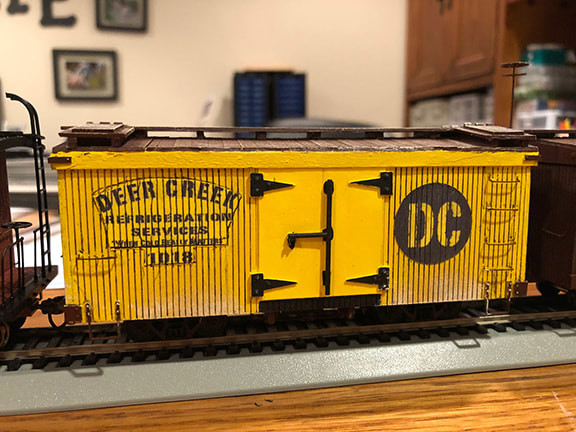
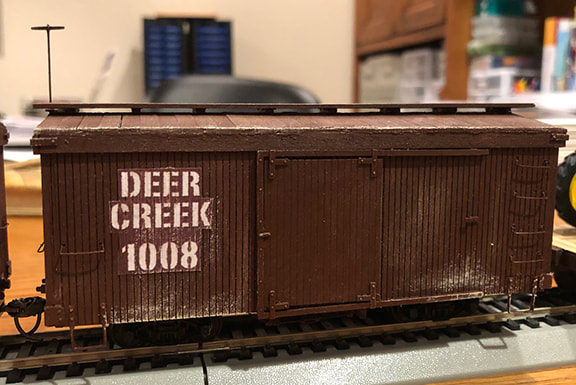
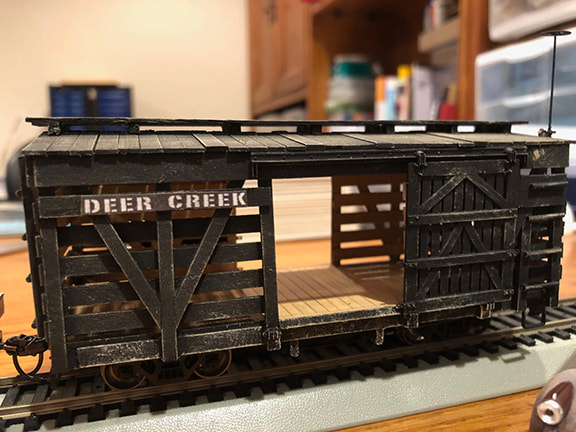
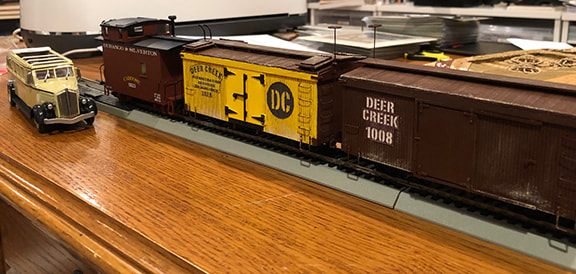
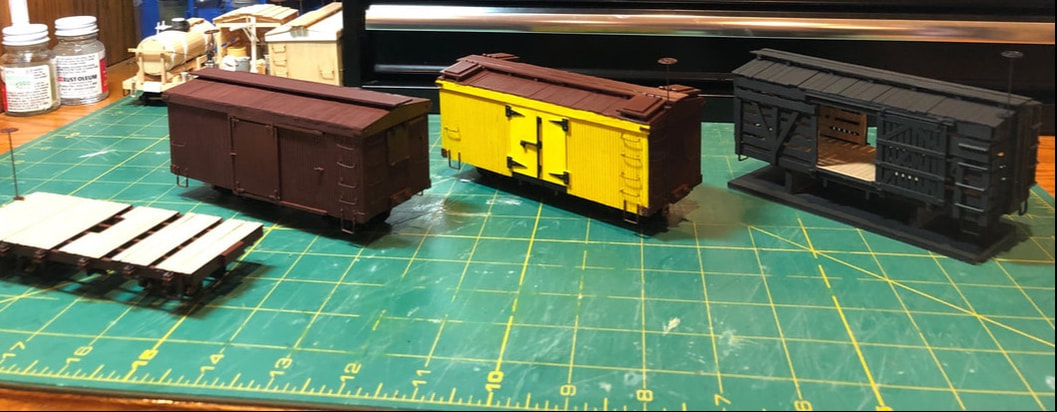
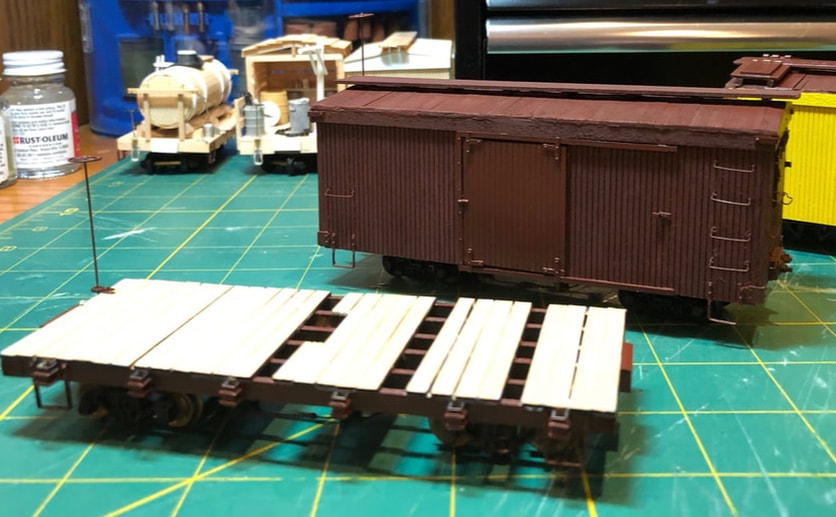
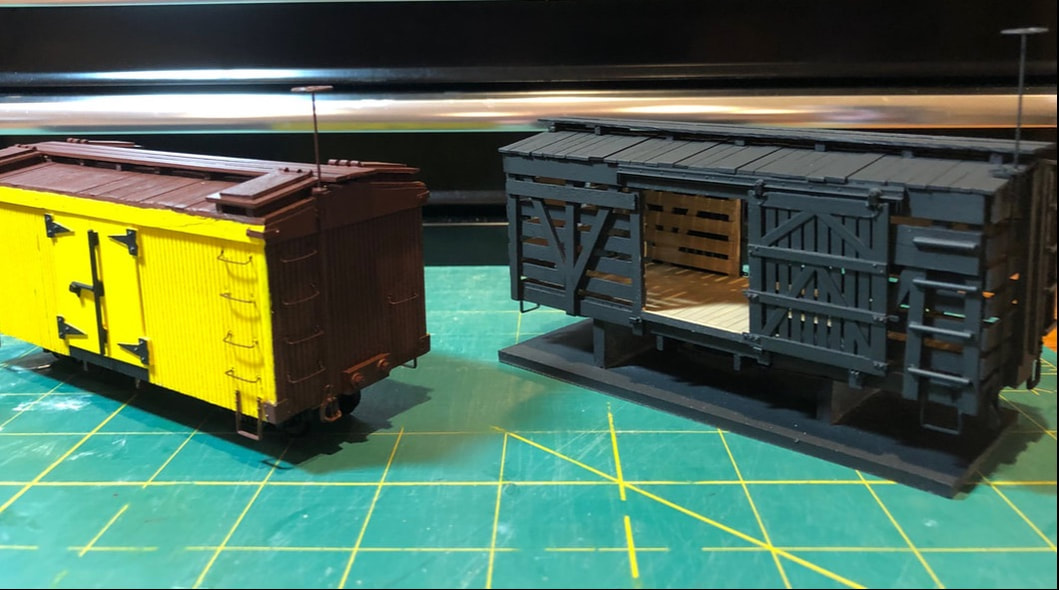
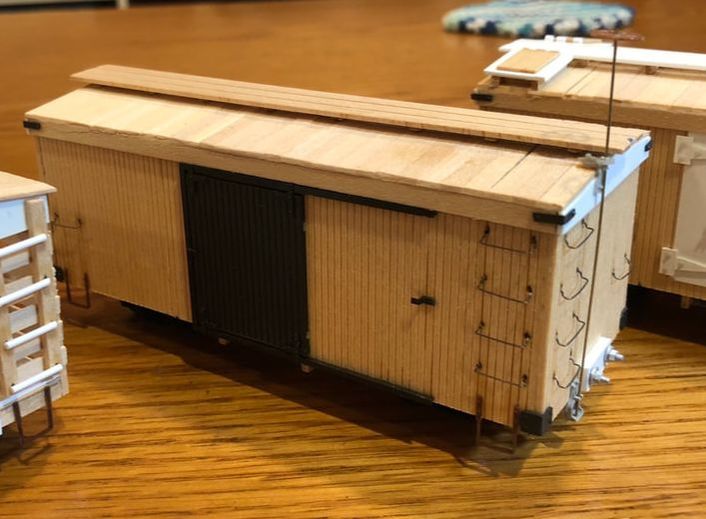
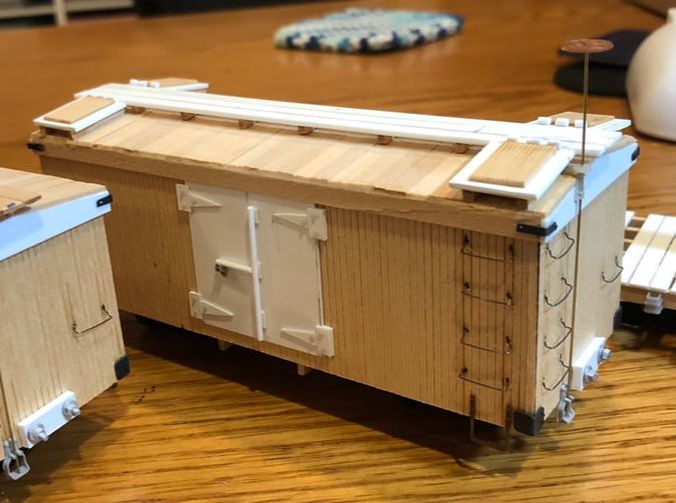
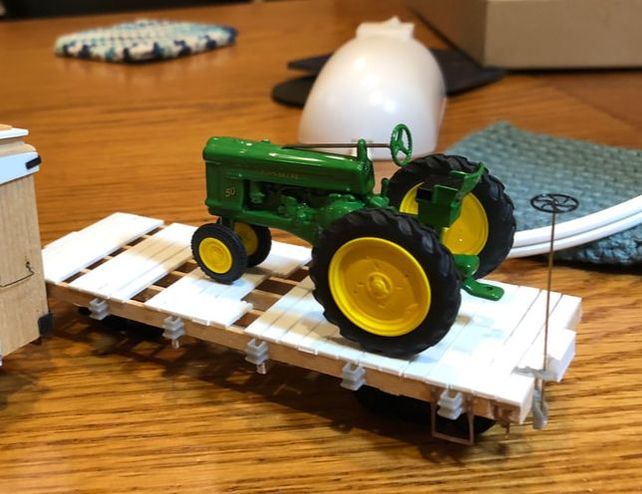
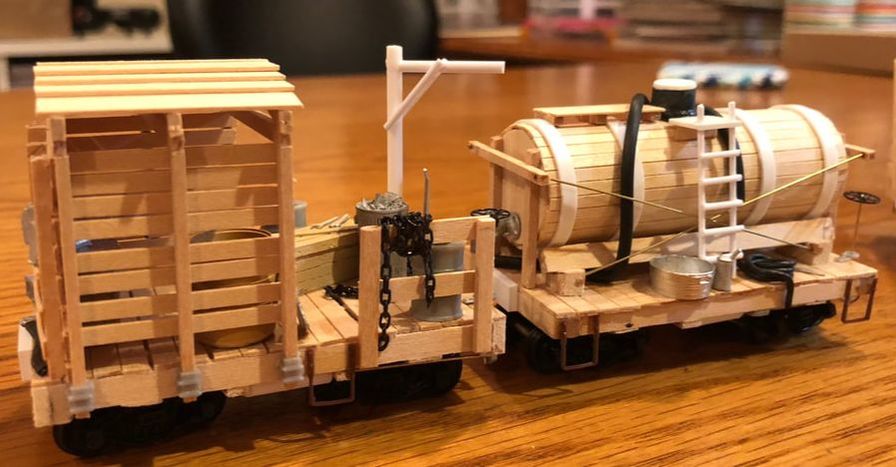
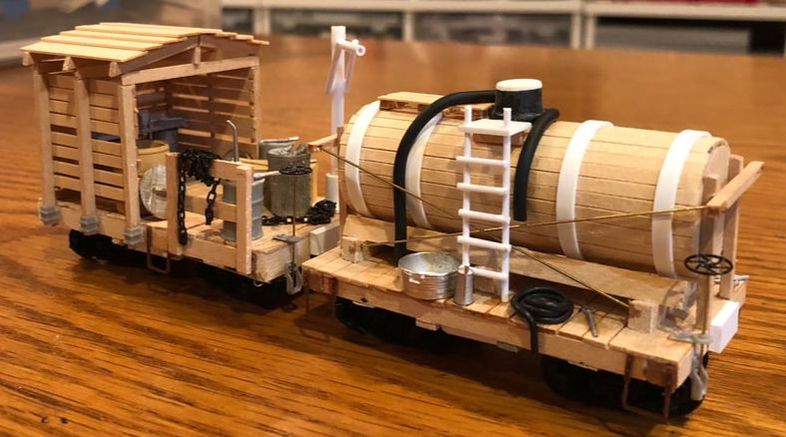
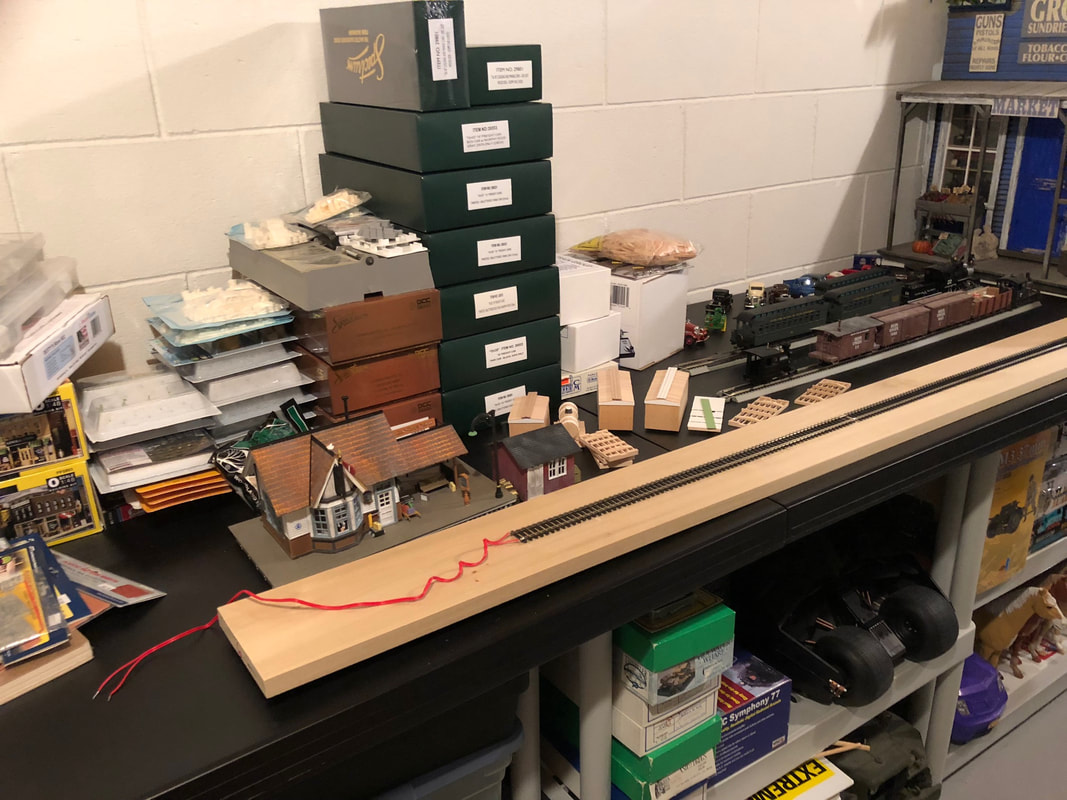
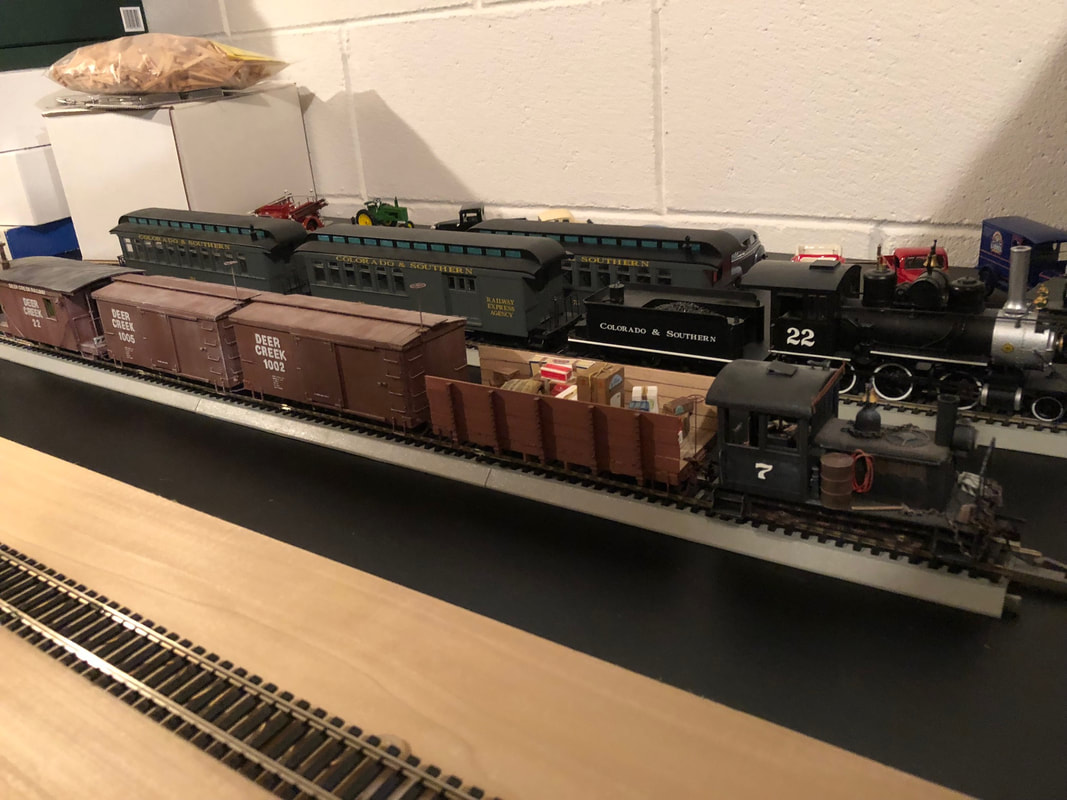
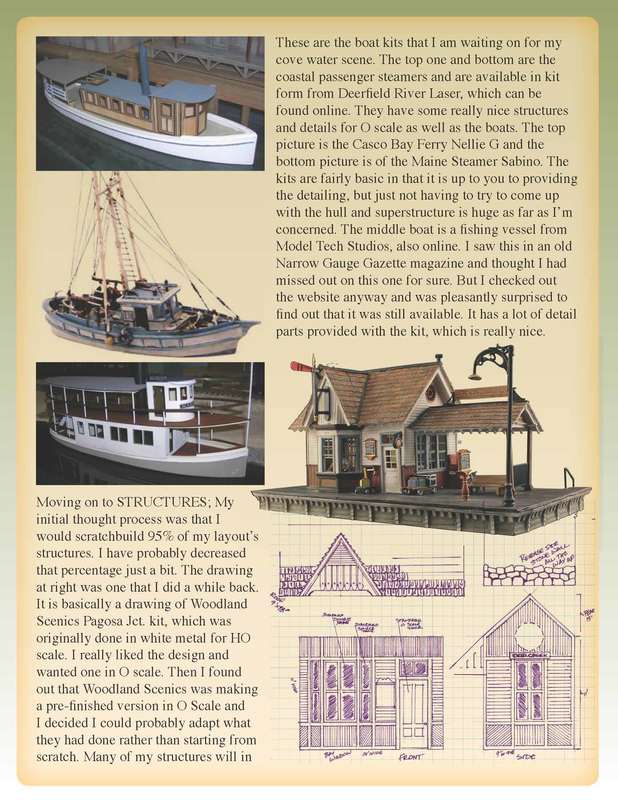
This isn't much of an update really...I just was moving some stuff around on a table and snapped a few pictures. The train cars and the small diesel engine in this photograph above are all scratch built items. The three freight cars in front and the engine are ones that I did quite a while back and the 3 freight cars behind them are ones that I just completed. 
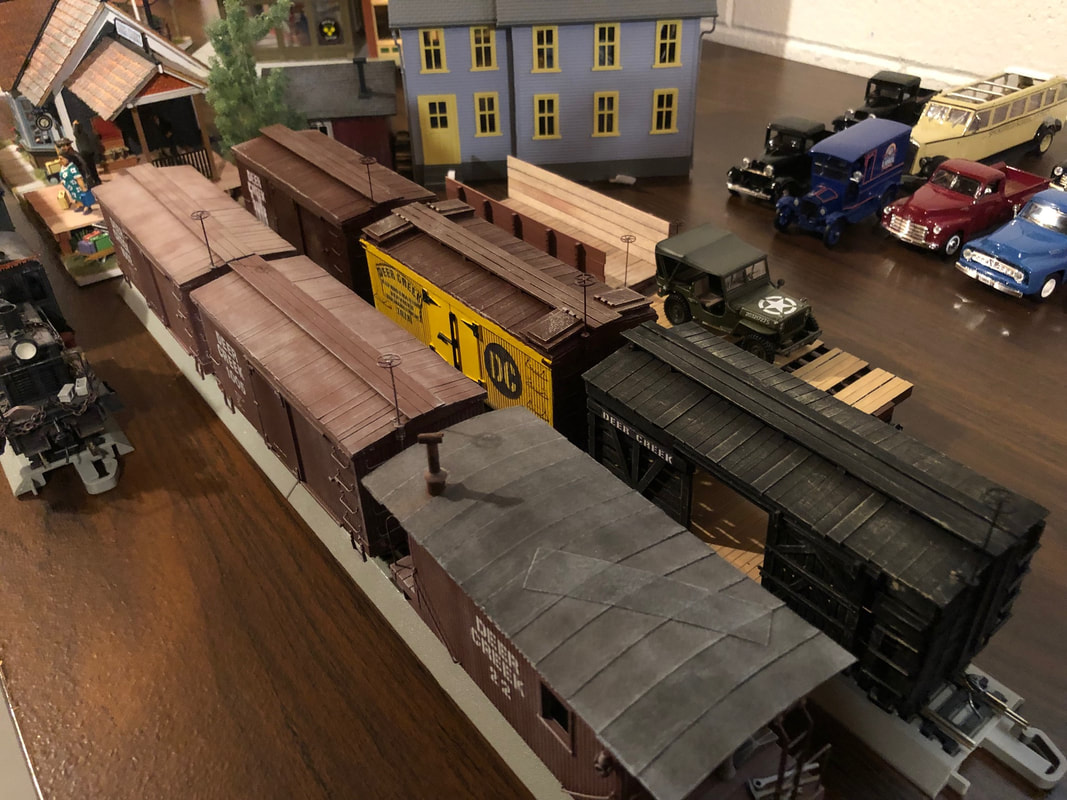
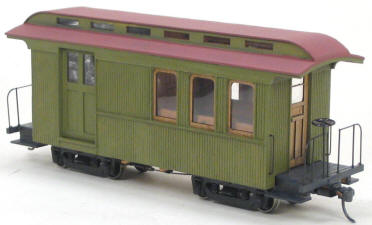
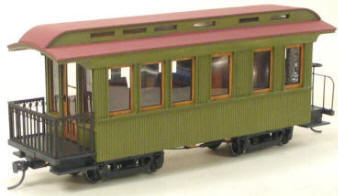
All of the cars have a body length of 22 feet and overall length of 24 feet. The height and width are the same as the Bachmann On30 18 ft. shortie cars. 
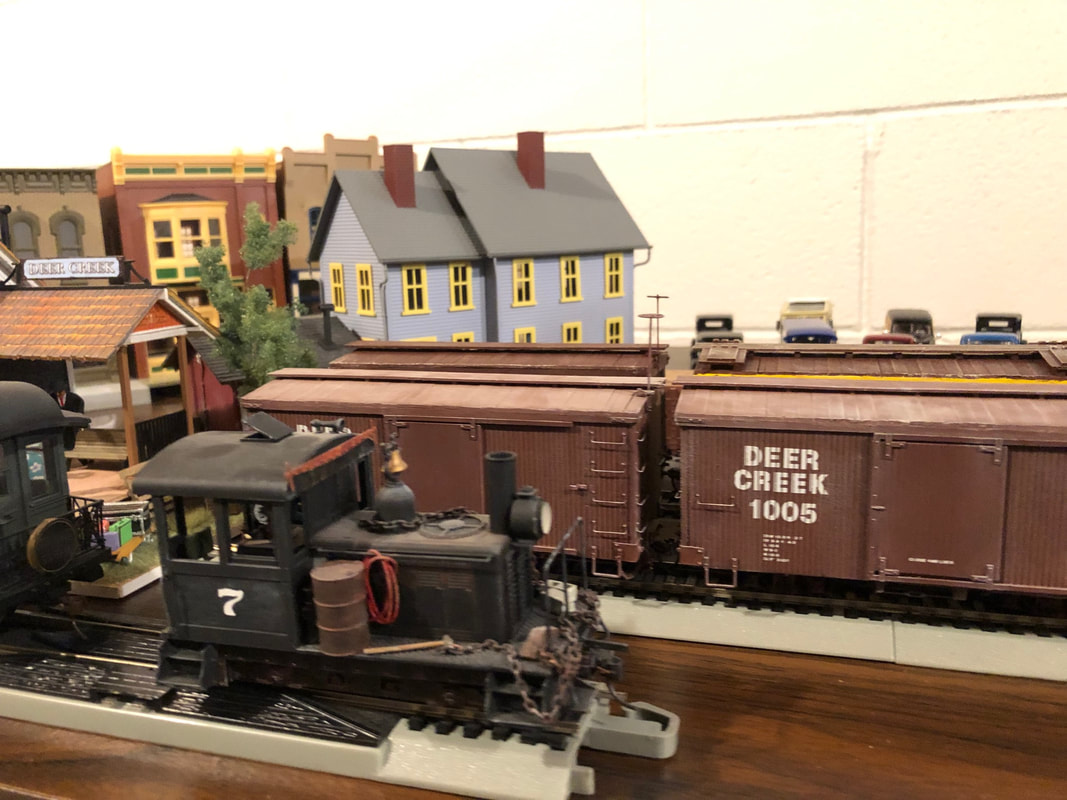
The engine was built on an HO mechanism that I had lying around. I guess I can't really call it a scratch build, it is more of a kit bash. The engine cowling came from that HO diesel. The cab, sand dome, stack and headlight are all Grandt Line pieces. But the hand railings are all mine. Once the engine was painted and weathered, I detailed it with a variety of castings from Berkshire Valley. 
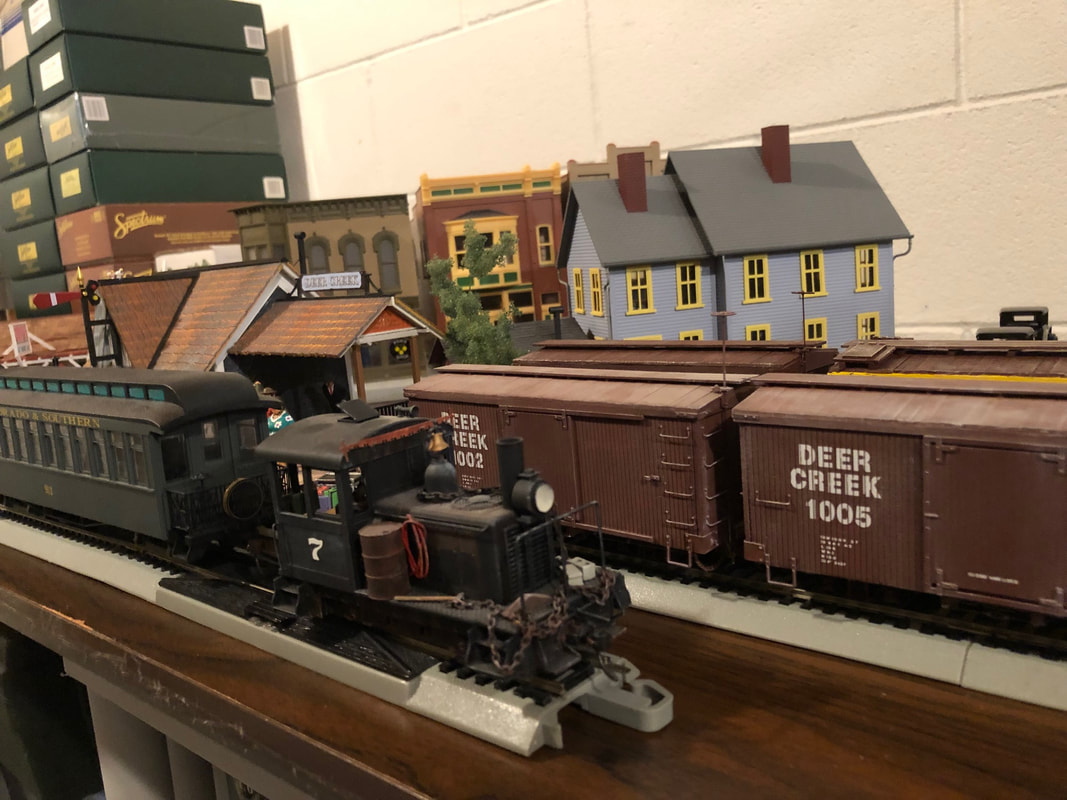
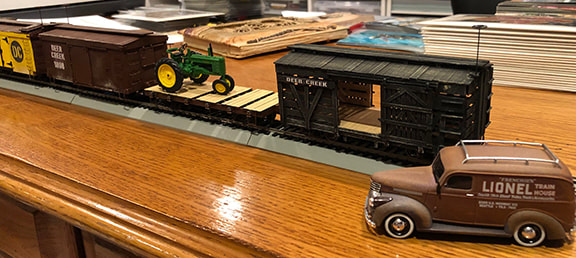
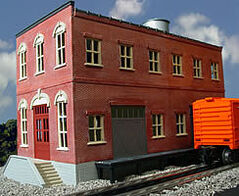
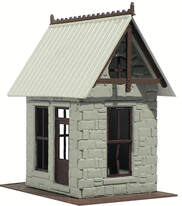
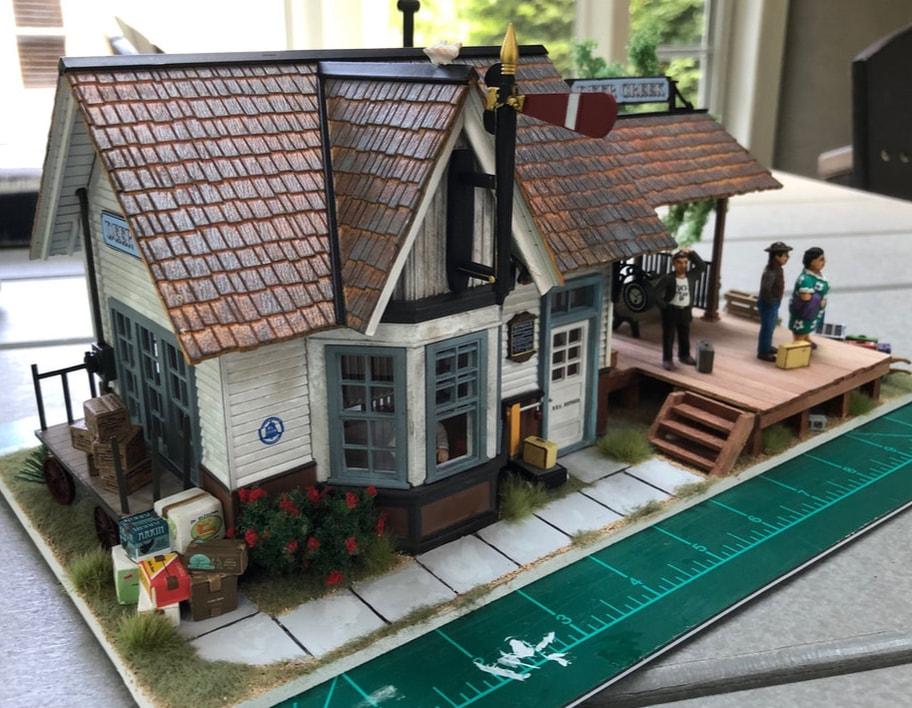
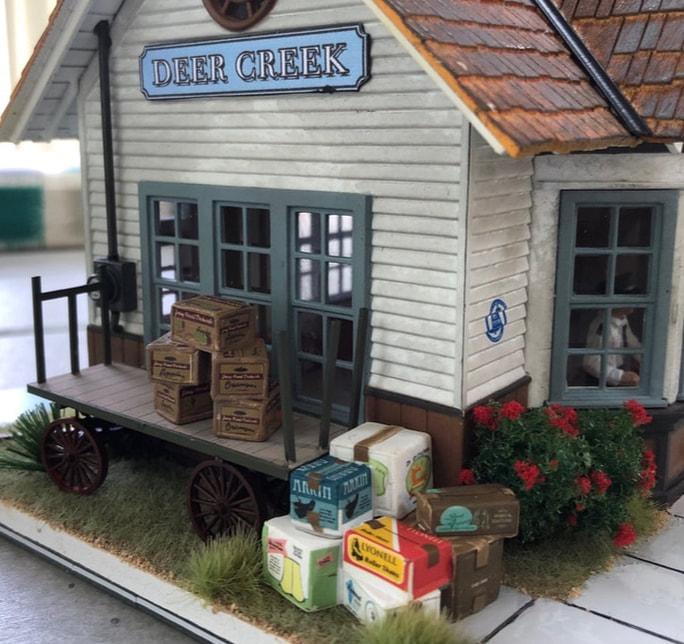
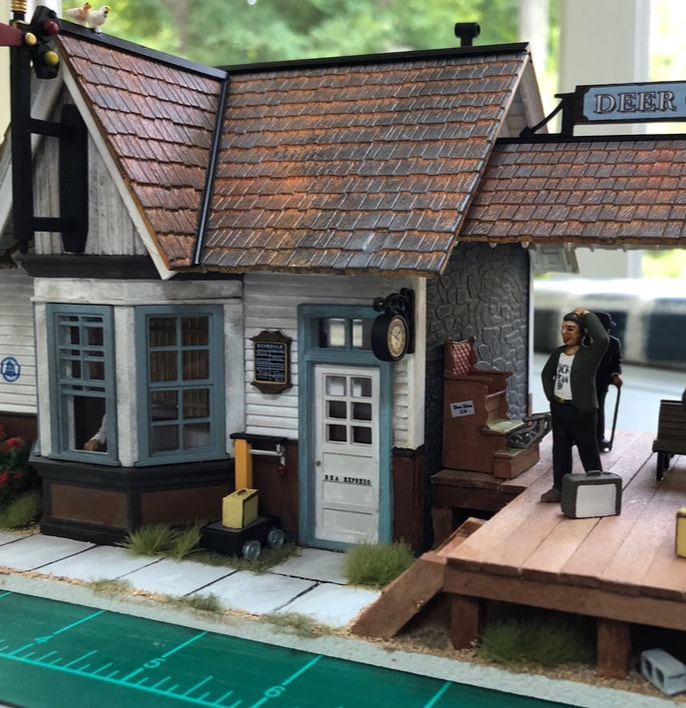
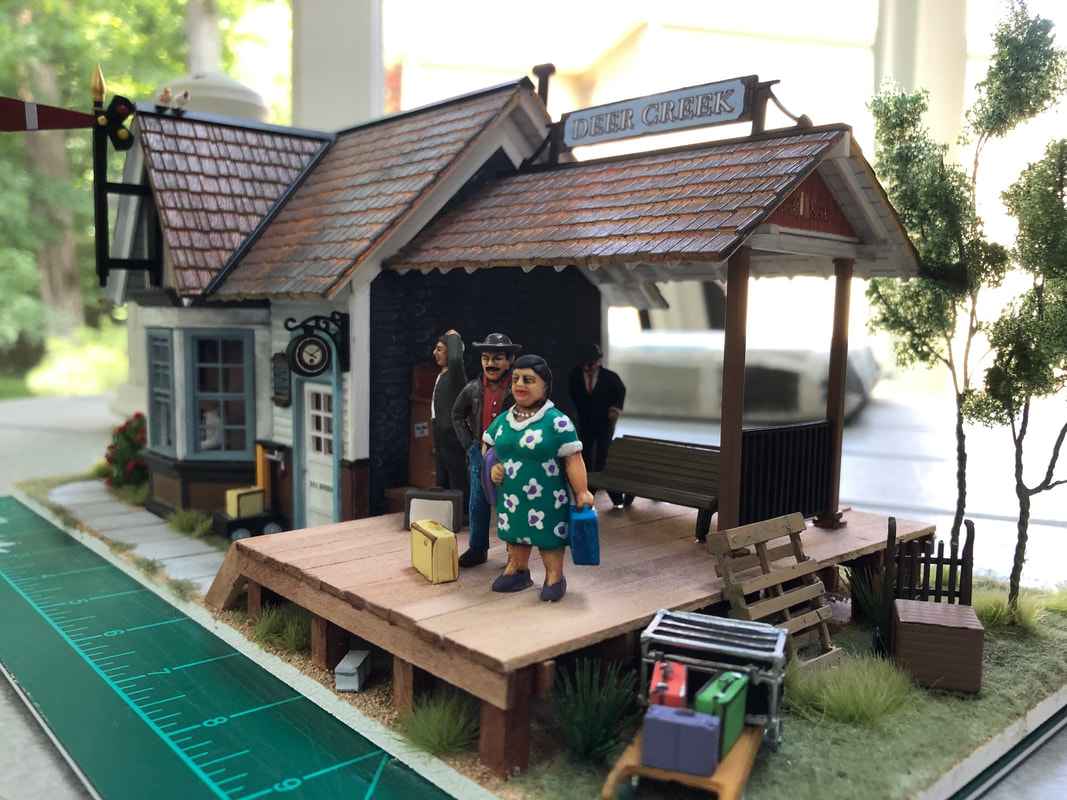
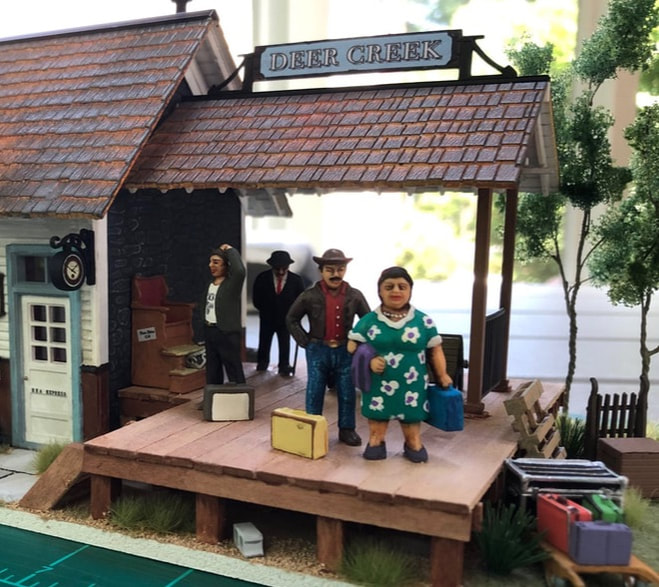
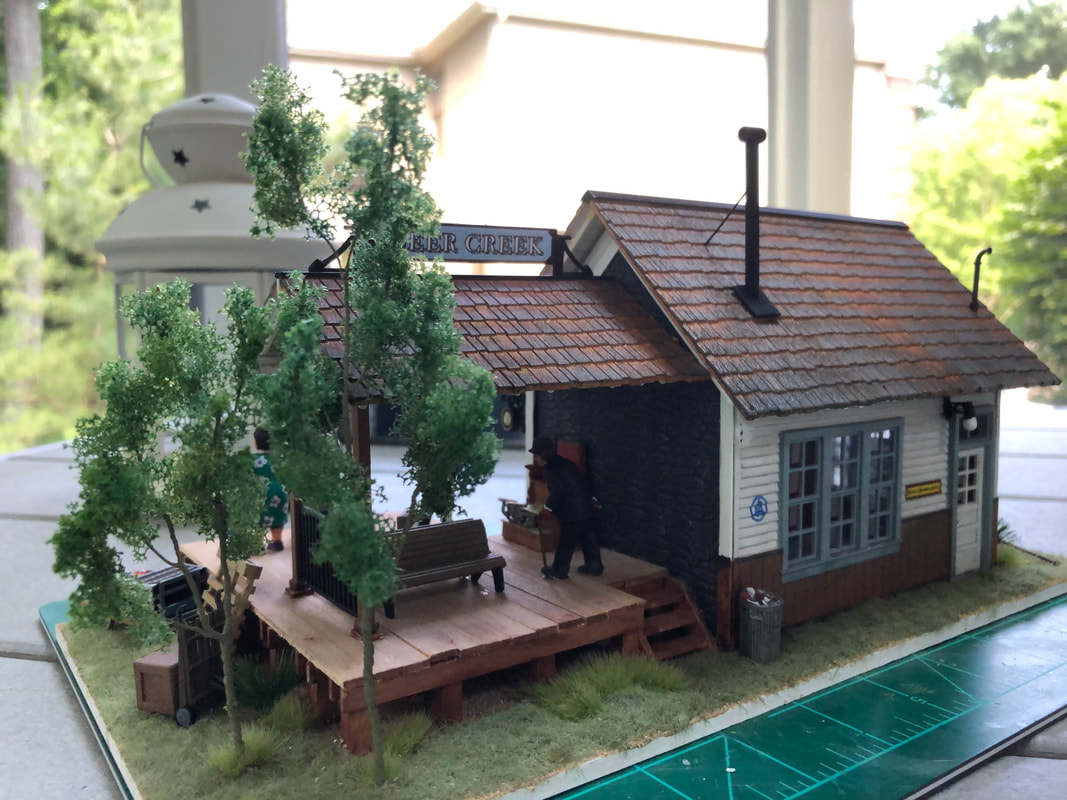
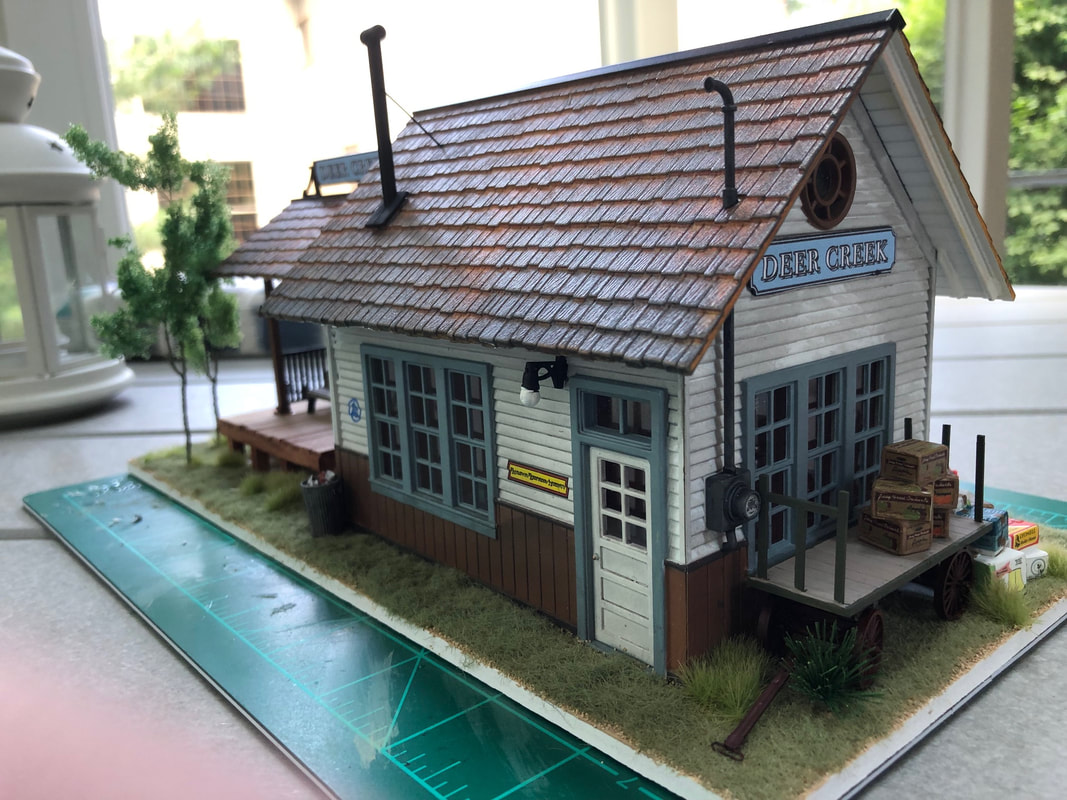
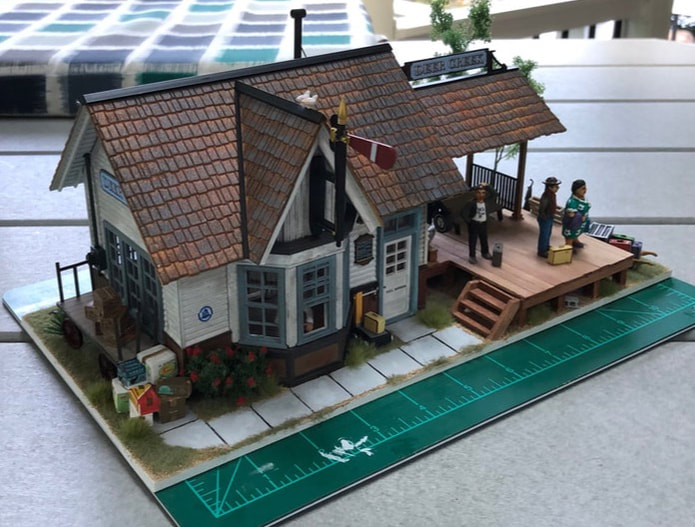
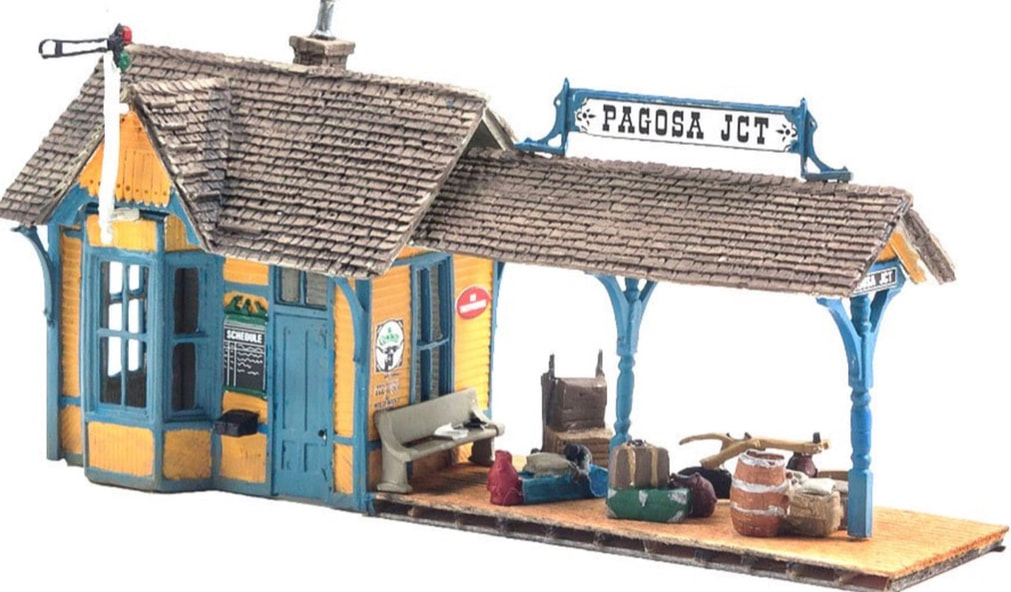
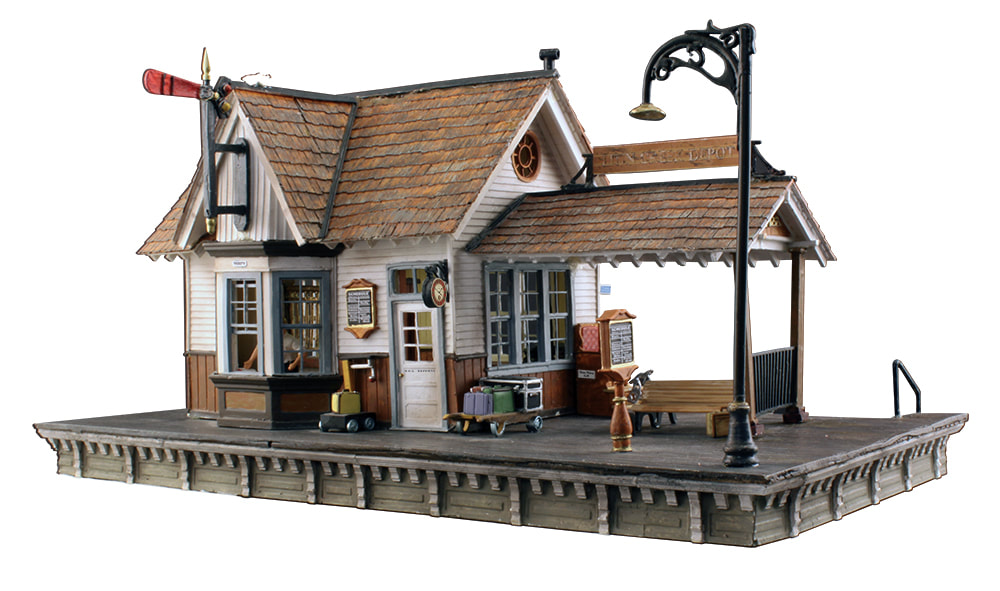
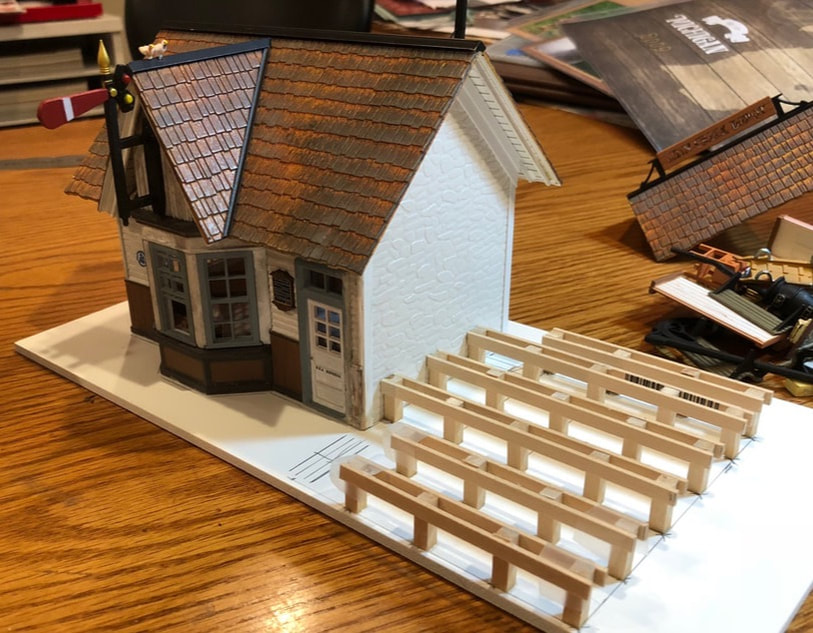
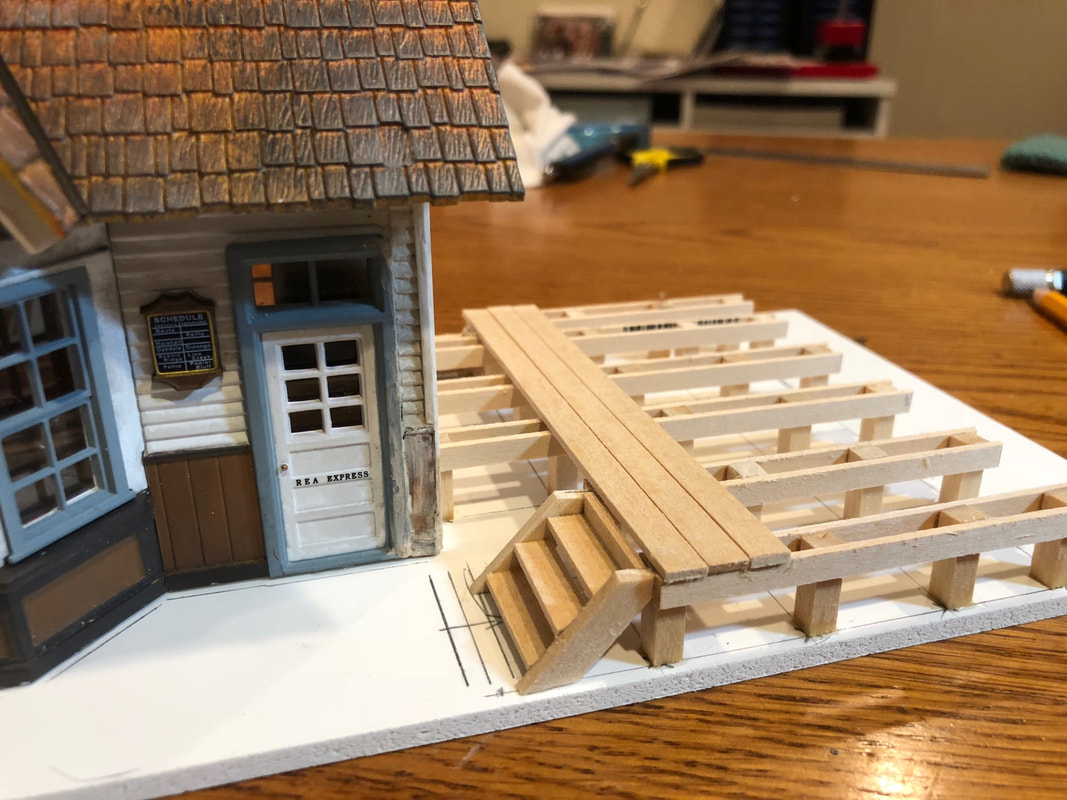
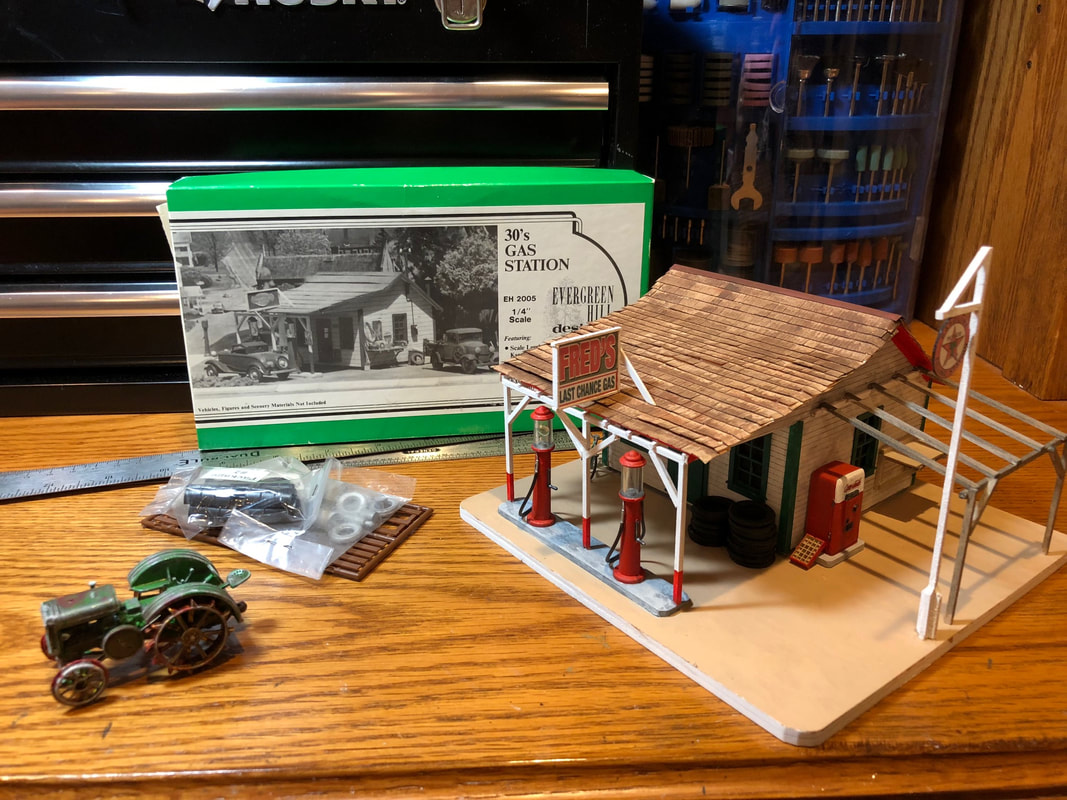
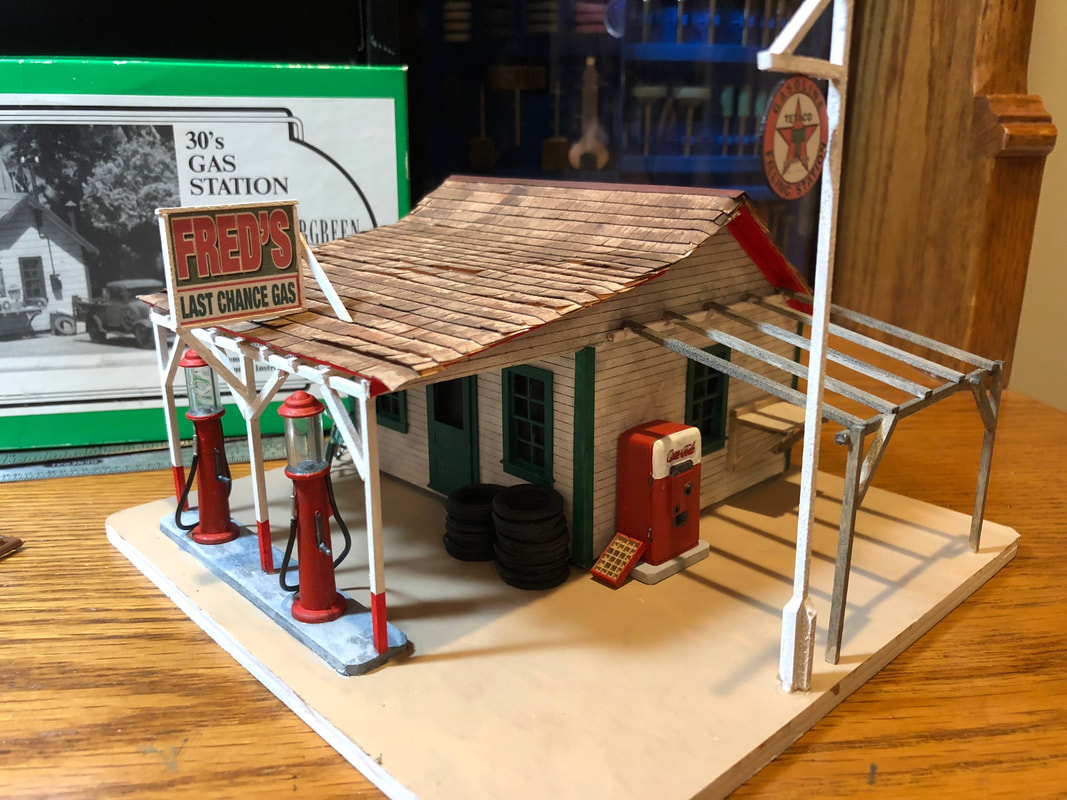
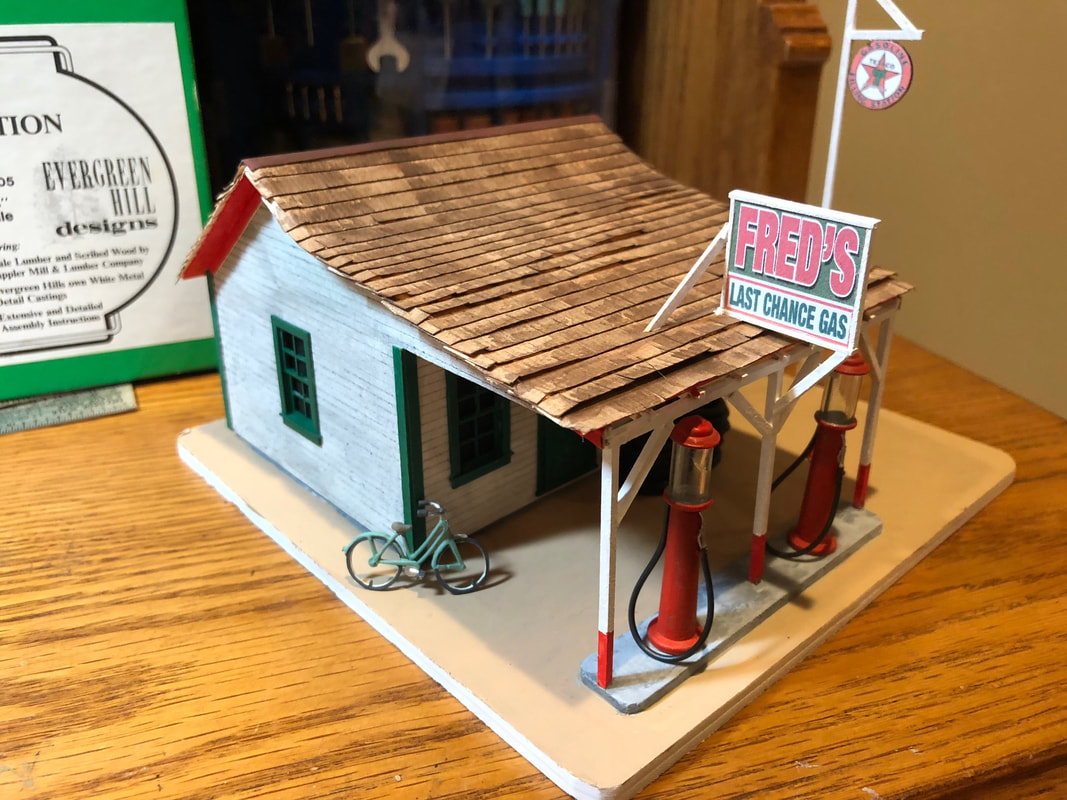
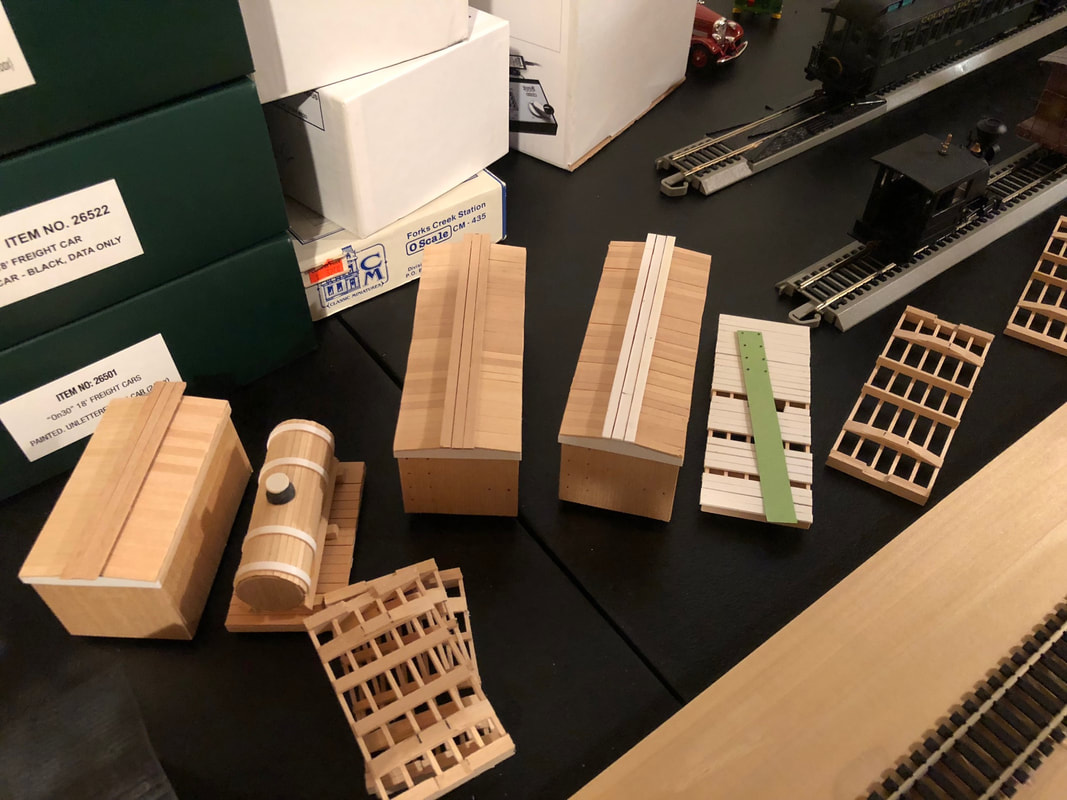
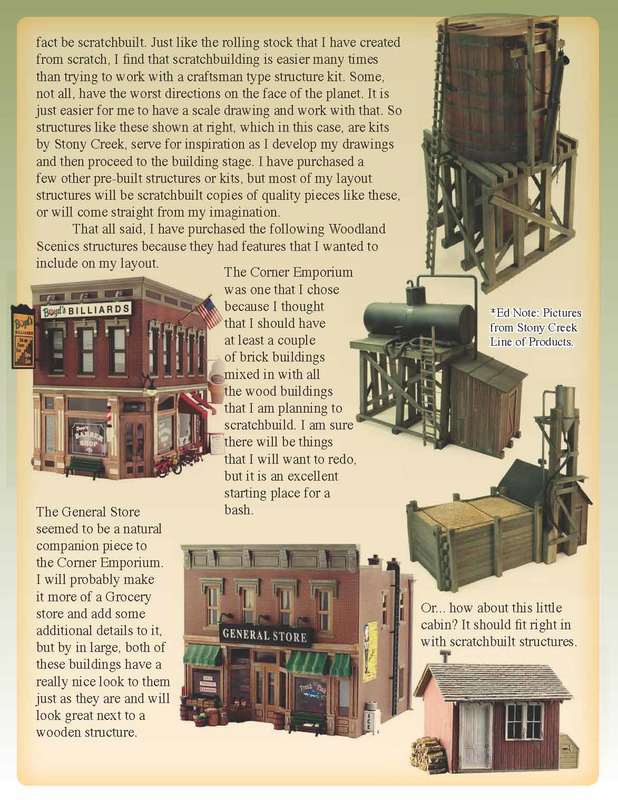
I like this shot - it's like I've got a town sitting behind the tracks, but the buildings are just sitting there. These are some ready built structures that I picked up at a local train store and plan to repaint and detail eventually. I have 3 more building kits that will become part of "Main St" when I get around to building my harbor town. The rest of the structure that will actually sit on the waterfront will be scratch built. 
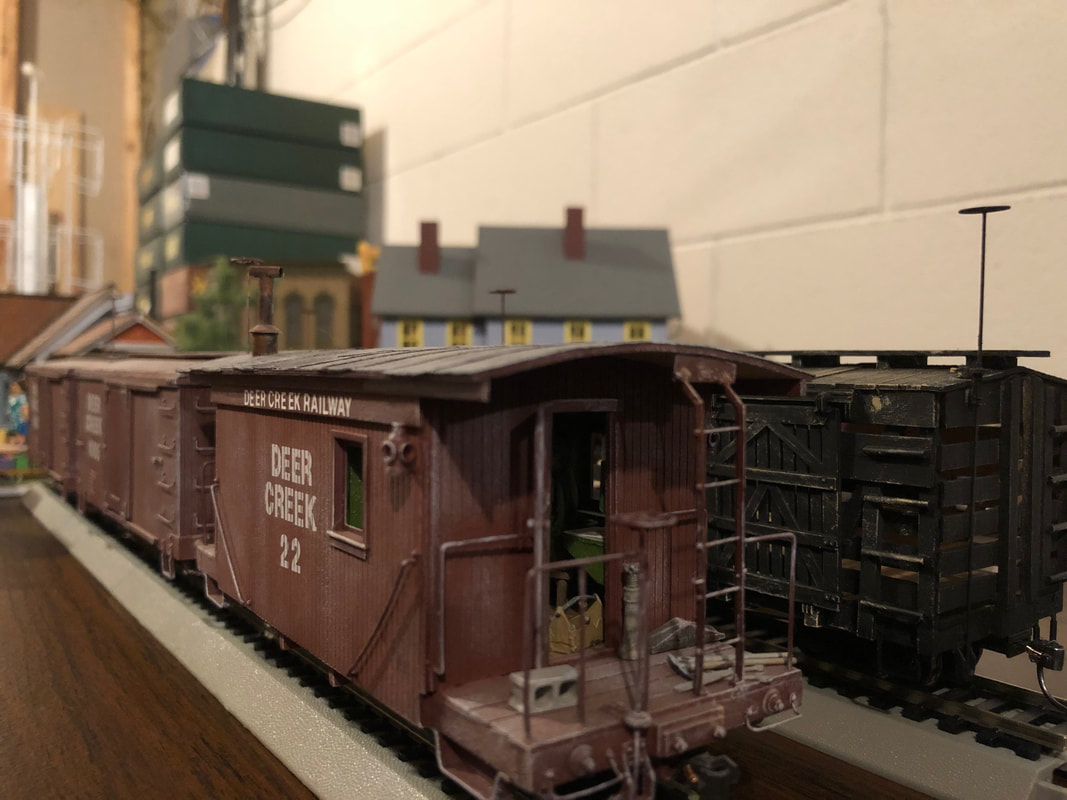
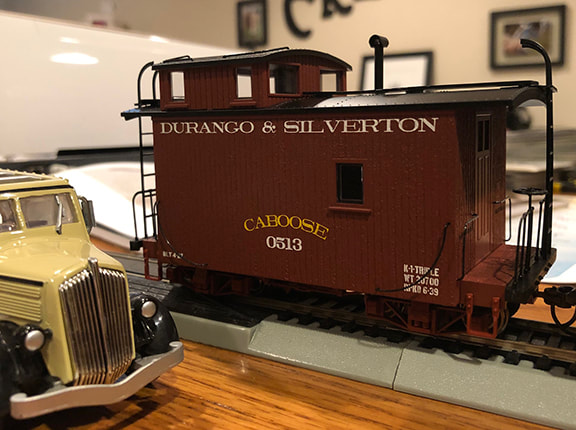
Here's another shot of my scratch built caboose. It has a compete interior. Those boxes behind the town contain my Bachmann 18' cars. I have some side dump ore cars, 6 box cars, 4 tank cars and another caboose. Sure would be nice to have something to run them on... you know... like a layout. 
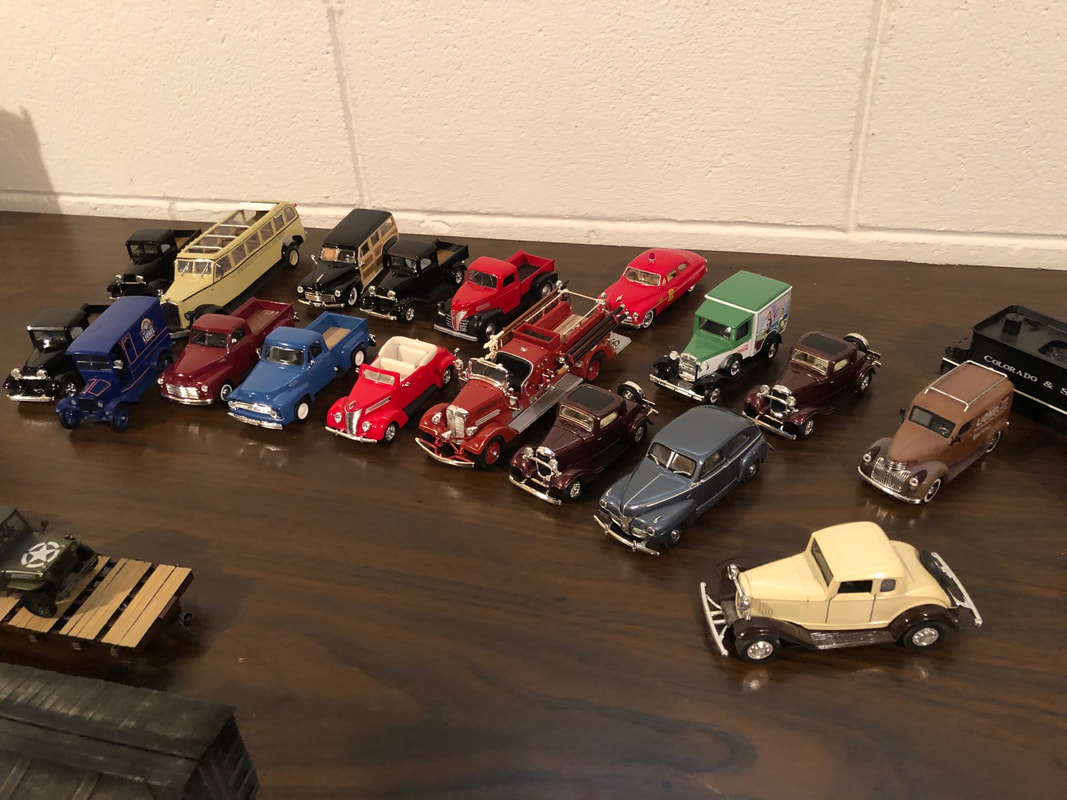
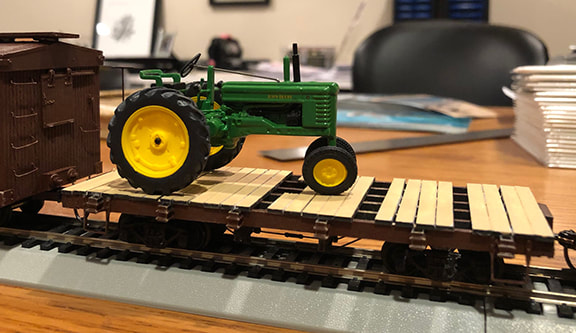
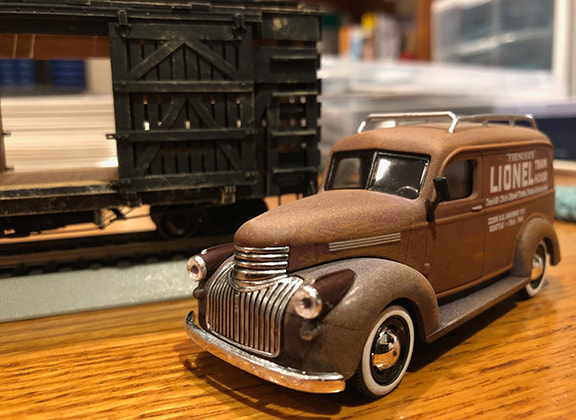
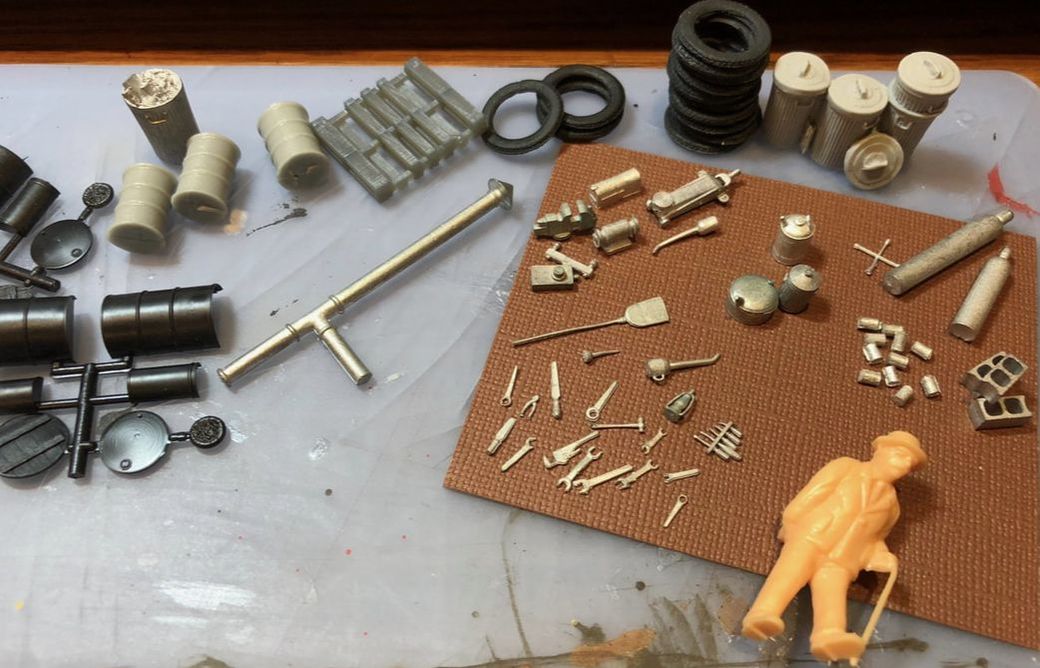
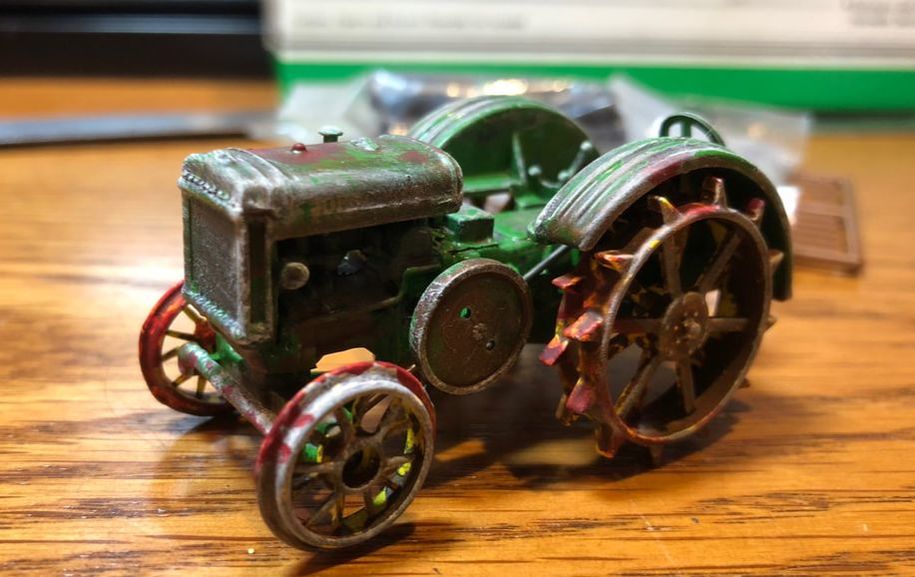
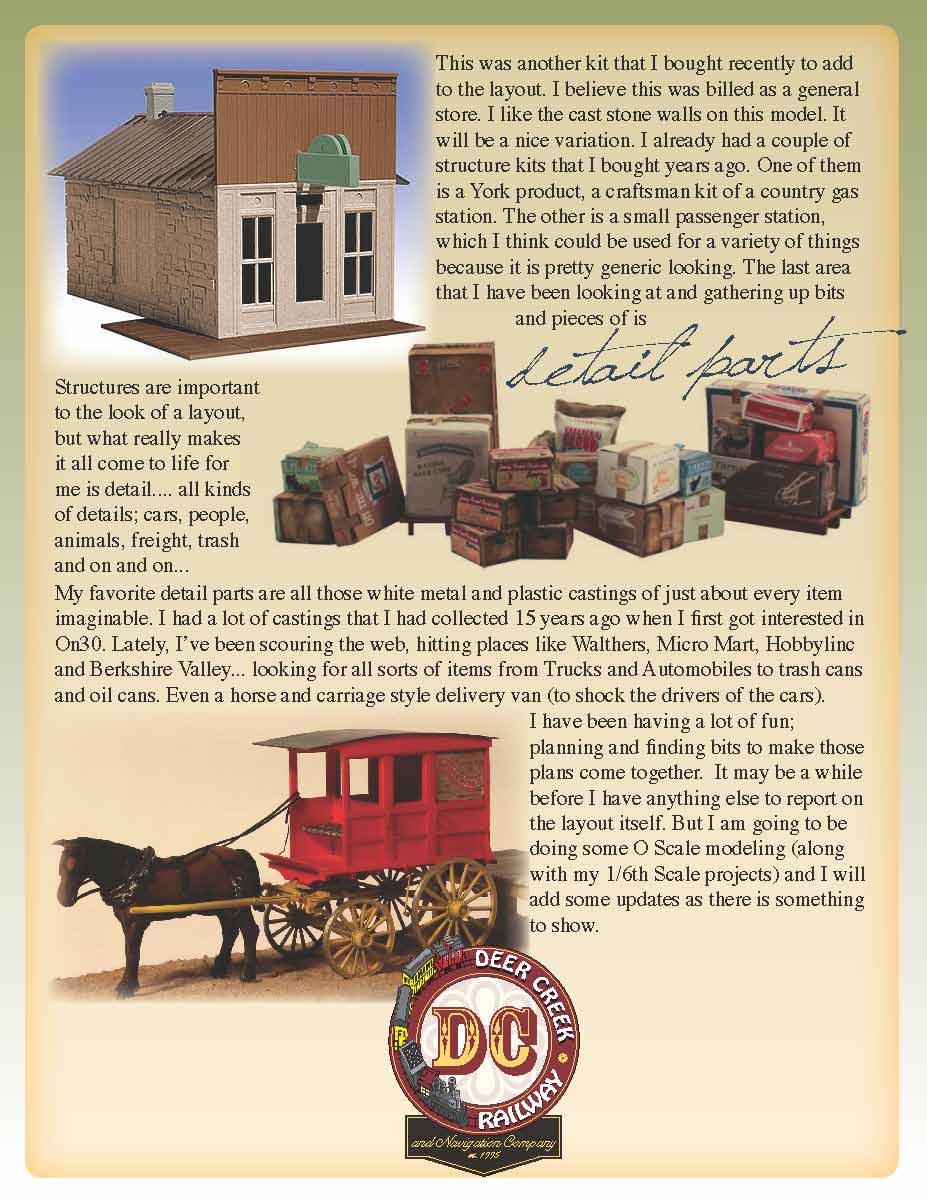
I've also been collecting diecast cars for my model railroad. The problem with most diecast cars is that they look pretty toy like. They will need some serious painting, weathering and detailing to improve the appearance. There are three scales that make up what is an acceptable size for O scale transportation - 1/48, 1/43 and 1/50th. Most of what is out there is 1/43 scale and that is what most of my vehicles are. The three scales are close enough that you can use all three, particularly if you plan ahead and use the bigger ones up front and the smaller ones in the background. 
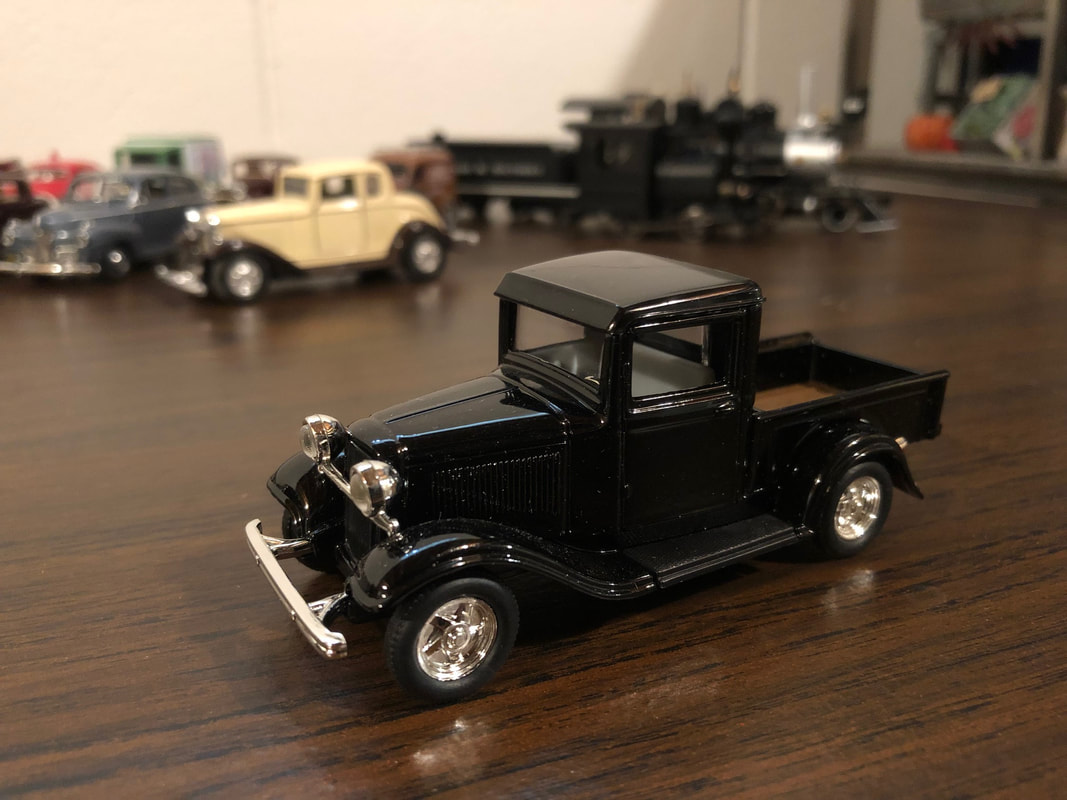
I think this is a 1934 Ford pickup. I have three of them and plan to finish them all differently. This particular one is going to be turned into a tow truck to place alongside my gas station. 
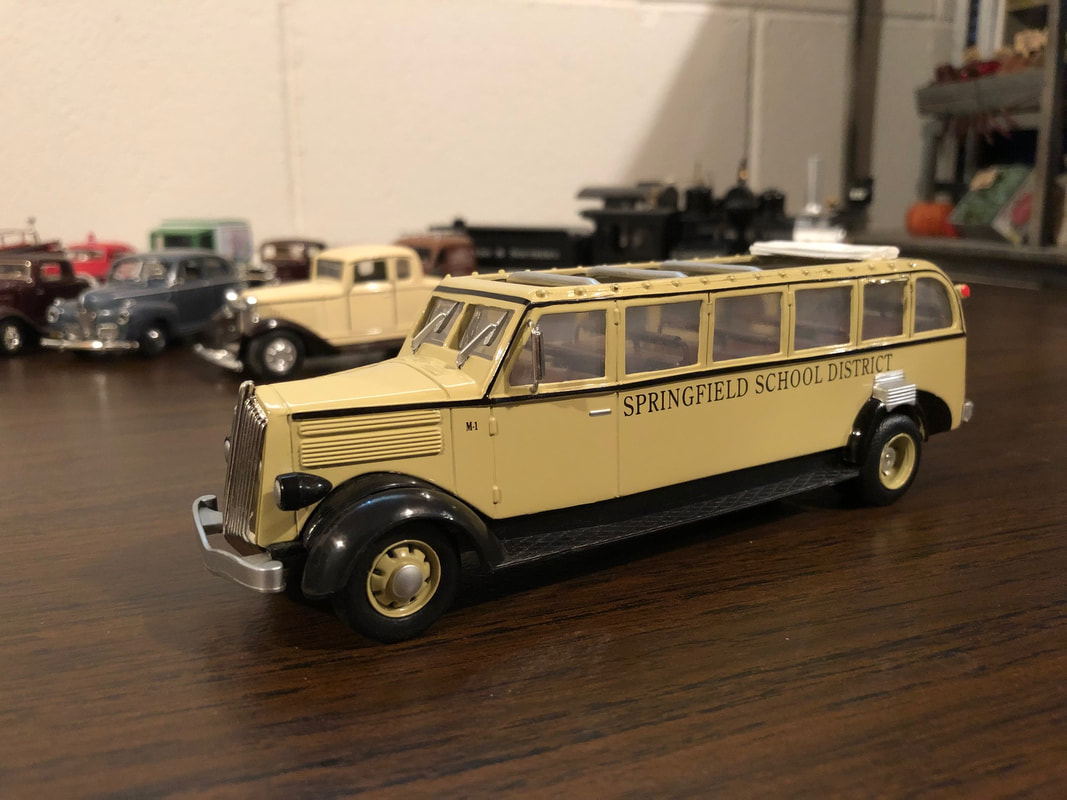
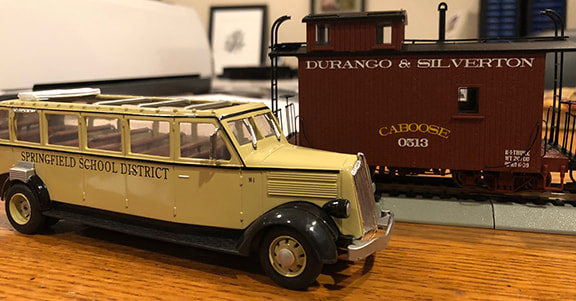
This bus is going to be converted into a tourist bus. If it doesn't look too hard to do, I may shorten the length of it once I take it apart. I would also like to add a roof with a rack and luggage. Some passengers would be nice as well.
And that is our "update" on my model railroading... thanks for looking - PM
0 Comments
Well... I didn't feel much like it, but I decided that I needed to go ahead and finish the four freight cars off that I have been working on forever. I added graphics and weathering to complete them. The first Deer Creek cars that I made years ago had markings that were created with Dry Transfers. I have been using computer generated art, printed on paper and glued to the model in a lot of my 1:6th vehicle modeling and have been pretty pleased with the result...so... I thought I would try it in 1/48th scale. I am going to go ahead and make the observation for you that it doesn't work as well in this smaller scale. The paper is too thick and no matter how much you try, you can still see the edges when it is all said and done. I tied to hide it as much as possible, but you can really see it...especially on that boxcar. All that said, when you look at them as you normally would look at rolling stock on a train layout, it is not nearly as noticeable. I may eventually peel the graphics off of the boxcar and repaint and re-letter, for now however, I am going to let it stand. And actually, of the two sides, this is probably the most obvious on both this car and the reefer above. I need to secure the load on the flatcar, but other than that, it is basically done. My favorite of the four is the stock car. It is the first one I have ever built from scratch and I was pretty pleased with the way it turned out. Now on to ramblings... This little van was in an order that came in the mail today. I use to have a van like this a few years ago and somewhere along the line, I lost it. The paint job wasn't nearly as good on that car as the one on this vehicle; I'm pretty pleased with the way it looks. I may even leave those LIONEL graphics on it. Another item in that order was this shorty caboose. This was the only version available (I couldn't find one without markings) and I figured I would just repaint it, but looking at it, I may just be able to cover up the Durango and Silverton graphic with one of my own and weather it up a bit. The little roofless bus was also part of the order and I am going to repaint it as a tourist bus. The interior is roomy enough for 1/48th scale passengers as well. I guess the two pictures below kind of illustrate what I am talking about with the graphics on my completed freight cars. This is backed off a bit and the obvious flaws of the paper graphics are not so obvious, which is why I think I will just let them be for the time being. So... now I am ready to start on this baby as my next structure project. You will recall if you have been reading this blog, that this is the structure that I made all those little stone foundation castings for. Well... it is not the only structure that I intend to build with stone foundation, but it will be the first. Going to start on that tomorrow. These are two other kits that I got in that order that I received today. I actually intend to build them a little differently than is shown here and fortunately the way the kits are constructed with allow for some pretty easy kit bashing. For right now, I'll leave it at that, but I will return to these eventually and show you what I do with them. Below is an order I am still waiting on. This actually shipped yesterday, so hopefully I will have it next week sometime. I ordered two of these "thirty" foot fishing boats from Frenchmanriver.com. I plan to make each of the ones that I am getting just a little bit different than each other. I will vary the paint scheme and some of the details to accomplish that. I also have one slightly larger and differently shaped fishing boat that I will add two these two. With my two steam powered passenger boats, I am going to have a pretty full harbor. Finally... This is a "just thinking about it"...possible future project. I have three Colorado and Southern passenger cars by Bachmann that I bought in a set years ago. I have thought for a long time about cutting them down and creating some short coaches. However, yesterday I discovered a website that actually sells some 18' short coaches as kits and I am thinking that would be so much easier than cutting up my nice Bachmann cars. Anyway... these are the three that I am thinking about. I may pull the trigger on them before too long. And that is all of my ramblings for today. Thanks for looking. - PM
What follows is a quick "mold-making and casting" project which allowed me to try a product I had not used before. Thought I would share my results.
However, I was extremely pleased with the result. In about fifteen minutes I had a useable, flexible mold that I could pour Alumilte resin into and after 30 plus pours my mold is still in good shape. Below are my original master and a cast copy. Oh, one other thing about MOLD PUTTY - $30 is kind of steep, buy it at Hobby Lobby, use the weekly coupon on their app and get your price down to about $19. Below is my 15 minute mold and the original master. I had just poured resin into the mold. It took me only a couple of hours to make those 30 plus castings. For those who care, the master was a layer of sheet plastic covered with joint compound. Once it had dried, I carved the stonework into the surface with a dental tool. Below are couple of stacks of finished wall sections. Below, I foundation section placed on the Atlas building gives you a rough idea of how it will look when completed. Certainly a lot more interesting than no detail at all. The sections can be flipped so that the detail doesn't appear to be repeating.
Okay... these aren't really finished yet; let's call them a WIP still. But if you scroll down to an early post, you will find that I have made considerable progress from where they were the last time I featured them. All four cars are scratch builds, using wood and styrene and some Grandt Line castings (which I don't believe are available anymore). Closer look at the flatcar and boxcar. The flat car will have a load when completed (tractor). All four cars need to be lettered and weathered to complete them. They also need to have couplers (which is the last thing I do). I think I am most happy with the way the stock car turned out. I really didn't know if I would be able to pull one off or not, but I think it turned out pretty good for a first attempt. I'm thinking about some straw colored static grass and a JTT bale of hay inside the stock car to complete it.
Thanks for looking - PM Well, it has been a while since I have worked on anything. Thought it was about time I finished this station.. Here's an overall view of the front. Since my last posting you can see that I finished off the platform, added details and figures and completed the scene with some groundwork. The baggage wagon was an old Grandt Line kit (don't think they are even in business anymore. The packages are a couple of Woodland Scenics castings, which come pre-finished with the labels. The bushes and trees at the back of the station are JTT products and the static grass and the ground cover (soil) is from Woodland Scenics. Most of the station details came with the station. I added a pallet, a trash can, a hand truck and a crate... oh yeah, I like to throw in the random cinder block as well, you can see it under the platform. The figures are some that I bought online as a pack of unpainted O scale people. I believe they were produced by Model Power. Here's the station from the back and a better look at those JTT Trees. They are supposed to be a multi-scale product and would probably be pretty good sized trees in HO scale. But they are saplings in O scale. I hope that as I start to put together a layout, I will have trees of all different sizes, just like you would have in the real world. May have to make my own though, there is not a lot to choose from. Below, another overall view from a slightly different angle. This is a great looking little station and I was pleased with the "bash". I think it looks more like what I want on my (eventual) layout than the way it was originally finished. Thanks for looking.
Started working on a new modeling project today for my "future" railroad. Back when I had an HOn3 (HO Narrow Gauge) layout, the little depot shown below was one of the structures on my railroad. It was made by Woodland Scenics and the kit consisted primarily of white metal castings. I loved this little station, so I thought I would like to replicate it in O Scale for my On30 layout. To that end, I drew up some O scale plans for scratch-building the station in 1/48th scale. Fortunately I never started on the model because last year I found out that Woodland Scenics had made their own 1/48th scale version of the station. Unfortunately I wasn't crazy about the new platform that they placed it on and.... ...unfortunately...it also only came as a pre-built model and not a kit. But I felt like I could "tear" it apart and rework it a bit. So here is where I am with the project. It wasn't too hard to get the station off of the platform, but from there it went down hill. I wanted the station to sit on the ground and have a raised platform on one end. The problem with that was that the windows on the side wall would have been too low and the little round window would have gotten in the way on the overhang. I decided that the wall would have to be replaced. I decided that I would go with a "rock" wall. Not exactly like that original HO station, but I figured it could look kind of cool. Cutting the old wall out went pretty well, but my Dremel tool kind messed up the corner by the door. I had to do some repairs there and you can see that there is some repainting that still has to be done to the door frame and the lower siding. Also, you can see my framework for the platform. I need to paint all of that before I permanently attach the platform boards. Here is how the overhang will fit on the platform when it is finished. It's not exactly the same as the original HO kit, but it is more in keeping with the look of that kit. I will update this project as I get more done on it. There are all kinds of little details for this structure, it should be a lot of fun to finish off. Thanks for looking - PM
WELL... Got a little modeling done this last week. We took our camper down to Hocking Hills for the week and I took some projects to work on while we were there. I managed to finish up 'FRED'S Last Chance Gas' and the following pictures will show you how it turned out. I'm pretty pleased with the way it looks. I also worked on some rolling stock this week. As I mentioned in an earlier post. I have a couple of jigs that help me form the frames. Then I build up the cars from there, adding truss rods, brake and compressor detail to the frame once I have a floor glued down. This first car is a stock car. I wasn't sure that this was going to work out because I didn't know if I could get the side pieces to come together. But it actually worked out pretty slick and didn't take near as much time as I had dreaded it might. Because of a lack of wood, I had to make the floor out of styrene. You can see that I have only fastened on a small portion of the roofing material so far. I need to paint and weather the interior of this car before I go any further, but I wanted to be able to mount the brake wheel. My cows are already checking out their new ride. Next up is this box car. I already have two of these built, painted and weathered (see my first post). This is started the same way - frame, flooring and then the sides. Actually, I do a thicker inner wall on the box cars for the ends and the siding is then mounted onto that. It's just a lot easier. The plastic doors and other details are parts from Grandt Line (which I think is no longer in business). The grab handles are a preformed wire. You just drill holes in the siding and insert them. Next up is a Refrigerator car. This was actually going to be another box car, but when I got to the detailing stage I realized I was out of those nice boxcar doors. I decided it was time to improvise and went for a reefer car instead. The doors are card stock with card stock hinges and a styrene rod hinge. It is probably a little crude as far as refrigerator cars go, but I think it will look pretty good once painted. Next we have a flat car, which also had a styrene floor. I left some openings in the floor because I wanted to make it look really beat up once it is painted and weathered. The tractor will be tied down for a load (also weighting the car in the process). These two little "shorties" are part of a MOW (maintenance of way) group that I want to model. The car on the right will be a water car and the one on the left is a tool car. The styrene pole sticking up on the tool car will be a hoist eventually, still have some stuff to do to it. The cars are essentially started the same way with a wood frame, flooring, truss rod, brake and compressor detail underneath. The tank cars started with a tank made from a piece of PVC piping, wrapped in scale wood strip. The little house on the tool car was built up out of strip wood. There are white metal detail castings on both cars as well as a fair amount of styrene strip and rod. These two cars are essentially ready for painting and couplers. I also have a storage car partially built and two more frames ready for additional MOW cars (though at the moment I have no idea what I want to build). Well, that was my week in modeling. Now that I am back home, I will spend this next week working on the "Honey-Do" List. - PM out!
So... I did a little more on this. I Found some very fine tan ballast at Hobby Lobby and I applied that to the painted base that the structure sits on. For my adhesive, I use a white glue/water mixture, which I brushed on. Then I sprinkled the ballast onto the wet bonding mixture. After waiting a few minutes for the glue to dry. I turn the base on it's side and let the loose stuff fall off. What I ended up with was a nice thin layer of sandy dirt. The clumps of static grass are just that. A while back I bought a package of grass clumps at the gaming shop. You actually just pull the clumps of grass off of an adhesive backing and glue them into your scenery. This place was selling the stuff as foliage for war gaming figure bases, put it was the perfect size for O Scale. The rose bush and the sunflowers are products from a company called JTT, which I think used to be produced by MRC (and perhaps MRC owns JTT... I don't know). You can buy all sorts of plants and crops from this company in both O and HO Scale. I got the stuff that I have from Hobby Lobby. I placed these up against the side of the building to supply a little "organic" color. You can sort of see a little better what those grass clumps look like in this picture. The Station is mostly done at this point, but there are some signs that will be added to the building and a whole lot of castings. Below are some of the castings that will be used on the station. Some of them had to be cleaned up a bit first because of mold lines, etc. After taking this picture, I used white glue to lightly glue them to a piece of wood strip, which will make painting a whole lot easier. I wanted to have a figure in the scene, once this fellow is cleaned up and painted, I will have him walking toward the front door of the station. That's about it for this update...got to go do some painting - PM
Thought I would give an update since I have actually been working on something. This is a kit that I actually bought at Caboose Hobbies in Denver when we lived there. Up until about three days ago it has been four scale wood walls. I think I cut out the walls and glued them together about 10 years ago. It has a ways to go still before it is finished, but it is starting to look like something. The original kit was just a generic little country station. I had the idea of turning it into a Texaco. The graphics on the two signs are ones that were done on the computer. You can sort of see in the box illustration that there was no lean to on the right hand side and that they positioned the workbench towards the front of the building. I moved the bench to the rear and added a Coke machine. The lean to frame will get a corrugated tin roof once I have the groundwork and details in that area completed. There will be all kinds of details on this side of the building as well and I have a bunch of computer generated artwork to put on the building wall. The bicycle is a metal pre-painted casting. This tractor came in a set of John Deere 1/48th scale tractors that I picked up somewhere. It was way too shiny and new looking, so I have "grunged" it up a bit. Still want to do a little more to it. Here's a portion of the space that will become my ten foot "point-to-point" layout eventually. Right now it is where I am keeping my test track, rolling stock and supplies. The engine and passenger cars are a set that I bought at the hobby store probably about 15 years ago. They are made by Bachmann. The small diesel engine and cars in the foreground are scratchbuilt. The engine was built on top of an HO mechanism and the cars are all created from scale strip and sheet wood and commercially available castings for details. The caboose actually has an interior. I have a couple of styrene jigs that I created to help me form the car frames. I have one for a 22 foot frame (like the cars in the picture above) and a smaller 14 ft. frame. As you can see here I have couple of 22 ft. box cars started as well as flat car. I also have frames to make a stock car and a refrigerator car. The two smaller cars on the left and the14 ft. frames are intended for some MOW (maintenance of way) rolling stock. Once I build all these cars, I will probably be done scratchbuilding rolling stock. For one thing, the layout doesn't demand a ton of rolling stock because of it's size, but I also have some ready-to-run Bachmann cars. Below is a "ready-to-plant" finished structure from Woodland Scenics. The design is an O Scale version of a small backwoods station that they sold years ago. The original kit was made up of white metal castings. The footprint of the platform base is actually a little big for my layout, so I intend to remove the station from the platform and build a new one that will be more in keeping with my layout design. Well, that is about all for this update. Hope you enjoyed! - PM
Model Railroading has been a hobby of mine for many years... though an "on again, off again" thing much of the time. I talk a little bit about that in the pages below. I recently got sort of excited about it again and I am planning a new layout. You will be able to follow my progress here...
|
AuthorWrite something about yourself. No need to be fancy, just an overview. Archives
July 2023
Categories |